



Longer miniature projects do not need to stay spread across the table. A consistent pause routine protects the build and makes the next session easier to start.
When Is a Good Time to Stop?
The easiest stopping point is the end of a complete instruction step, before a new group of parts is opened. If you must stop mid-step, keep that component group together and write down exactly what remains.
- Finish the current reversible step when possible.
- Do not rush a permanent attachment just to reach a stopping point.
- If adhesive is in use, follow its handling and setting instructions before moving the section.
- Test lighting or moving parts at the manual's recommended stage before closing access.
Use This Seven-Step Pause Routine
- Mark the last fully completed instruction step.
- Write one next action, such as “start step 18 with parts B4 and B5.”
- Take a clear progress photo from the same direction as the manual diagram.
- Return untouched sheets and sealed groups to their original packaging.
- Place removed loose parts in a labeled bag, cup, or divided tray.
- Support the assembled section on a rigid, flat tray or board.
- Cover the project loosely and move tools, blades, adhesive, and batteries to their normal safe storage.
How Should You Organize Loose Parts?
Organize for the next instruction step rather than sorting every piece into broad categories. A label such as “Step 18 - shelf details” is usually more useful than a container marked only “small wood.”
- Keep similar left/right or mirrored parts separated until their orientation is confirmed.
- Leave tiny decorative pieces on their original sheet or backing until the relevant step.
- Place paper, stickers, transparent panels, and wires in separate flat or protected groups.
- Keep part numbers visible; do not discard a frame, sheet, or bag that helps identify them.
- Use a lidded container for anything light enough to move with a draft or accidental bump.
How Do You Protect a Partly Assembled Structure?
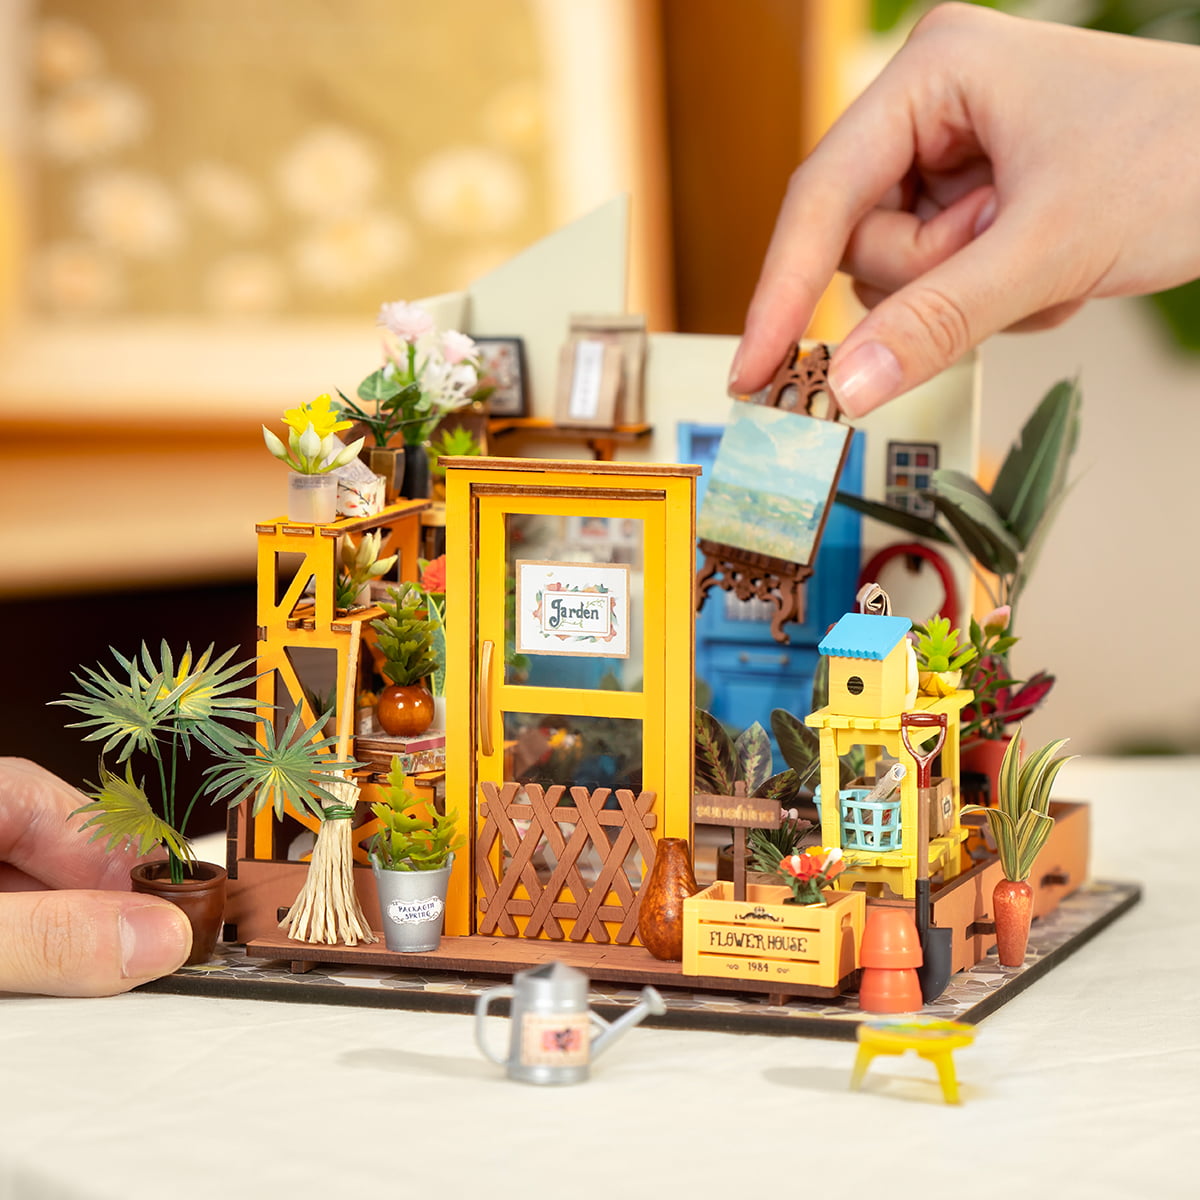
Use a rigid base that can move with the project. A flat tray, cutting mat on a board, or shallow lidded container reduces the need to lift the model itself. Keep the project upright unless the instructions call for a different position.
- Do not stack bags, tools, manuals, or packaging on top of the model.
- Keep delicate projecting details away from the edge of the tray.
- Cover loosely enough that the cover does not press on walls, plants, signs, wires, or furniture.
- Choose a dry indoor location away from direct sun, heat, food, drinks, pets, and young children.
- If a joint is not stable, support it and follow the exact adhesive or manual instructions before moving it.
What Changes by Kit Style?
Snap-fit or modular rooms
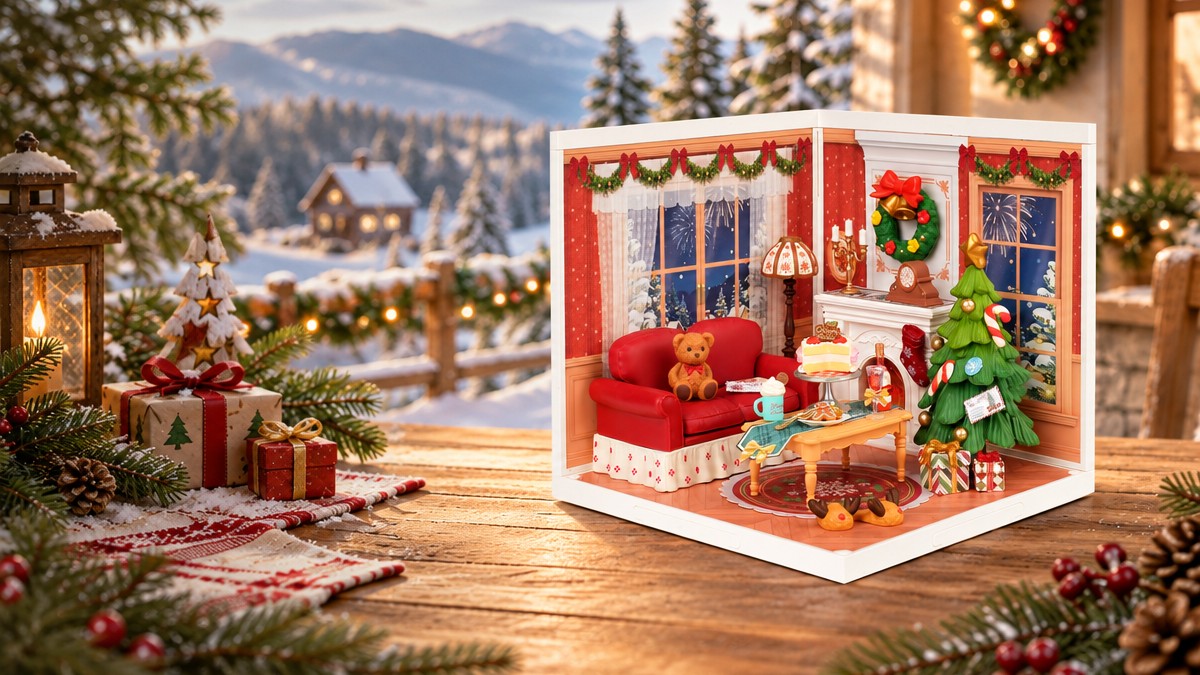
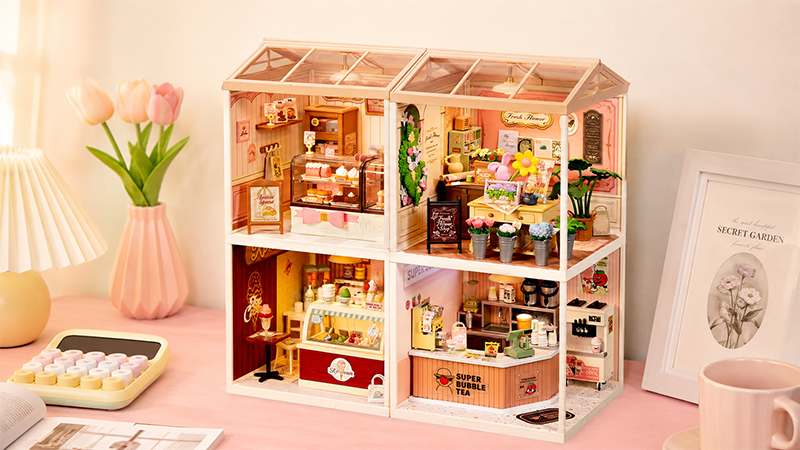
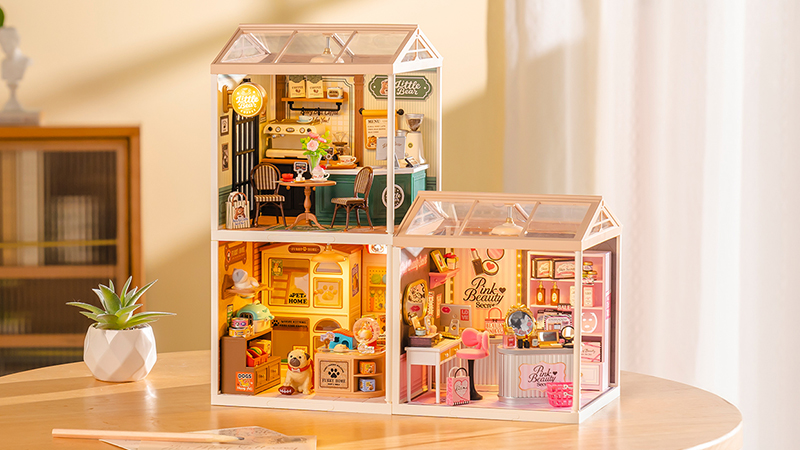
Keep unused molded pieces in their numbered groups and protect small connectors from side pressure. Modules can be paused after a complete room section, but loose accessories still need labels.
Wooden book nooks and puzzles
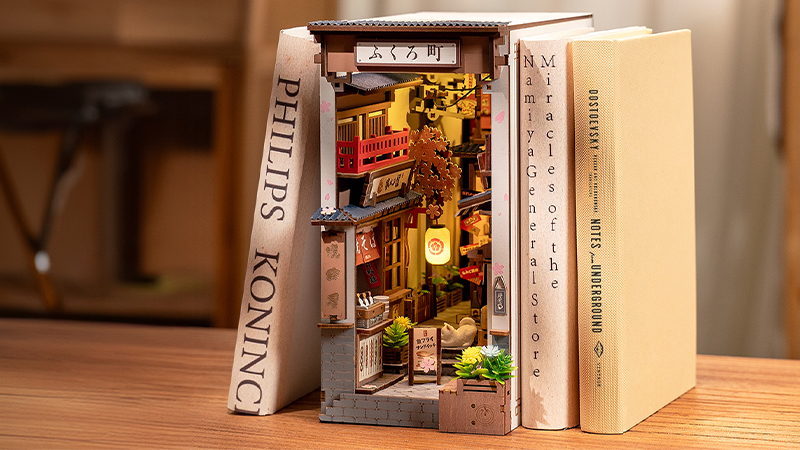
Keep wooden sheets and removed parts identifiable, protect tabs from being bent, and avoid forcing a partial structure into a container that is too small.
Traditional miniature houses with paper and fabric details
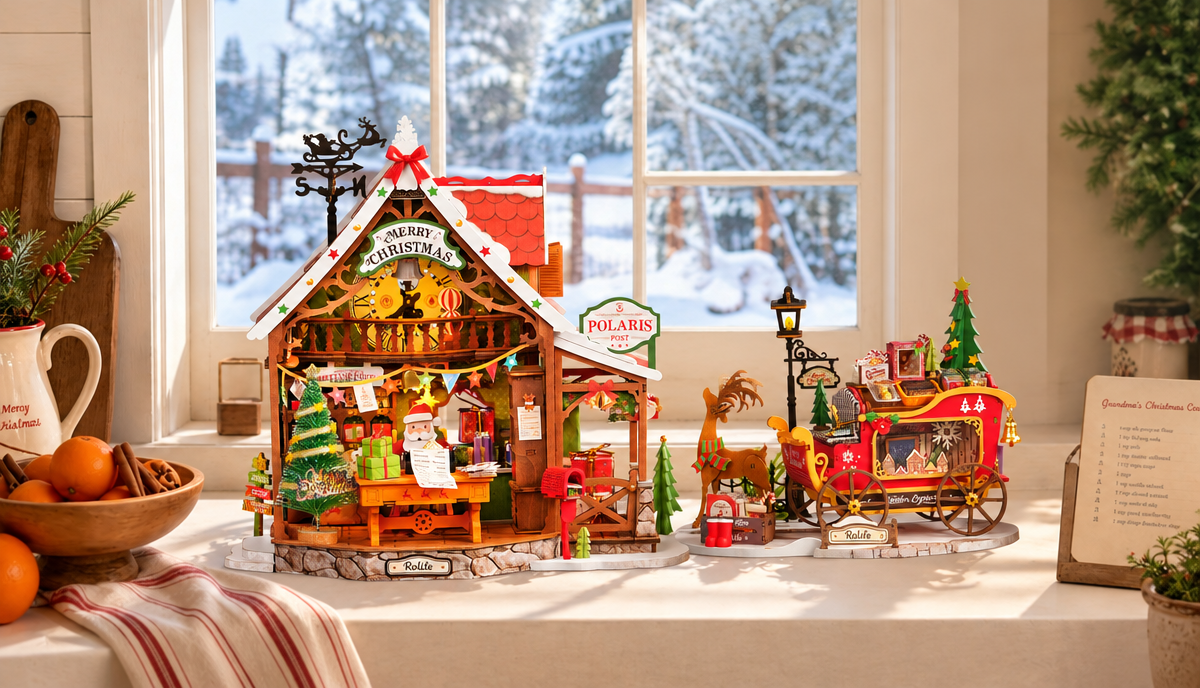
Use flat sleeves or envelopes for printed sheets and fabric, keep prepared decorations grouped by scene, and separate anything that could transfer adhesive, paint, or moisture to paper surfaces.
How Should You Resume the Build?
- Read your checkpoint note and compare the progress photo with the current model.
- Recheck the last completed manual step before opening the next parts.
- Confirm loose pieces and tools are present before moving the structure.
- Inspect exposed tabs, wires, paper edges, and attachments for anything that shifted.
- Test-fit the next connection and continue at normal pace instead of trying to make up time.
If the instructions are the main source of uncertainty, review how to read a Rolife instruction manual before continuing.
Common Storage Mistakes to Avoid
- Opening every bag at once and losing the original part groups.
- Leaving tiny parts loose inside the large product box.
- Using a soft bag that can press against a partly assembled structure.
- Moving a joint before it is stable under the applicable instructions.
- Packing tools or batteries inside the miniature scene.
- Relying on memory instead of leaving a written checkpoint.
Frequently Asked Questions
Can I leave an unfinished Rolife kit on the table overnight?
Yes, if the surface is flat, stable, dry, and protected from bumps, dust, pets, and children. Keep loose pieces in labeled containers and cover the project without pressing down on delicate parts.
Should I put every loose part back into the original bags?
Not necessarily. Keep untouched sheets or sealed groups in their original packaging, but place already removed pieces in labeled bags or trays that identify the next step or component.
How do I remember where I stopped?
Mark the last completed step, write the next action on a small note, and take one clear progress photo before packing the project away.
Can I move a section while glue or tape is setting?
Follow the adhesive instructions and the kit manual. If a joint is still unstable, leave it supported on a flat surface and wait before covering, stacking, or moving it.
What if I find a missing or damaged part when I resume?
Stop before forcing the surrounding assembly. Keep the packaging and manual, record the product and part number, take a clear photo, and use Rolife's replacement-part guidance.