




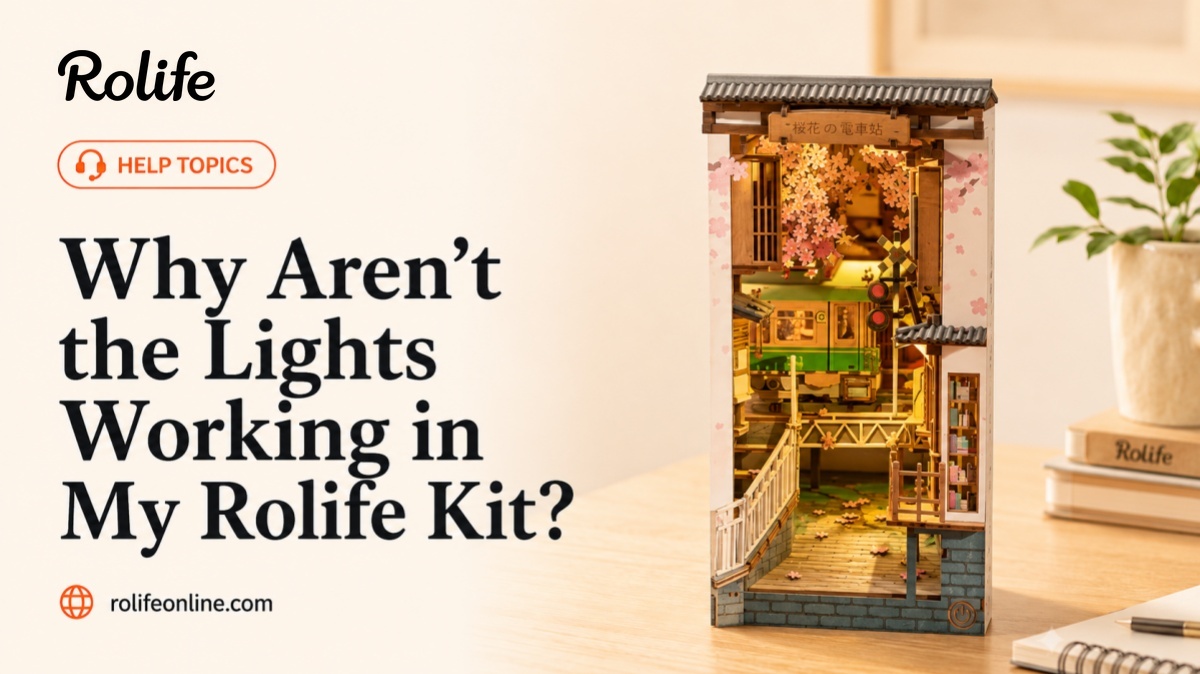
If the lights in your Rolife DIY kit are not turning on, the issue is usually related to batteries, wire connections, switch positioning, loose contact points, or wires being pinched during assembly. Most lighting problems can be fixed with a few simple checks.
Quick Answer
If your Rolife lights are not working, first check the batteries, wire connections, and switch position. Loose connectors, weak batteries, incorrect battery direction, or pinched wires are among the most common causes.
Check the Batteries First
Incorrect battery placement is one of the most common lighting issues in DIY miniature kits. Before checking the wiring, make sure the battery box is set up correctly.
- Confirm the positive and negative directions match the battery box markings
- Try fresh batteries if the lights appear dim or flicker
- Make sure the switch is turned on completely
- Check whether the battery cover is properly closed
- Remove and reinstall the batteries if the contact feels loose
Inspect the Wire Connections
Most Rolife book nook and miniature house kits use small plug-in LED connectors. If a connector becomes loose during assembly, the lights may stop working even if the batteries are fine.
- Check whether connectors are fully inserted
- Look for loose wires around corners, walls, or ceilings
- Avoid pulling wires too tightly
- Make sure wires are not trapped between wooden or plastic parts
- Reconnect plugs gently while holding the connector, not the cable
Many experienced builders recommend testing the lights before sealing walls, roofs, ceilings, or large decorative sections. This helps catch loose wires early.
Check the Battery Box Contacts
Some battery boxes contain small metal contact tabs. If these tabs become bent, flattened, dirty, or blocked, the batteries may not connect properly.
- Check whether the metal contacts touch the batteries properly
- Gently adjust the contacts if they look flattened
- Keep the battery box dry and clean
- Do not force batteries into place
- Make sure no paper, dust, or debris is blocking the contact area
Look for Pinched or Hidden Wires
If the lights worked earlier but stopped after you attached a new section, a wire may have been pinched, bent too sharply, or pulled loose during assembly.
- Review the most recent assembly step first
- Check areas where walls, roofs, or floors were attached
- Look for wires squeezed between structural parts
- Make sure wires are routed through the recommended paths
- Avoid pressing heavy parts directly onto lighting cables
If the lights stopped working after one specific step, the problem is often near the section you just assembled.
What If the Lights Flicker?
Flickering usually means the power connection is unstable. This can happen when batteries are weak, a connector is not fully inserted, or the battery box contact is loose.
- Try fresh batteries first
- Reinsert the wire connectors gently
- Check whether the switch is fully on
- Look for loose battery contacts
- Check whether any wire moves when the model is touched
What If the Lights Still Do Not Work?
If you have checked the batteries, connectors, switch, contact tabs, and wire routing but the lights still do not turn on, contact Rolife support for additional assistance.
If possible, keep your order information, product name, and photos of the battery box or wiring area ready. This can help support understand the issue faster.