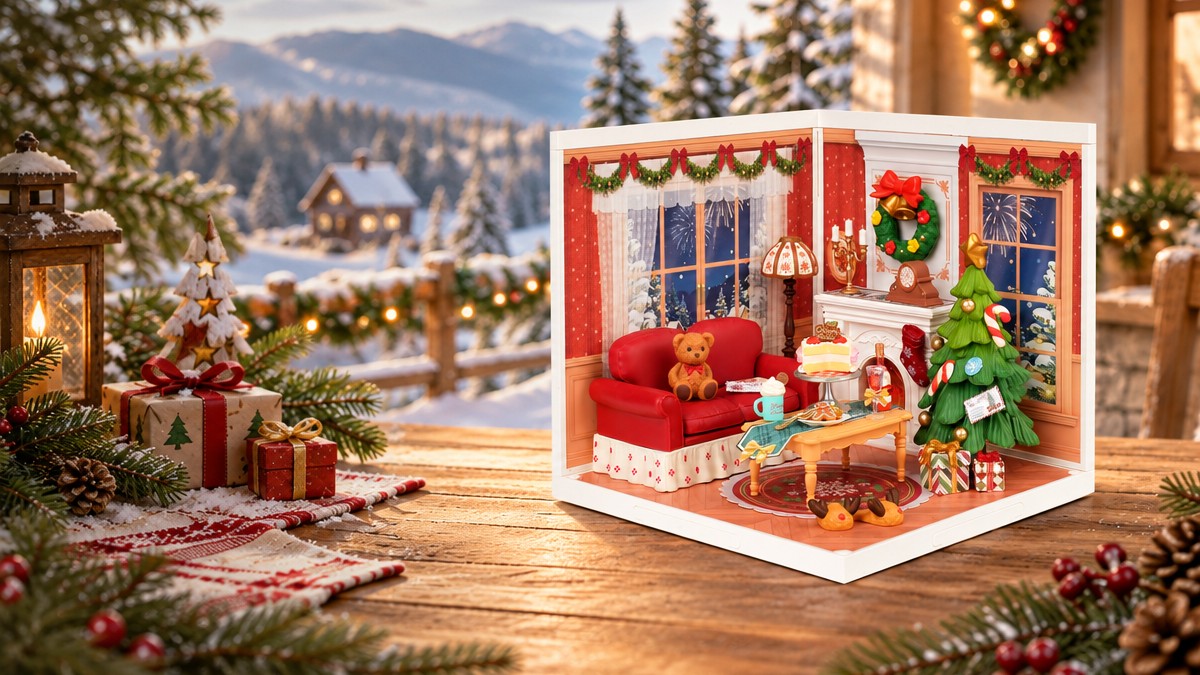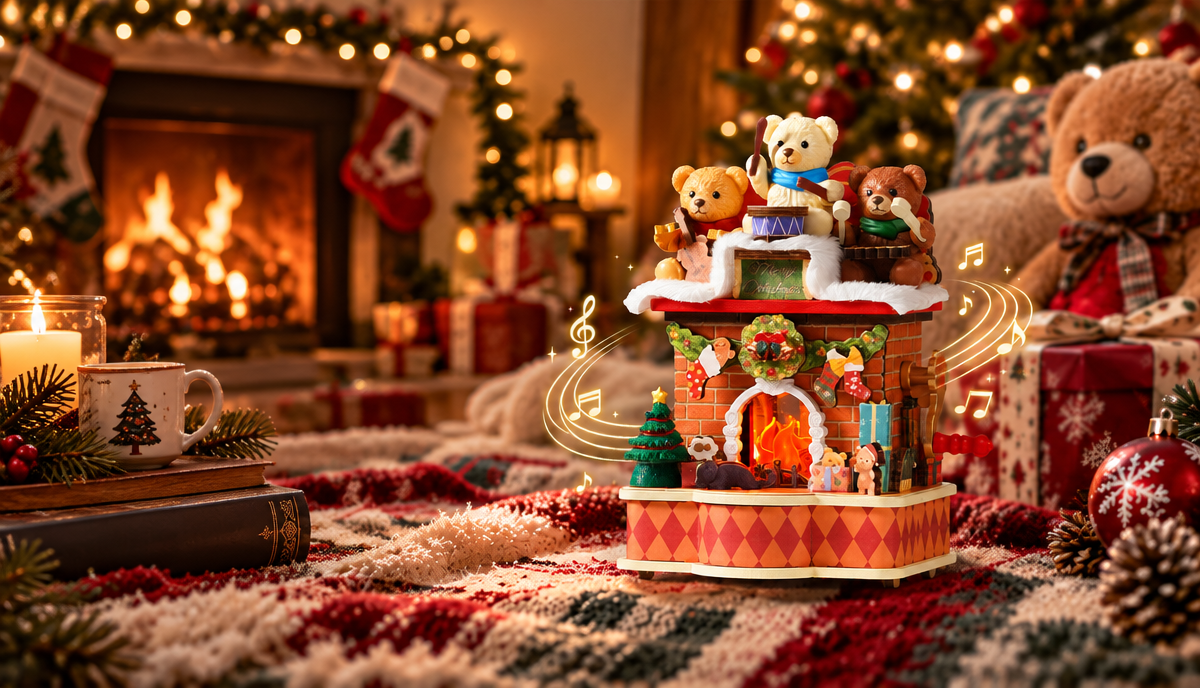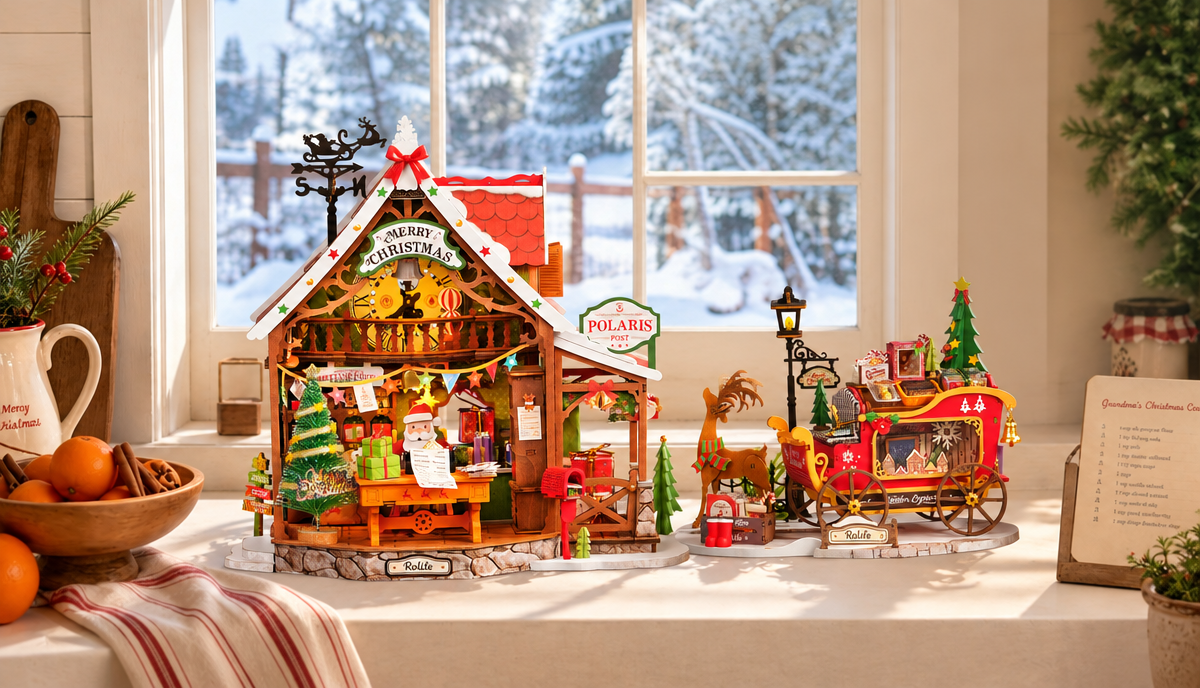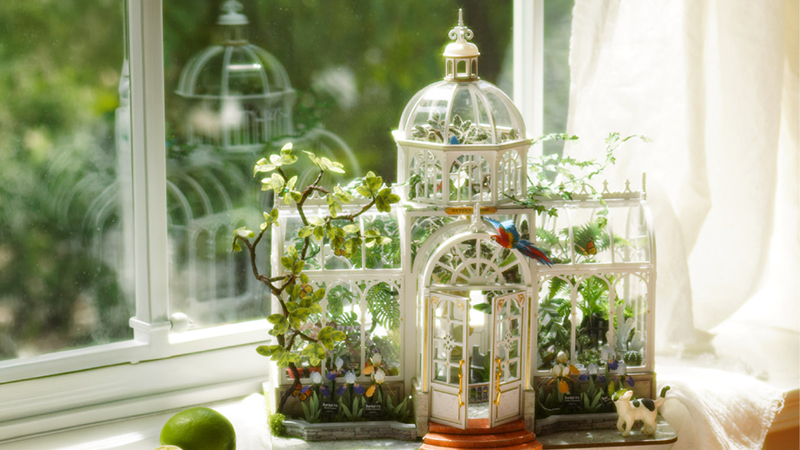
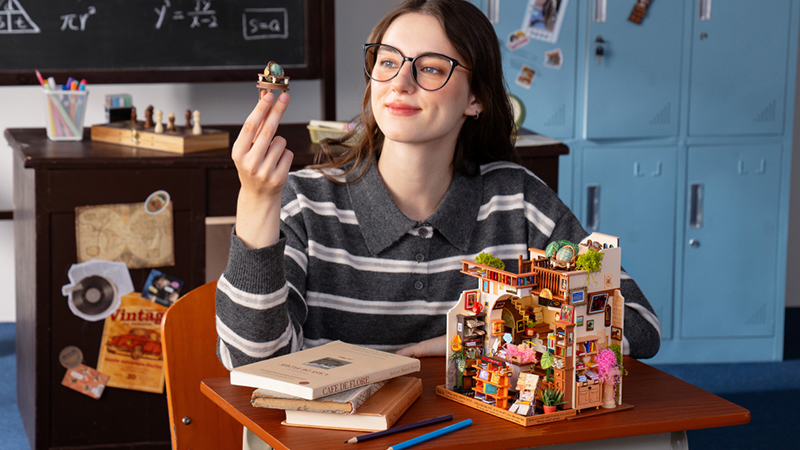

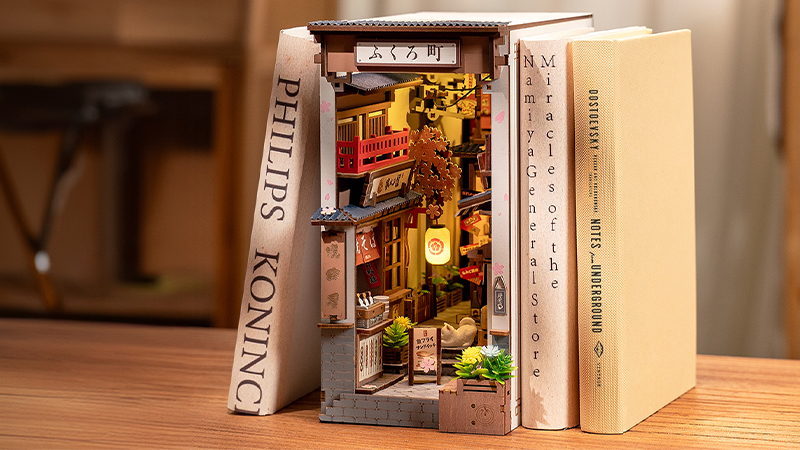
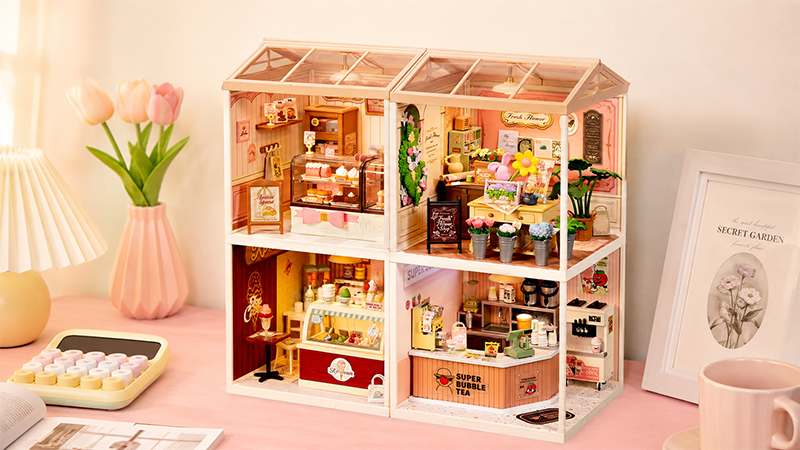
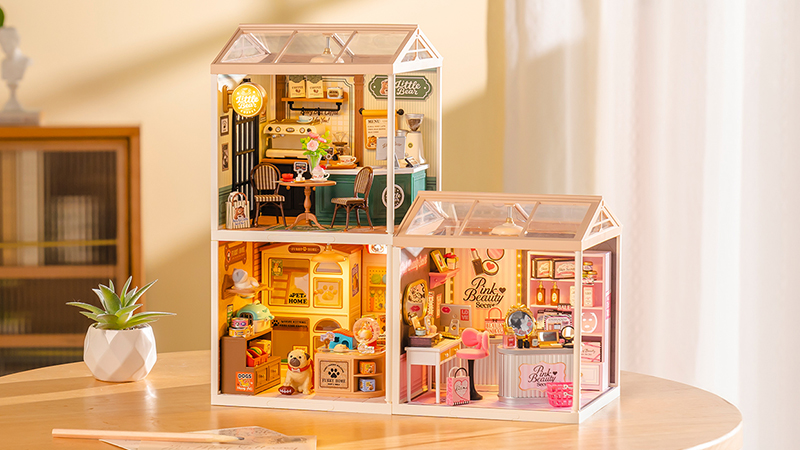

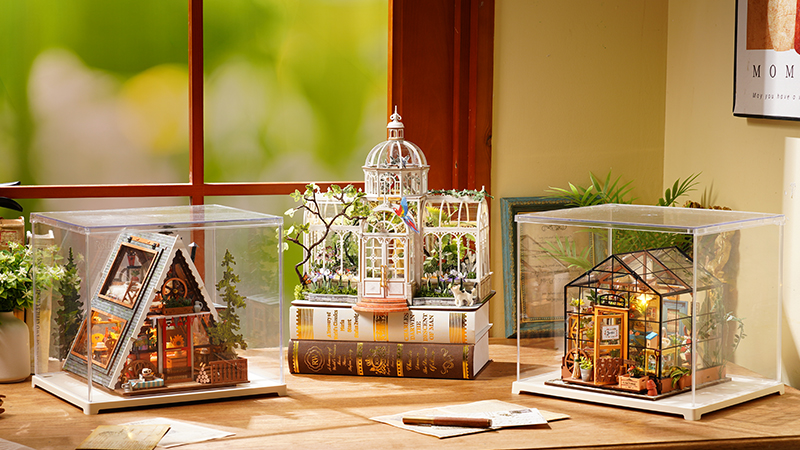
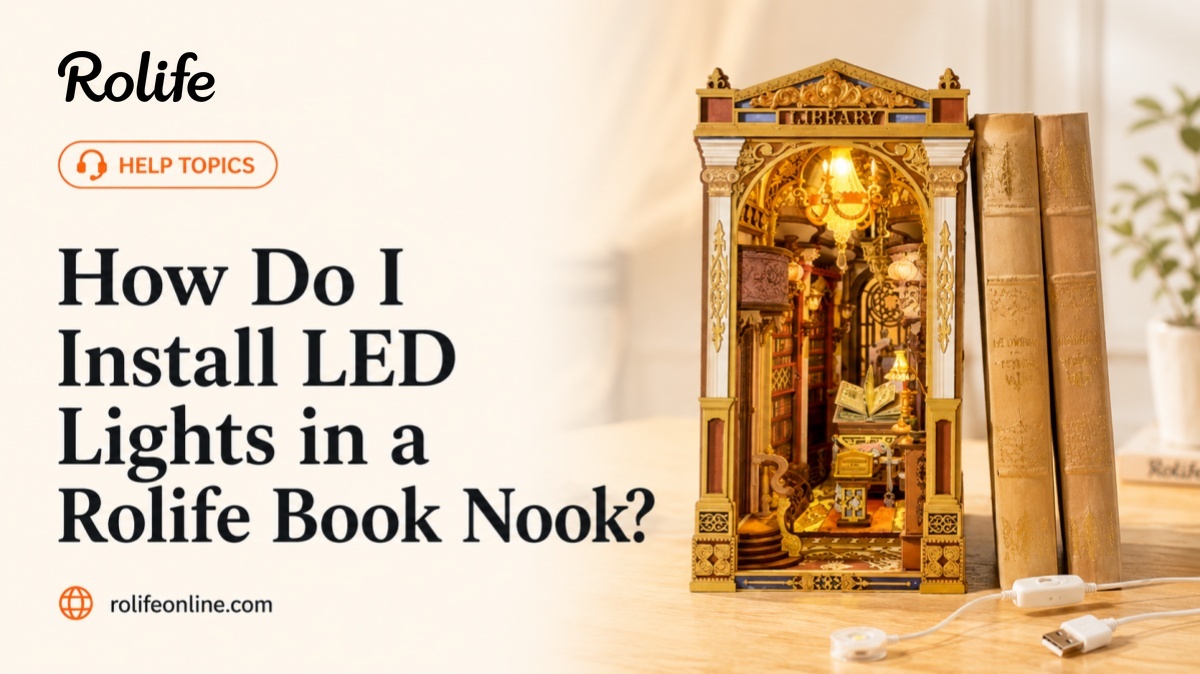
Many Rolife book nook kits include LED lighting designed to make the miniature scene feel warmer, deeper, and more immersive once displayed on a bookshelf. Installing the lights carefully during assembly can help avoid loose wires, trapped cables, or difficult troubleshooting later.
Quick Answer
To install LED lights in a Rolife book nook, carefully follow the manual, connect the wires gently, route cables through the recommended paths, and test the lights before sealing major sections.
Follow the Wire Routing Carefully
Most Rolife book nook kits include specific wire paths designed to keep the finished scene clean and organized. Following the recommended route can help keep wires hidden while reducing the risk of pinching or pulling.
- Guide wires through pre-designed openings
- Keep cables close to edges, corners, or hidden channels
- Avoid pinching wires between wooden or decorative parts
- Leave slight slack near connectors and bends
- Check the manual before covering or closing wire areas
Many builders recommend organizing wires gradually during assembly instead of waiting until the end of the build.
Connect the LED Wires Gently
LED connectors are small and designed for careful handling. Before connecting them, check the direction and alignment so you do not damage the plug or loosen the cable.
- Align connectors before pushing them together
- Avoid twisting or pulling the wires directly
- Hold the connector itself when connecting parts
- Check that plugs are fully inserted
- Stop and recheck the direction if the connector does not fit easily
Test the Lights Before Final Assembly
Testing the lighting system during assembly can make troubleshooting much easier later. It is best to test the lights before attaching roofs, outer walls, ceilings, or large decorative panels that may block access to the wiring.
- Test after major wiring steps
- Check the battery box connection
- Confirm the switch works properly
- Use fresh batteries during testing
- Test again before sealing hard-to-access sections
Many experienced builders test the lights before attaching roofs, outer walls, or large decorative sections.
What If the Lights Do Not Turn On?
Most lighting issues are related to loose connectors, incorrect battery placement, weak batteries, or wires becoming trapped during assembly. Recheck the simplest issues before taking apart larger sections of the book nook.
- Check whether the batteries are fresh and installed correctly
- Confirm the switch is in the correct position
- Recheck each connector and plug
- Look for wires that may be pinched or bent too sharply
- Review the latest assembly step if the lights worked earlier but stopped later
How to Avoid LED Installation Problems
Careful wire handling can prevent many common lighting issues. Work slowly around lighting parts, and avoid covering wires until you have confirmed that the lights work correctly.
- Do not pull directly on thin LED wires
- Keep wires flat and untangled where possible
- Avoid pressing heavy pieces directly onto cables
- Keep battery boxes and switches accessible when possible
- Test lights before closing any section that is hard to reopen