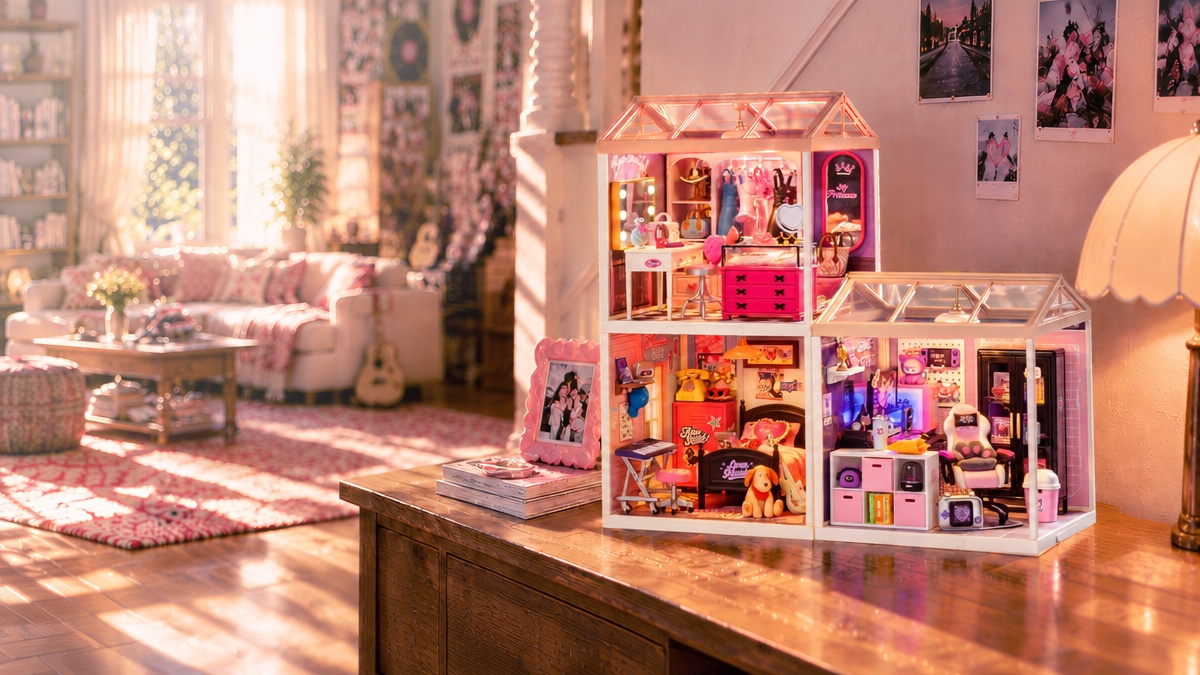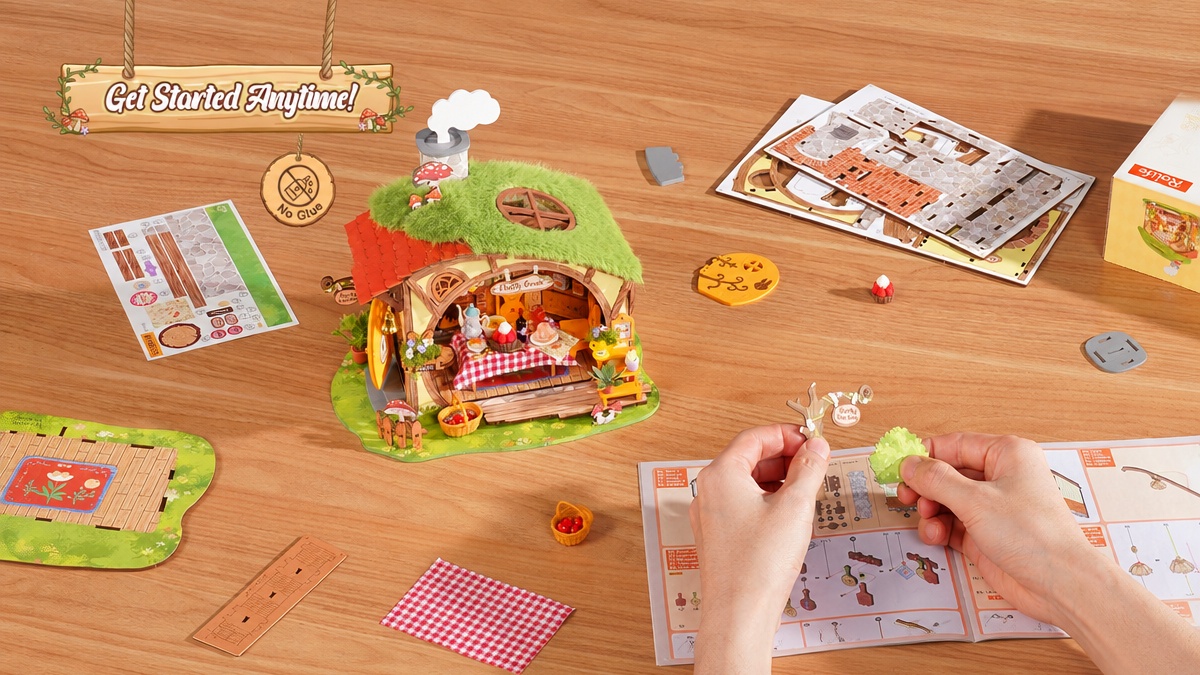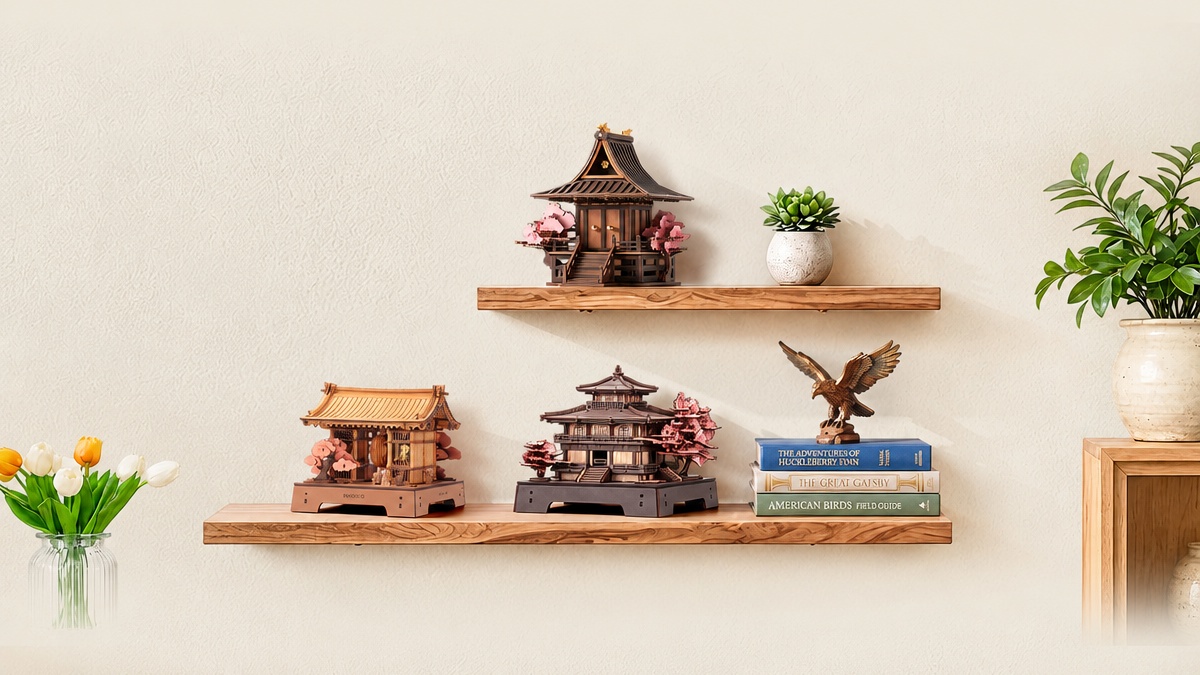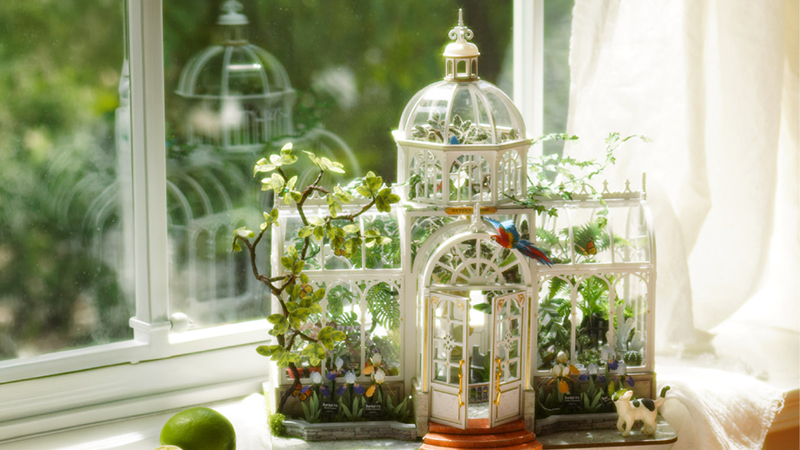
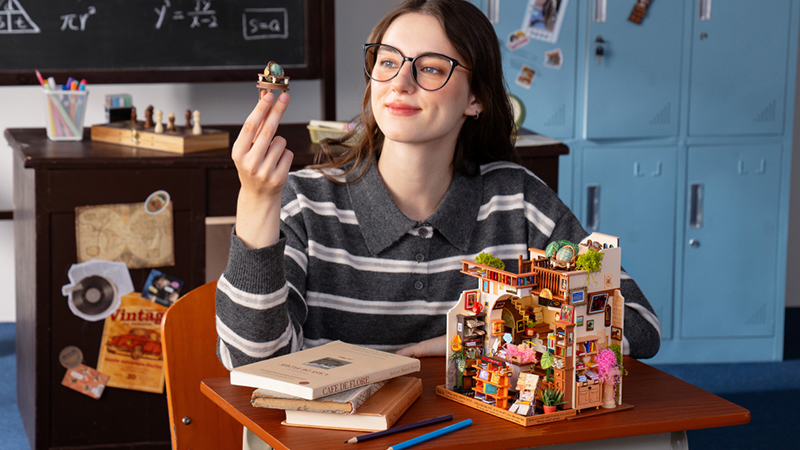

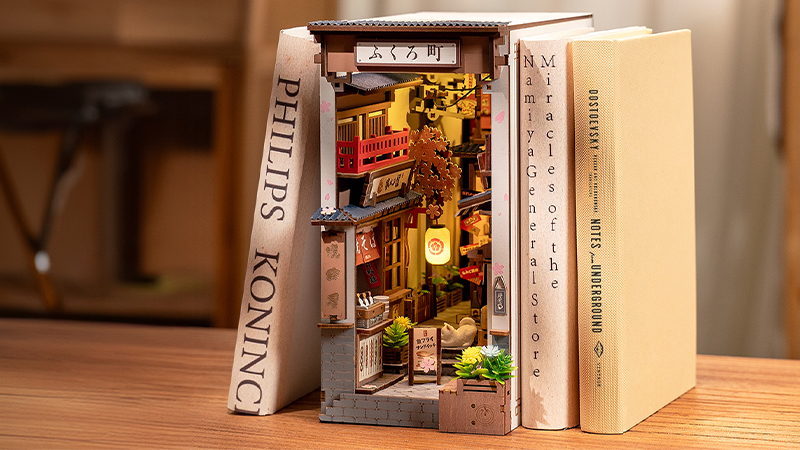
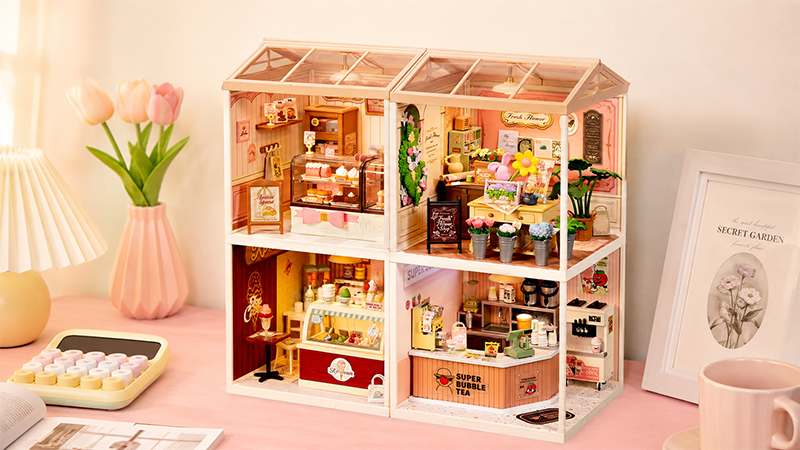
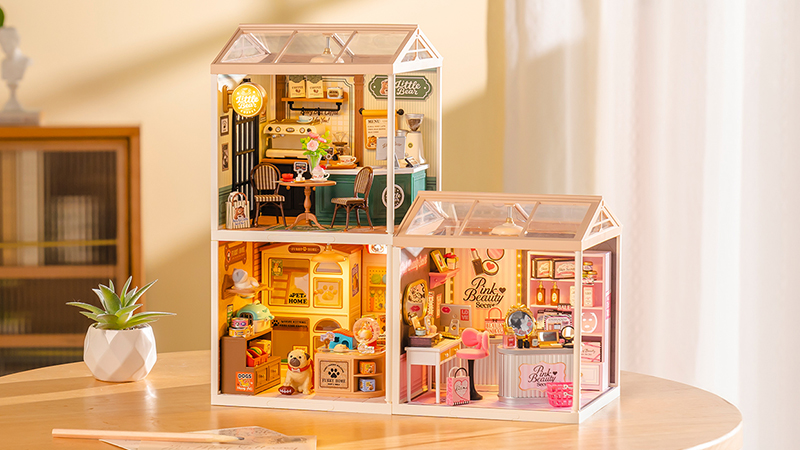

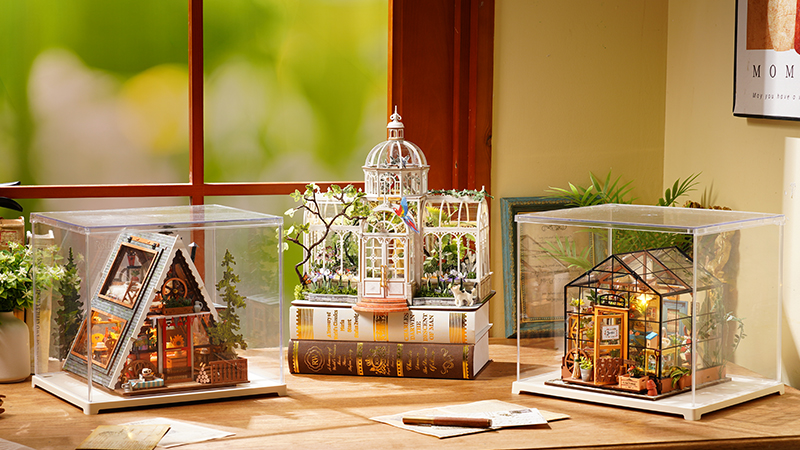
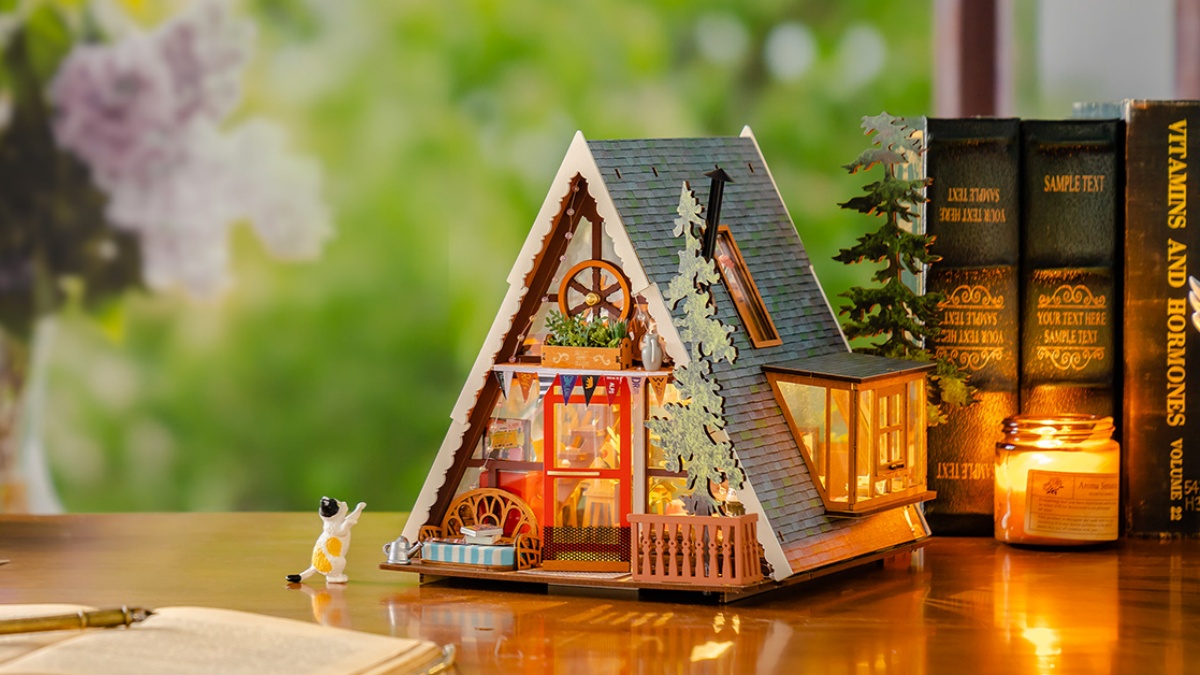
Choose the photography scene before you chase the shot: check whether the figure fits, where the camera can enter, how the light behaves, how much depth the room provides, and what action the setting makes possible.
A miniature can look beautiful on a shelf yet feel awkward through a camera. A front wall may block a low angle. A bright built-in light may set the mood but leave a figure's face in shadow. A detailed room may be visually busy once you add a blind-box character. Choosing the right scene before you shoot saves more time than trying to fix every problem in editing.
This guide focuses on open Super Creator rooms because their front and side access makes camera placement, figure styling, and small lighting adjustments easier to test. Other Rolife miniature houses and book nooks can also make strong photographs, but they create different tradeoffs in access, framing, and depth.
What Makes a Rolife Kit Work Well for Miniature Photography?
Judge the scene as a small set, not only as a finished craft project. The following five questions reveal whether the room will support the photographs you actually want to make.
| Selection factor | What to inspect | Why it matters on camera | Simple test |
|---|---|---|---|
| Figure fit | Headroom, furniture height, standing and seated positions | A large figure can make doors, beds, tubs, or counters feel visually inconsistent | Compare the figure with a printed product image or use a paper silhouette |
| Camera access | Open front, removable side, low-angle path, top-down visibility | A good viewing angle is useless if the phone or lens cannot reach it | Hold a phone-sized card where the camera would sit |
| Background depth | Foreground objects, midground action area, back wall | Layering helps a small scene feel like a place instead of a flat display | Identify at least three visual planes before buying |
| Light control | Built-in light position, reflective surfaces, window direction, cable access | Mood light and photographic exposure do different jobs | Plan one key light and one optional white-card fill |
| Story role | What the figure is doing and which prop proves it | A clear action gives the viewer an immediate reason to look | Write the image as one sentence before setting up |
How Do You Check Figure Fit Before Choosing a Scene?
Do not assume that two products are compatible because both are described as miniatures. Rolife kits use different scales and proportions, while collectible figures often use stylized heads, bodies, and bases. A figure can look convincing even without exact scale matching, but the mismatch should feel intentional.
- Measure the figure's full standing height, including its base, hair, hat, or ears.
- Measure the figure's widest point and the depth needed for a stable standing or seated pose.
- Look for a clear action zone in the room: beside the tub, on the bed, at the beauty counter, or near the pet furniture.
- Compare the figure with the furniture that will establish scale. Beds, counters, chairs, sinks, and doors are stronger visual references than small accessories.
- Create a paper silhouette at the figure's measured height and place it over a straight-on product image. Treat the result as a framing preview, not an exact dimensional guarantee.
For the differences between product lines, use the Rolife Help guide What Scale Are Rolife Kits?. Always confirm the individual model rather than applying one scale to every Rolife kit.
Which Open-Room Kits Suit Different Photography Stories?
The four rooms below are useful because each offers a distinct activity, color palette, and subject position. The recommendations describe photographic possibilities, not guaranteed compatibility with every figure.
| Kit | Strongest story | Useful camera position | Watch for |
|---|---|---|---|
| Bubble Bathroom DW014B | Morning routine, self-care, playful bathroom moment | Front three-quarter or slightly elevated | White and glossy areas may need softer light and careful reflection control |
| Lovely Pink Bedroom DW016 | Cozy portrait, getting ready, bedtime, room-decor scene | Eye-level at the bed or diagonal from the open front | Pastel subject and pastel room can merge without color contrast |
| Pink Beauty Secret DW026 | Shopping, makeup counter, beauty appointment, product close-up | Counter-height angle or storefront three-quarter | Small product displays can compete with a highly detailed figure |
| Furry Friends' Home DW027 | Pet care, adoption, play, character-and-animal interaction | Low eye-level or open-front action shot | Keep one pet or prop as the supporting subject instead of filling every gap |
Bubble Bathroom DW014B: Best for Self-Care and Routine Scenes
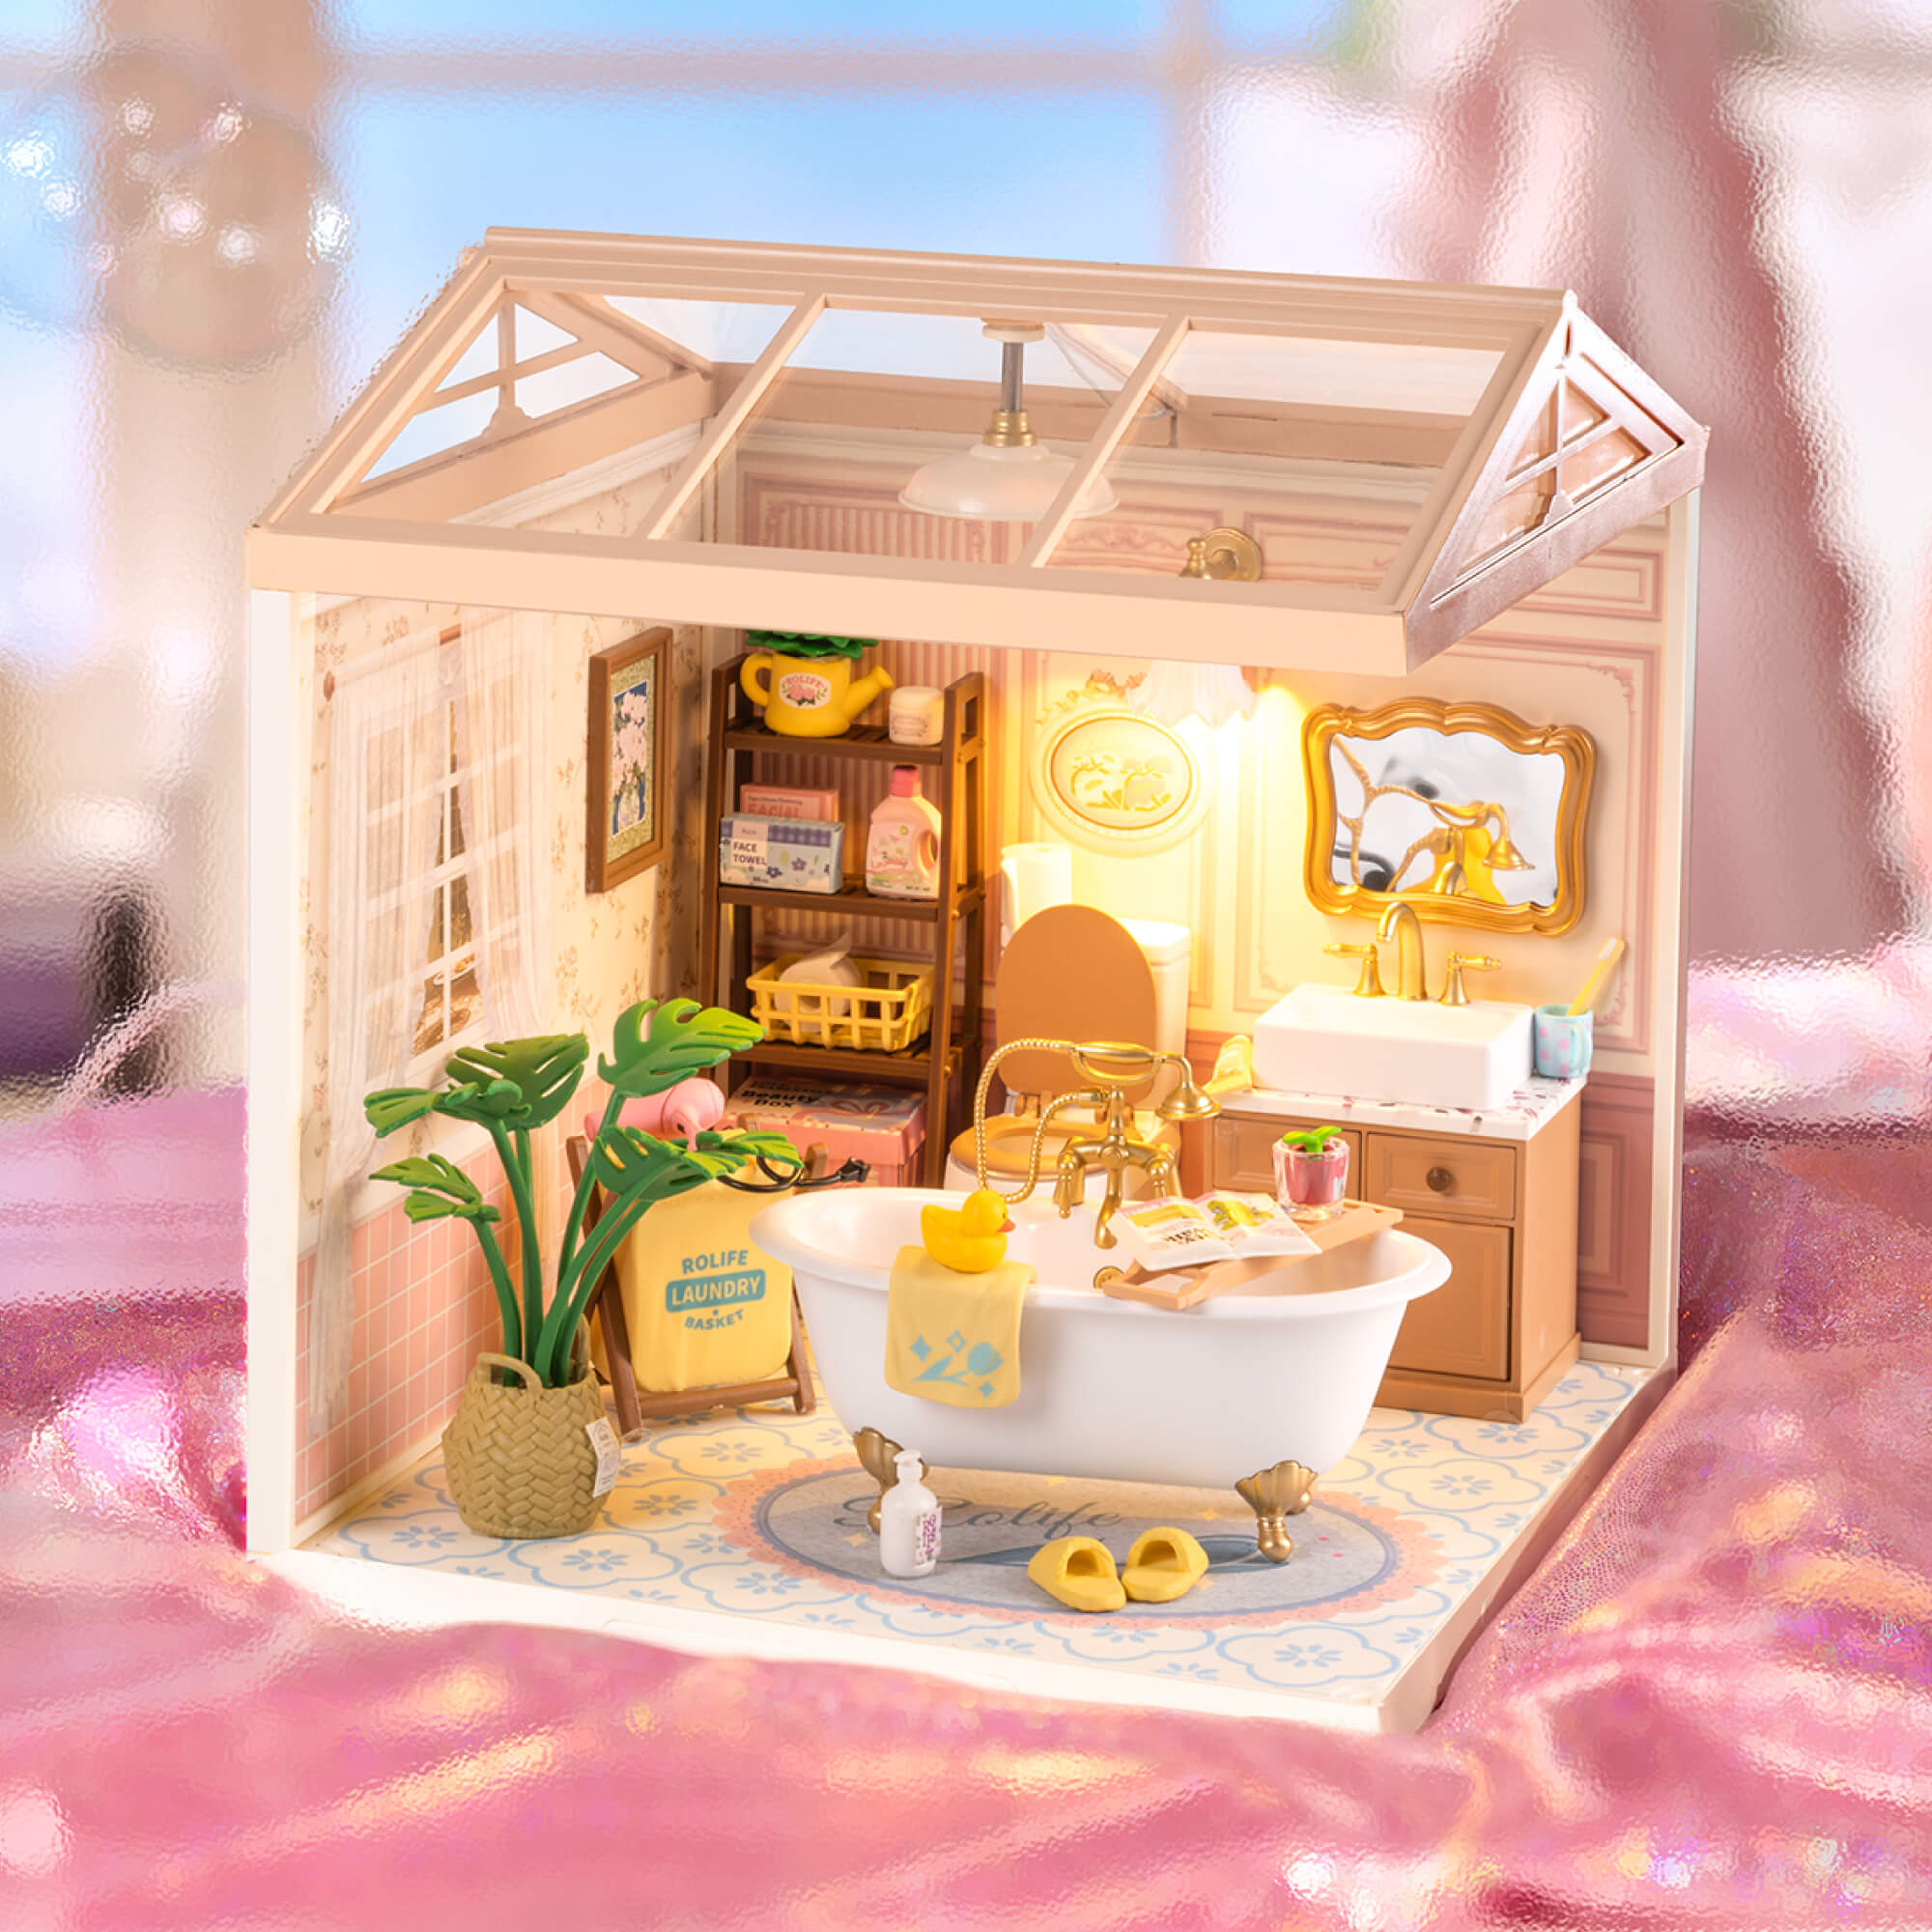
A bathroom gives a figure an immediate role: getting ready, reaching for a towel, sitting beside the tub, checking the mirror, or cleaning up after a playful accident. These ordinary actions can make a collectible feel like a character rather than an object placed inside a room.
Try a front three-quarter view that includes the tub and vanity as two separate visual planes. If the white surfaces look harsh, move the lamp farther away, diffuse it through a translucent white material designed for lighting, or bounce it from a white card. Keep electrical lights and materials safely separated, and avoid placing heat-producing lamps close to plastic parts.
View Bubble Bathroom DW014B and inspect the action zones before choosing a figure.
Lovely Pink Bedroom DW016: Best for Cozy Character Portraits
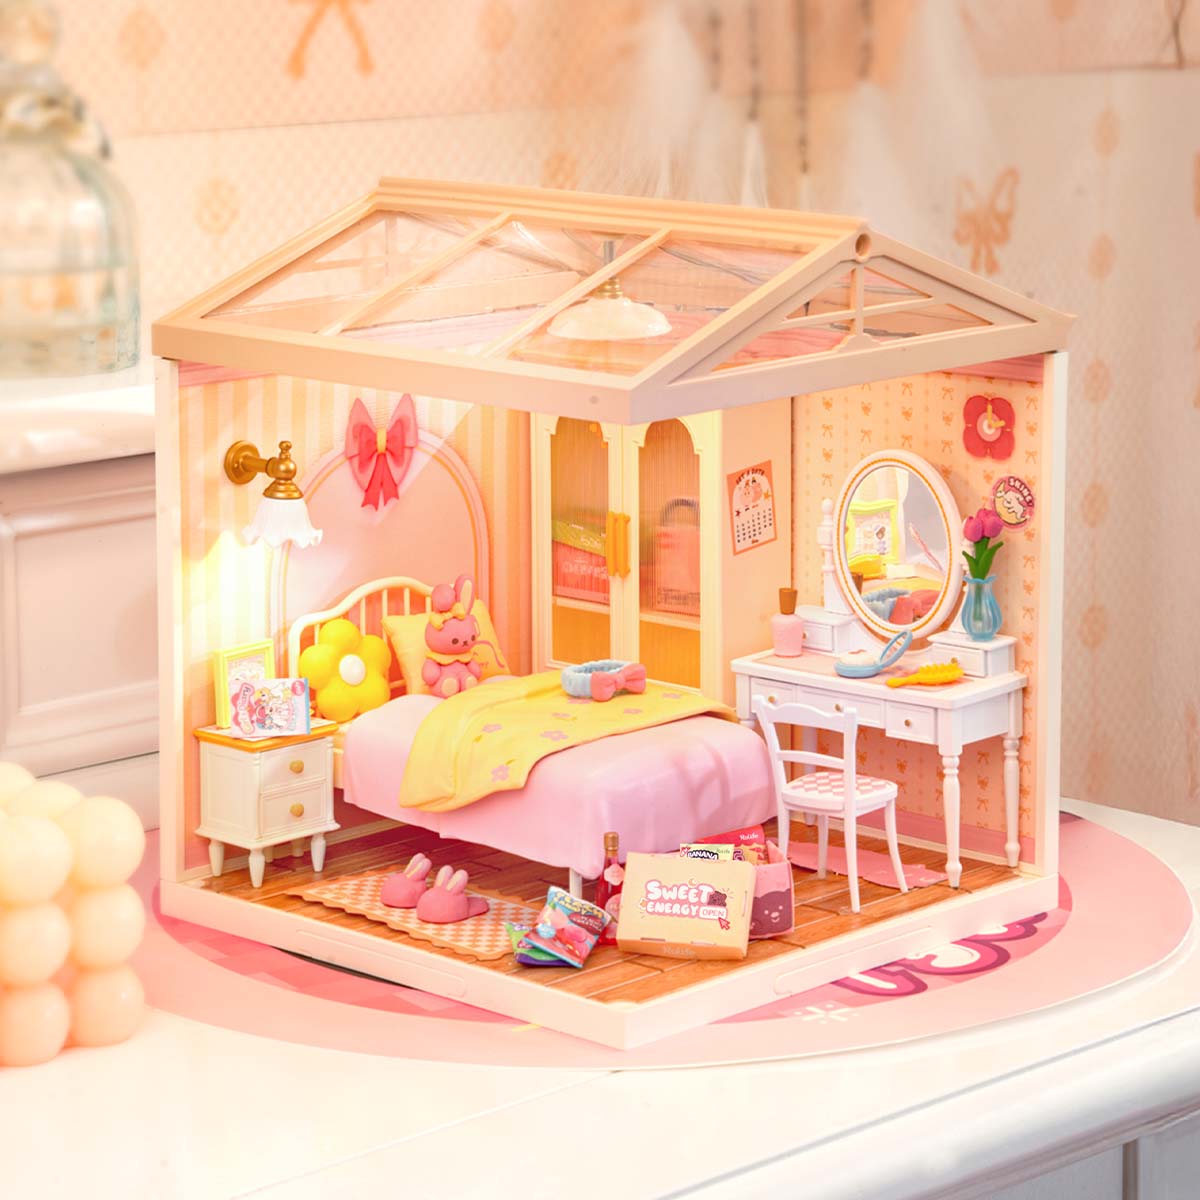
Bedrooms work well for quiet portraits because the furniture naturally frames one subject. Place the character near the bed or vanity, then remove or turn away any accessory that competes with the face. A slightly low eye-level angle can make the room feel inhabited; a higher view is better when the bed arrangement is the main subject.
Color separation matters in a pastel room. If the figure is also pink or pale, add contrast with a darker blanket, bag, book, or background card. The goal is not to fill every empty area. One contrasting object behind or beside the figure is often enough to keep the silhouette readable.
View Lovely Pink Bedroom DW016 for a pastel home-room option.
Pink Beauty Secret DW026: Best for Shopping and Beauty Stories

A beauty shop supports both wide scenes and close-up details. A character can browse, sit at the mirror, carry a basket, speak to someone behind the counter, or hold one tiny product. The black-and-pink palette creates stronger contrast than an all-pastel room, which can help lighter figures separate from the background.
Decide whether the figure or the miniature products are the hero. For a character portrait, simplify the counter and keep the face clear. For a detail shot, crop closer and use the figure only as a partial hand, shoulder, or background presence. Trying to show the entire shop, every cosmetic, and the full figure in one frame usually weakens the story.
View Pink Beauty Secret DW026 for beauty-counter and storefront scenes.
Furry Friends' Home DW027: Best for Pet and Interaction Photos
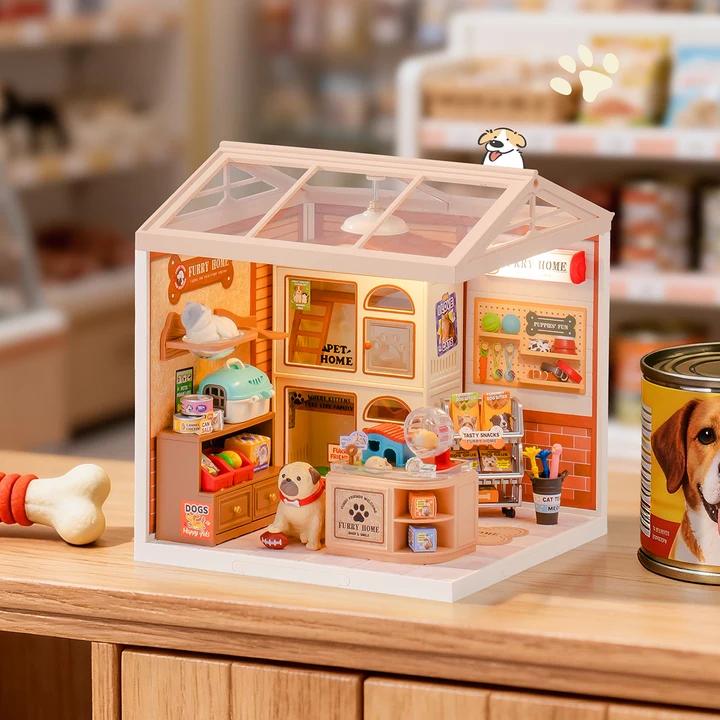
Pet scenes naturally create relationships. A character can offer a treat, kneel beside an animal, tidy the room, play with a toy, or pause at the doorway. That interaction provides a stronger visual verb than a neutral standing pose.
Choose one pet, one action, and one supporting prop. If several animals and toys are visible at the same importance, the viewer may not know where to look. A lower camera position helps the figure and pet share the same world; a slightly wider frame can preserve enough context to show that the scene is a pet room.
View Furry Friends' Home DW027 for pet-care and character-interaction ideas.
Which Camera Angle Should You Try First?
Start with the angle that explains the story, then make one alternative for variety. Moving the camera a few centimeters can change how large the figure feels, which wall becomes the background, and whether furniture blocks the subject.
| Angle | Best for | What it communicates | Common problem |
|---|---|---|---|
| Eye level | Character portraits and interactions | The viewer feels present inside the miniature world | Furniture may hide the lower body or action prop |
| Low angle | Hero shots and pet-level scenes | The figure feels larger and more dramatic | Ceiling, roof, or lights may enter the frame |
| Front three-quarter | Showing subject plus room depth | Balances the character with the environment | Side wall can become a large empty block |
| Top-down | Room layout, flat-lay detail, before-and-after styling | Explains where objects sit in relation to each other | Faces and vertical details become less expressive |
| Close detail | Hands, props, shelves, cosmetics, pet toys | Turns a small object into the story clue | Focus can miss the intended detail at very close distance |
How Should You Light a Miniature Room?
Treat built-in room lighting as practical light inside the story. It may create a warm window, ceiling glow, or shop atmosphere, but it does not automatically light the figure's face or control reflections. Build the photograph around a separate key light, then decide whether the room light improves the mood.
- Key light: place a window, lamp, or small LED panel to one side of the camera so the subject has shape rather than flat front light.
- Fill: use a white card on the shadow side when the face or important prop disappears into darkness.
- Practical light: turn on the kit light only if it supports the story and does not create a distracting bright spot.
- Background control: move the scene away from a real wall when you want softer separation behind the miniature.
- Reflection check: rotate glossy parts or shift the light until strong white reflections stop covering the details you need.
A Five-Shot Workflow for Phones and Cameras
- Establish the room. Make one wider frame that clearly shows where the action happens.
- Move to character height. Place the camera near the figure's eye level and check whether furniture blocks the action.
- Simplify the frame. Remove one or two props that overlap the subject or create competing highlights.
- Make a story close-up. Photograph the hand, pet, cosmetic, book, towel, or other prop that explains the action.
- Change one variable. Adjust only the angle, light direction, or figure pose so you can compare which change improved the image.
This workflow creates a useful set: one environment image, one character portrait, one detail, and controlled variations. It also prevents the common habit of moving the camera, lights, props, and figure all at once, which makes it hard to learn why one frame worked better.
How Do You Prevent Blur, Glare, and Blocked Camera Angles?
A finished miniature can look sharp in person but turn into a blurry or reflective photo because the camera is very close, the scene has several depth layers, or the kit frame limits where the lens can sit. Before changing cameras, adjust distance, support, light direction, and access.
| What you see | Likely cause | What to try |
|---|---|---|
| The front is sharp but the back is soft | Very shallow depth of field at close range | Move the camera slightly farther back, use the main lens instead of extreme macro mode, and crop afterward. For a fully sharp room, take several locked-off photos focused at different depths and combine them with focus stacking software. |
| The whole image looks soft | Camera movement or missed focus | Rest the phone or camera on a stable support, use a short timer, clean the lens, and tap the most important subject to focus. |
| Windows or glossy pieces show bright hotspots | Direct light is reflecting toward the lens | Move the light to the side, raise it, or soften it with a diffuser. A larger, softer light usually produces cleaner reflections than a small exposed lamp. |
| The base or side wall blocks a low angle | The lens cannot reach the viewpoint you want | Photograph key details before final enclosure, use an open front or removable roof when the design allows it, or place the camera farther away and zoom or crop slightly. |
Check Camera Access Before You Build
If photography is one of your main reasons for choosing a kit, look beyond the finished theme. Check whether the front is open, whether the roof or cover can remain removable, how high the base edge sits, and whether side walls restrict diagonal views. An attractive scene with limited camera access may be better for straight-on display photos than character-level storytelling.
Decide What Needs to Be Sharp
Not every image needs the entire room in focus. A selective-focus portrait can make one figure or prop feel more lifelike, while a room overview usually needs more depth. Choose the subject first, then focus on its nearest important detail rather than letting the camera select a reflective wall or foreground edge.
Miniature Photography Checklist
- The figure fits the chosen standing or seated position without hiding the main story prop.
- The camera can reach the intended angle without the room edge blocking the lens.
- The subject has a clean silhouette against the wall, furniture, or background.
- One key light establishes the subject; any built-in light supports rather than overwhelms it.
- The brightest highlight is not an accidental reflection on plastic or a tiny LED.
- The frame contains one clear action and no more supporting props than the story needs.
- Focus sits on the face, pet, or story clue—not on the nearest wall edge.
- The wider shot, portrait, and close-up look like parts of the same visual story.
Common Miniature Photography Mistakes
Choosing only by detail count: More props can create more clutter. Choose a room whose action area remains readable once the figure is added.
Assuming scale from a category name: Measure the figure and inspect the specific kit. Stylized heads, bases, and furniture can change the visual fit.
Using the built-in LED as the only light: The room may glow while the subject stays dark. Add or reposition a softer key light.
Shooting from adult standing height: A high angle can make the miniature look like a display. Lower the camera when you want the viewer inside the story.
Leaving every accessory in place: Remove items that merge with the figure or create competing color spots.
Changing everything between frames: Adjust one variable at a time so the comparison teaches you something.
Frequently Asked Questions
Which Rolife kit is best for miniature photography?
Choose the scene that matches your subject and story. Open Super Creator rooms are useful when camera access and figure placement matter; book nooks are strong when you want framed depth; traditional miniature houses suit wider architectural or interior storytelling.
Which Rolife room is best for blind-box figure photos?
A room with an open front and one clear action zone is usually the easiest place to start. Lovely Pink Bedroom supports cozy portraits, Pink Beauty Secret supports shopping and beauty stories, and Furry Friends' Home supports pet interaction.
What scale figure fits Rolife miniature houses?
Rolife products do not all use one scale, and collectible figures often use stylized proportions. Check the individual kit, measure the figure including its base and head accessories, and compare it with the room's main furniture before assuming a match.
Can I take good miniature photos with a phone?
Yes. Use a stable surface, clean the phone lens, tap the subject for focus, lower the camera toward character height, and use a window, soft lamp, or small LED panel as a controllable key light.
Do built-in LEDs make a kit better for photography?
They can add atmosphere, but they do not guarantee better exposure. Treat the kit light as part of the scene, then use a separate key light or white-card fill when the figure needs clearer illumination.
What background works for miniature room photos?
Use the room's own back wall when it supports the story. If the real room appears around the miniature, use a neutral card, textured paper, or distant background that does not compete with the subject.
Should the whole miniature be in focus?
Not always. Use deeper focus when the environment is important, and a shallower focus when one face or prop carries the story. The intended subject should be unmistakably sharp.
How many props should I add?
Add only what clarifies the action. One supporting pet, cosmetic, towel, book, or bag often communicates more clearly than filling every empty area.
Choose the Set Before You Chase the Shot
A strong miniature photograph begins before the camera comes out. Pick a room where the subject fits, the camera can reach the useful angles, the background offers enough depth, and the story can be understood through one action. Then control the light and remove anything that competes with that action.
For a first figure-friendly setup, an open Super Creator room gives you room to experiment without locking the camera into one viewing direction. Choose Bubble Bathroom for self-care scenes, Lovely Pink Bedroom for cozy portraits, Pink Beauty Secret for shopping and beauty stories, or Furry Friends' Home for character-and-pet interaction.
Explore Super Creator Display & Desk Decor Kits and compare the room by camera access and story role before choosing by appearance alone.