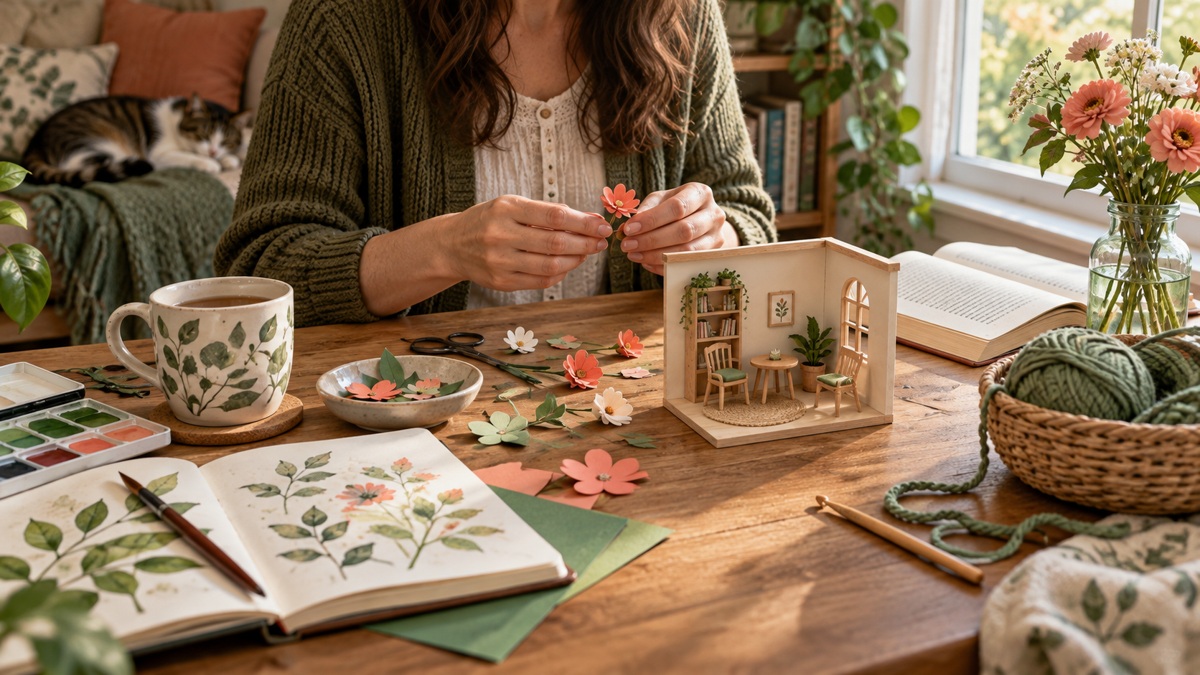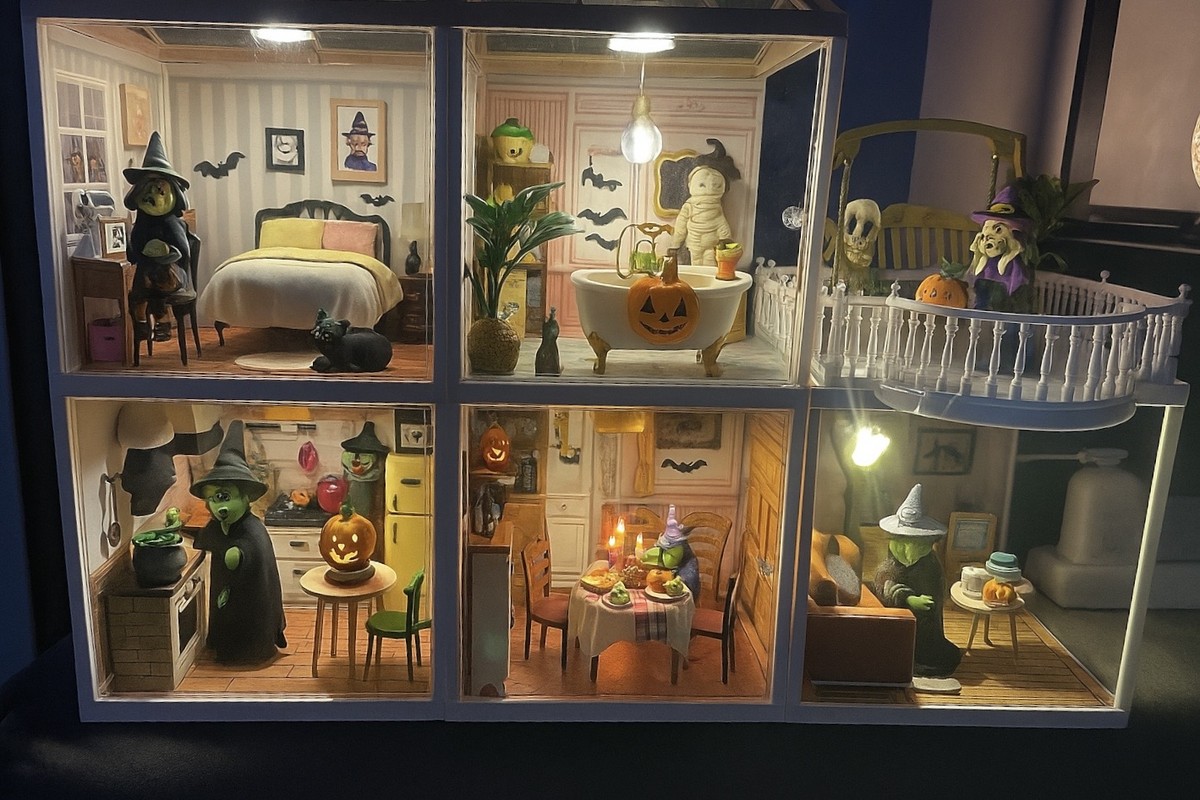
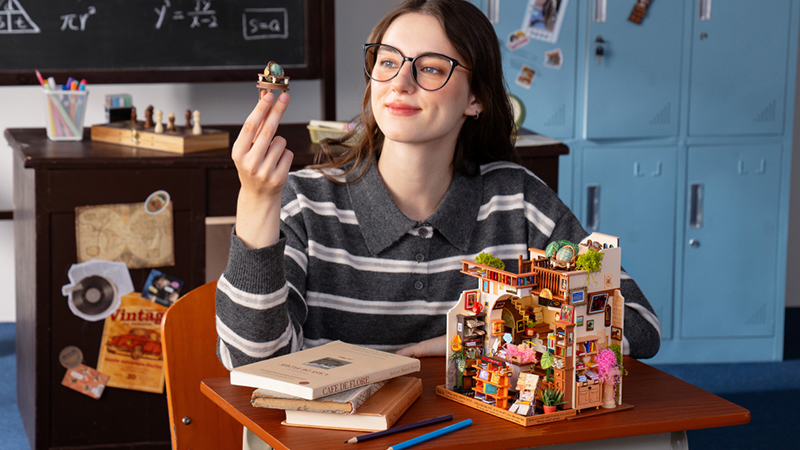

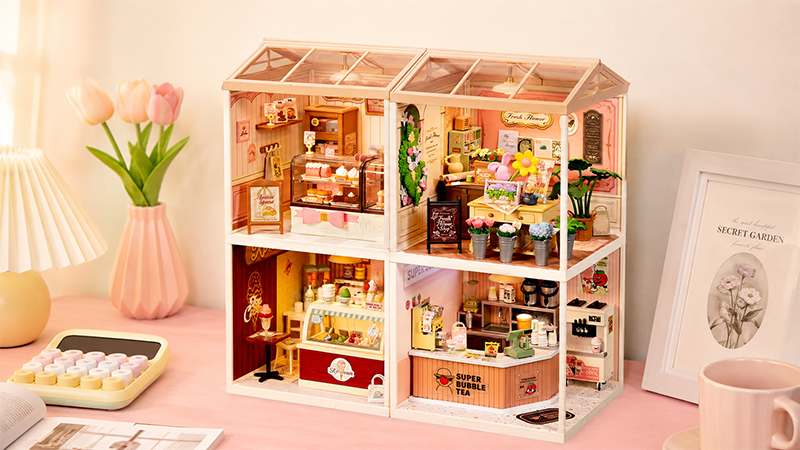
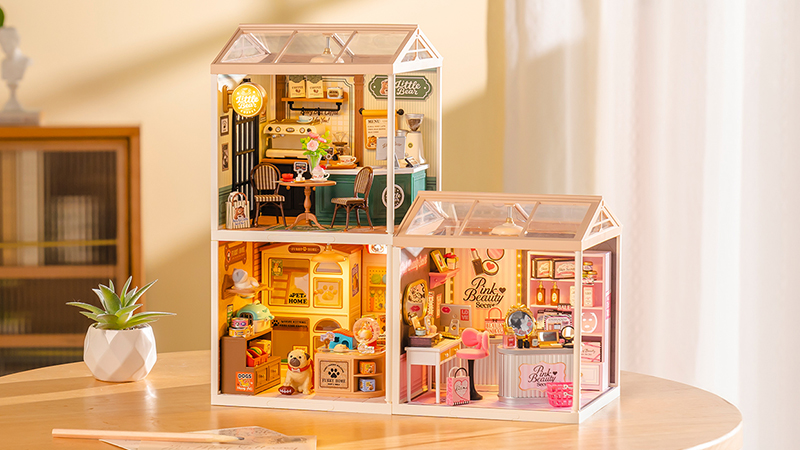


A small Halloween craft night works best when you choose a realistic project, prepare separate workspaces, keep shared supplies simple, and plan for unfinished builds. Decide how long everyone wants to stay, agree on the cost before buying anything, and leave time to pack up. A good evening can end with a finished decoration—or with one satisfying stage of a larger project.
Choose How Long Your Halloween Craft Night Will Be
Set the end time before choosing the craft. A two-hour invitation does not leave two hours for building: guests need time to settle in, read instructions, take a break, and gather their pieces.
| Time together | A realistic plan | Prepare ahead |
|---|---|---|
| 60–90 minutes | Add removable Halloween details to a finished scene, make a paper backdrop, or work on one familiar assembly stage. | Set out the supplies for that task and keep the instructions nearby. |
| Around 2 hours | Start a miniature kit or continue an existing project, with a planned stopping point. | Pick an early section in the instructions and prepare a take-home container. |
| 3+ hours | Allow a longer build session with a proper break. A detailed kit may still need another evening. | Check the assembly sequence and decide how unfinished work will travel. |
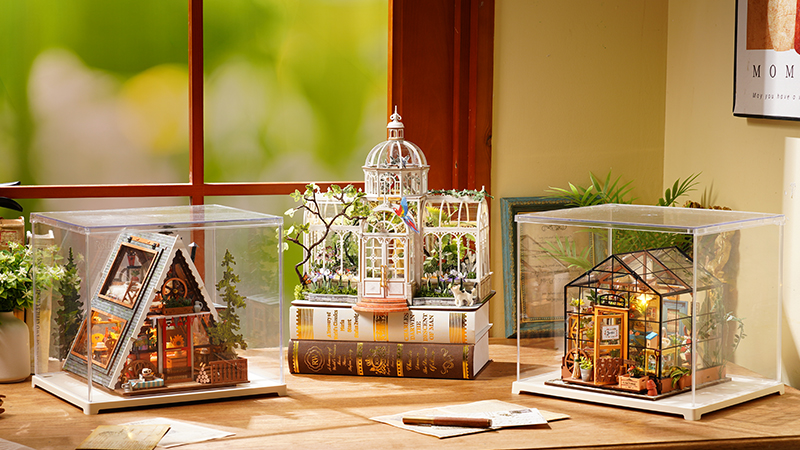
If you want a detailed miniature on display that night, build it beforehand. Guests can enjoy it while working on their own smaller tasks. If you prepare part of someone else's kit, agree on that first; some makers want to do every step themselves.
For help deciding what to make, explore our Halloween crafts for adults. Use that guide to choose the activity, then build your evening around it.
How Many People Should You Invite?
Invite as many people as your workspace can comfortably support. The number of dining chairs is only a starting point.
Test one complete place setting: a tray, the project, an open instruction booklet, loose-part containers, and enough room to move your hands. Repeat that arrangement around the table. Check that every seat has useful light and that nobody has to reach across another person's miniature to get supplies.
Tools can set the limit, too. If several people need the same tweezers or cutting mat at the same time, provide more or choose tasks that do not compete for them. For a shared project, agree on who keeps the finished piece and assign separate steps only where the instructions allow.
Send a clear invitation: “We'll work on our projects from 7 to 9 p.m., with a snack break and time to pack up. You don't need to finish tonight. Bring your instructions and a container for the trip home.” State whether kits are provided or guests bring their own.
Plan Your Halloween Craft Night Budget
Agree on spending before placing a group order. The kit price is only one part of the activity cost.
| Cost | What to consider |
|---|---|
| Craft kits | One per builder, a shared project, or kits people already own. Confirm who pays and who keeps each build. |
| Basic supplies | Buy only what the exact instructions require. Check adhesives, tools, batteries, or other power accessories separately. |
| Table protection | Reuse a suitable mat or protective covering where possible. Keep the working surface flat. |
| Decorations | Optional. One finished display and a few paper details can establish the theme. |
| Snacks | Set aside a separate food area, away from tiny components and adhesives. |
| Shipping | Check the destination, order total, and delivery timing before committing. Include any applicable charges shown at checkout. |
Use this calculation: total activity cost = kits + required extras + shared supplies + optional decor + food + delivery and applicable charges. Divide shared costs by the people sharing them; keep individual kit costs separate if everyone chooses a different project.
For example, if four guests each bring an existing kit and agree to split $24 of shared supplies and snacks, the new shared cost is $6 each. This is a planning example, not a kit-price or shipping offer. Bringing an unfinished project can keep the evening affordable without buying another box.
Choose a Project That Fits the Night
Choose for the amount of hands-on work your guests want to do. A dramatic finished scene can take much longer to build than its footprint suggests.
Two Rolife DIY craft kits offer different settings for a longer project:
| Project | Assembly estimate | How to use it for a craft night |
|---|---|---|
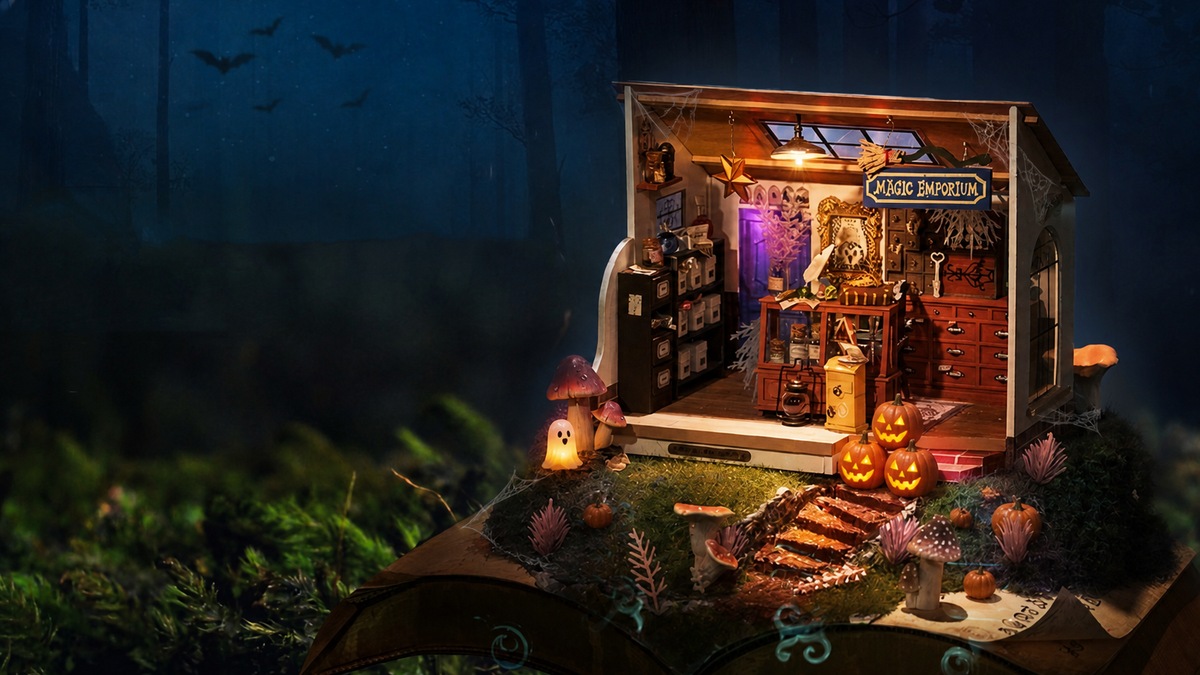
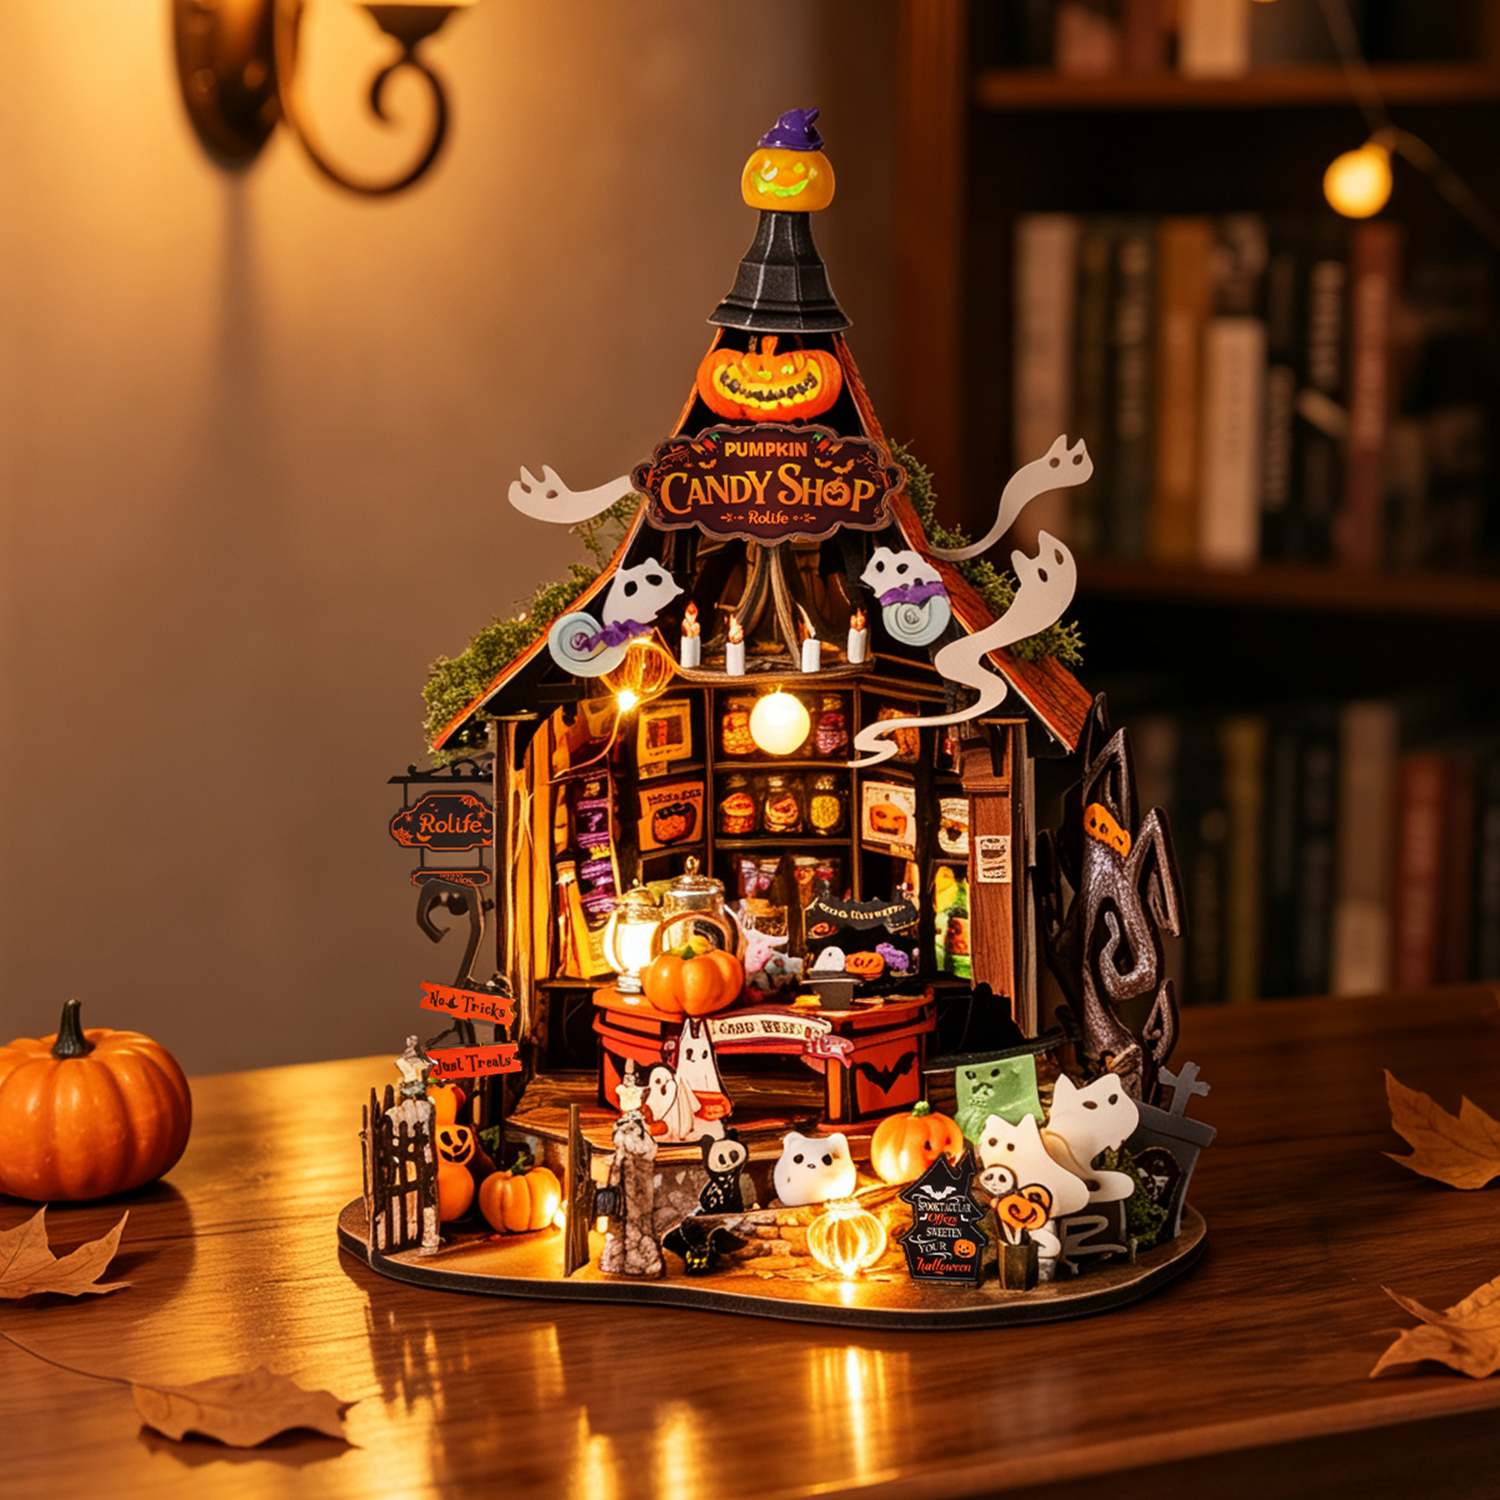
| Haunted Candy House DG186 | About 5 hours | Start one section together, or prepare the completed candy-shop scene as a Halloween display. |
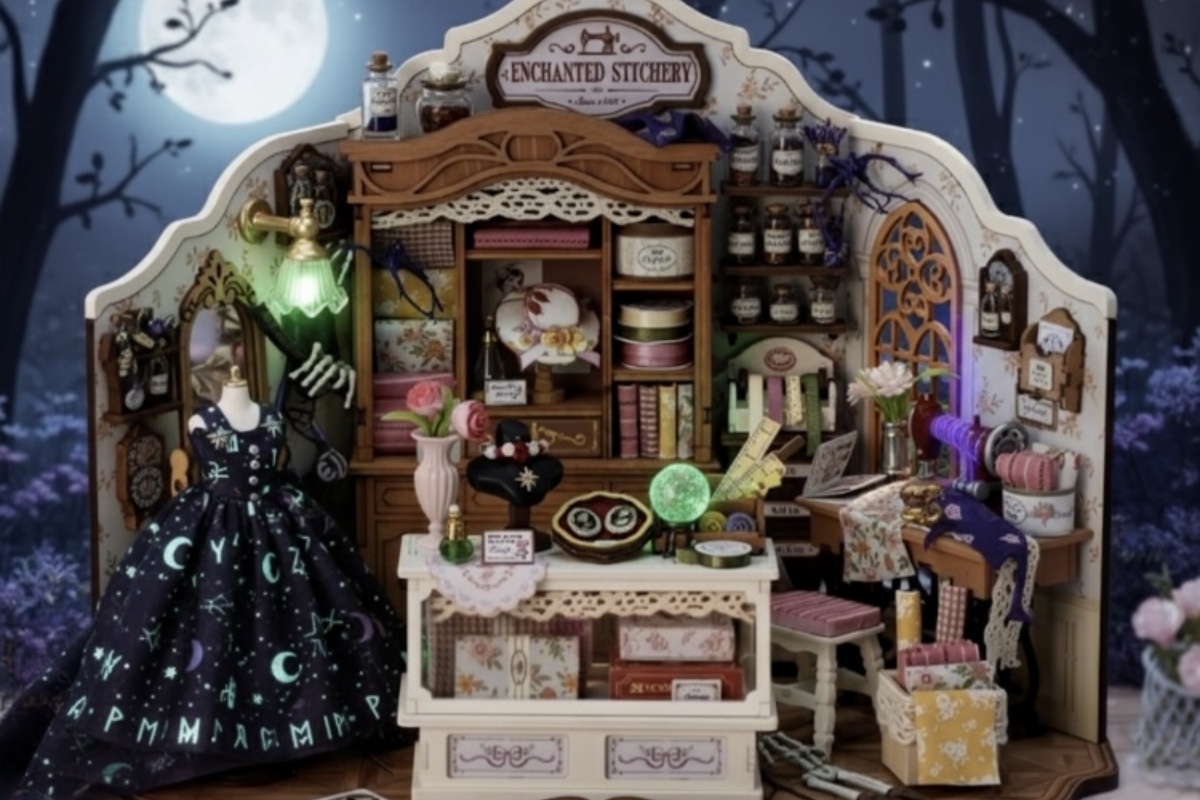
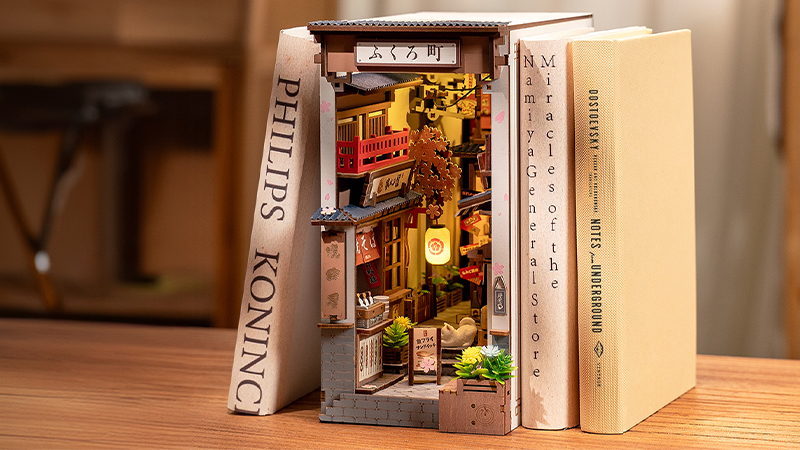
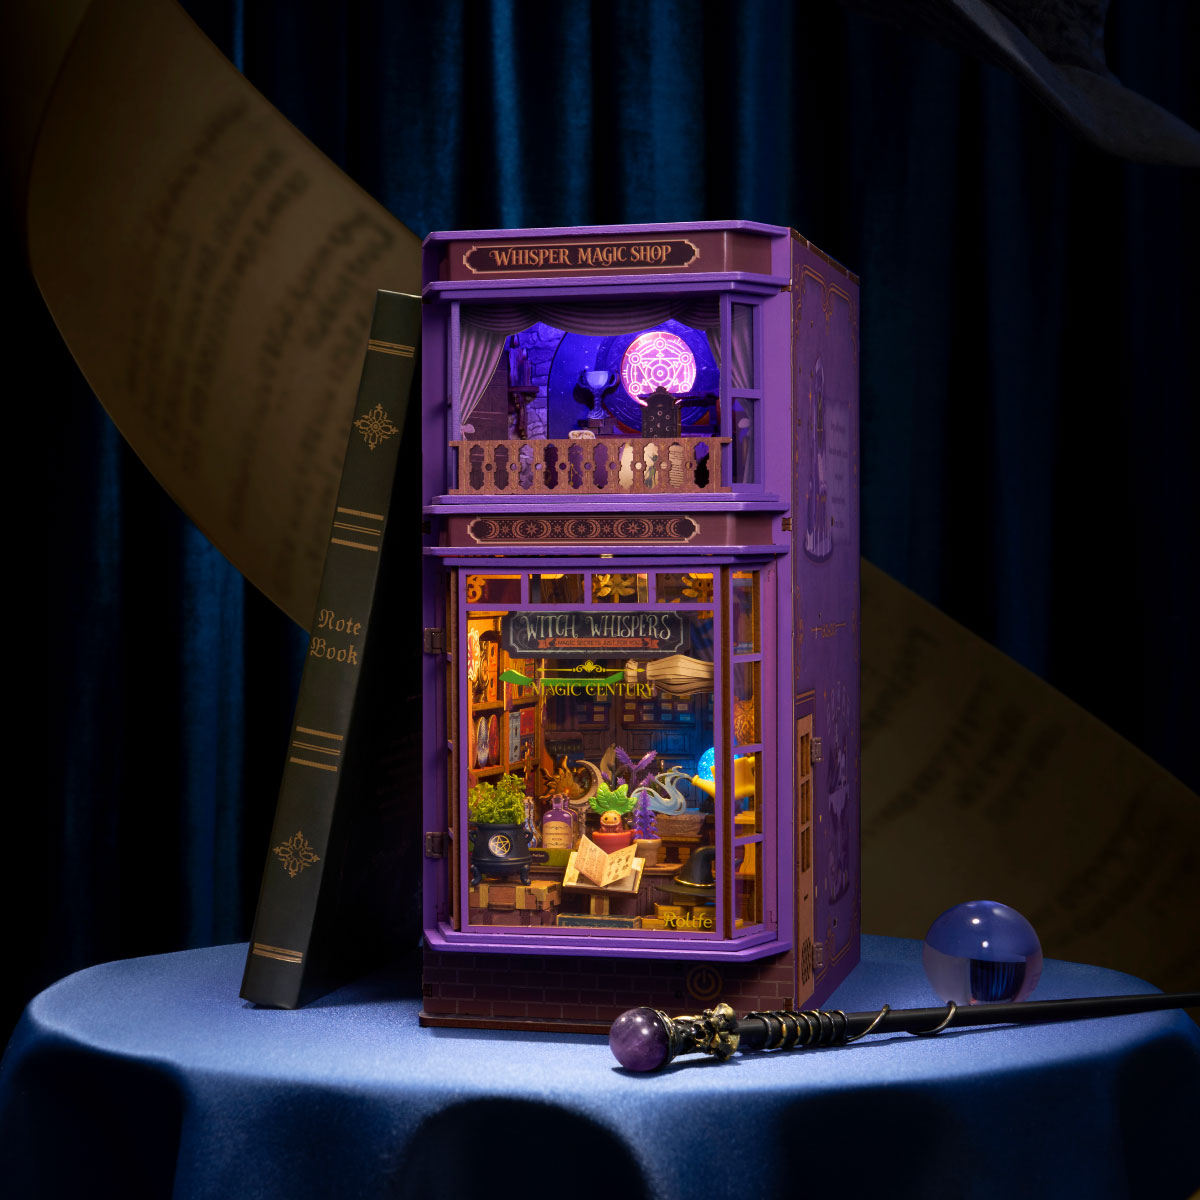
| Whisper Magic Shop TGB22 | About 8 hours | Treat the book nook as a project for several sessions. Choose a stopping point before guests begin. |
These are assembly estimates, not event schedules. Instructions, conversation, breaks, and individual experience all affect progress. Neither project should come with a promise that everyone will finish during a two-hour gathering.
Whisper Magic Shop has 442 pieces and has a difficulty rating of four out of five stars, with a recommended age of 14+. Its LED lighting uses two AAA batteries, supplied separately. That makes it a considered choice for guests who enjoy detailed work, rather than the default for a first craft night.
For a first-time builder, compare the required techniques and instructions before buying. Our Halloween DIY kit beginner guide can help. Check the exact kit's current requirements and delivery information, and have everything on hand before the event. A bring-your-own project is also welcome; matching kits are optional.
Set Up the Craft Table Before Guests Arrive
Give each builder a defined zone so parts stay with their own project.
- Put a tray or work mat at every seat, with room beside it for instructions.
- Provide small containers for loose pieces. Label them with the builder's name and kit if several projects look similar.
- Keep parts in their labeled packaging until the instructions call for them. Avoid mixing everyone's components in a shared bowl.
- Place a task light where each person can see fine details. Keep decorative lighting separate from working light.
- Set shared supplies in an easy-to-reach area. Check which tools people will need simultaneously.
- Put drinks and snacks on another surface. Pause building for the snack break.
- Reserve a small photo area away from loose parts, so nobody needs to clear a half-built model to take a picture.
Check the lighting components at the stage directed by the instructions, before they become difficult to access. Follow the specific kit's assembly sequence instead of rearranging it to fit the party schedule.
A Simple Halloween Craft Night Schedule
Here is a two-hour example for starting or continuing projects. It includes 65 minutes of building, so plan for progress rather than a complete detailed kit.
| Time | Activity | Host's job |
|---|---|---|
| 7:00–7:10 | Arrive and settle in | Show guests their work zones and the separate food area. |
| 7:10–7:20 | Read instructions and organize | Confirm each person's task and stopping point. |
| 7:20–7:55 | First build session | Help guests locate supplies without moving their parts. |
| 7:55–8:05 | Snack break | Leave the projects in their own zones. |
| 8:05–8:35 | Second build session | Give a reminder before the session ends; avoid starting a stage that cannot be paused. |
| 8:35–8:45 | Progress photos | Photograph completed steps and the place to resume. |
| 8:45–9:00 | Pack up | Label loose parts and support unfinished assemblies for travel. |
Adjust the plan if a step needs more time or an adhesive has its own setting requirements. If a fragile assembly is not ready to move, arrange a later pickup instead of rushing it into a bag.
What If Nobody Finishes?
That is a normal outcome when the gathering is shorter than the project. Make the take-home plan part of the invitation, not a surprise at the end.
- Record the stopping point. Mark the next instruction step and take a clear progress photo. Note any unfinished subassembly.
- Separate loose parts from built sections. Use labeled zip bags or small lidded containers for loose components. Keep labels and part numbers with them.
- Support the model. Place the unfinished assembly on a rigid tray inside a suitable box. Support its base and leave clearance around projecting details; do not press packing material against delicate pieces.
- Check that it can move. Follow adhesive instructions before handling. If the work cannot travel securely, let it remain in a protected spot and arrange collection.
- Pack the instructions with the kit. Keep required tools or accessories with their owner, then check the table and floor for stray pieces.
A soft shopping bag is not enough protection for an exposed miniature. Guests should carry the container level and avoid stacking anything on top. For a shared build, decide who stores it between sessions and send the progress photos to the group if everyone wants them.
Make It Feel Halloween Without Overdoing It
Keep the theme around the workspace: a few mini pumpkins on a sideboard, quiet music, Halloween snacks at the food table, and a completed scene for guests to enjoy. Use warm ambient light while keeping the craft table bright enough for small parts.
Leave the table free of loose confetti and decorations that could get mixed into a kit. If you want more ideas for the room, see our cozy Halloween decor guide. For the finished project, browse Halloween miniature display ideas.
Ideas From the Rolife Community
From the Rolife Community
“Craft nights with my boyfriend are the best!”
— Community member Carle
Carle describes working on DIY miniatures while their boyfriend builds LEGO sets. This is an everyday craft-night account, not a Halloween event. It offers a useful idea for your guest list: people can enjoy making together without working on identical projects.
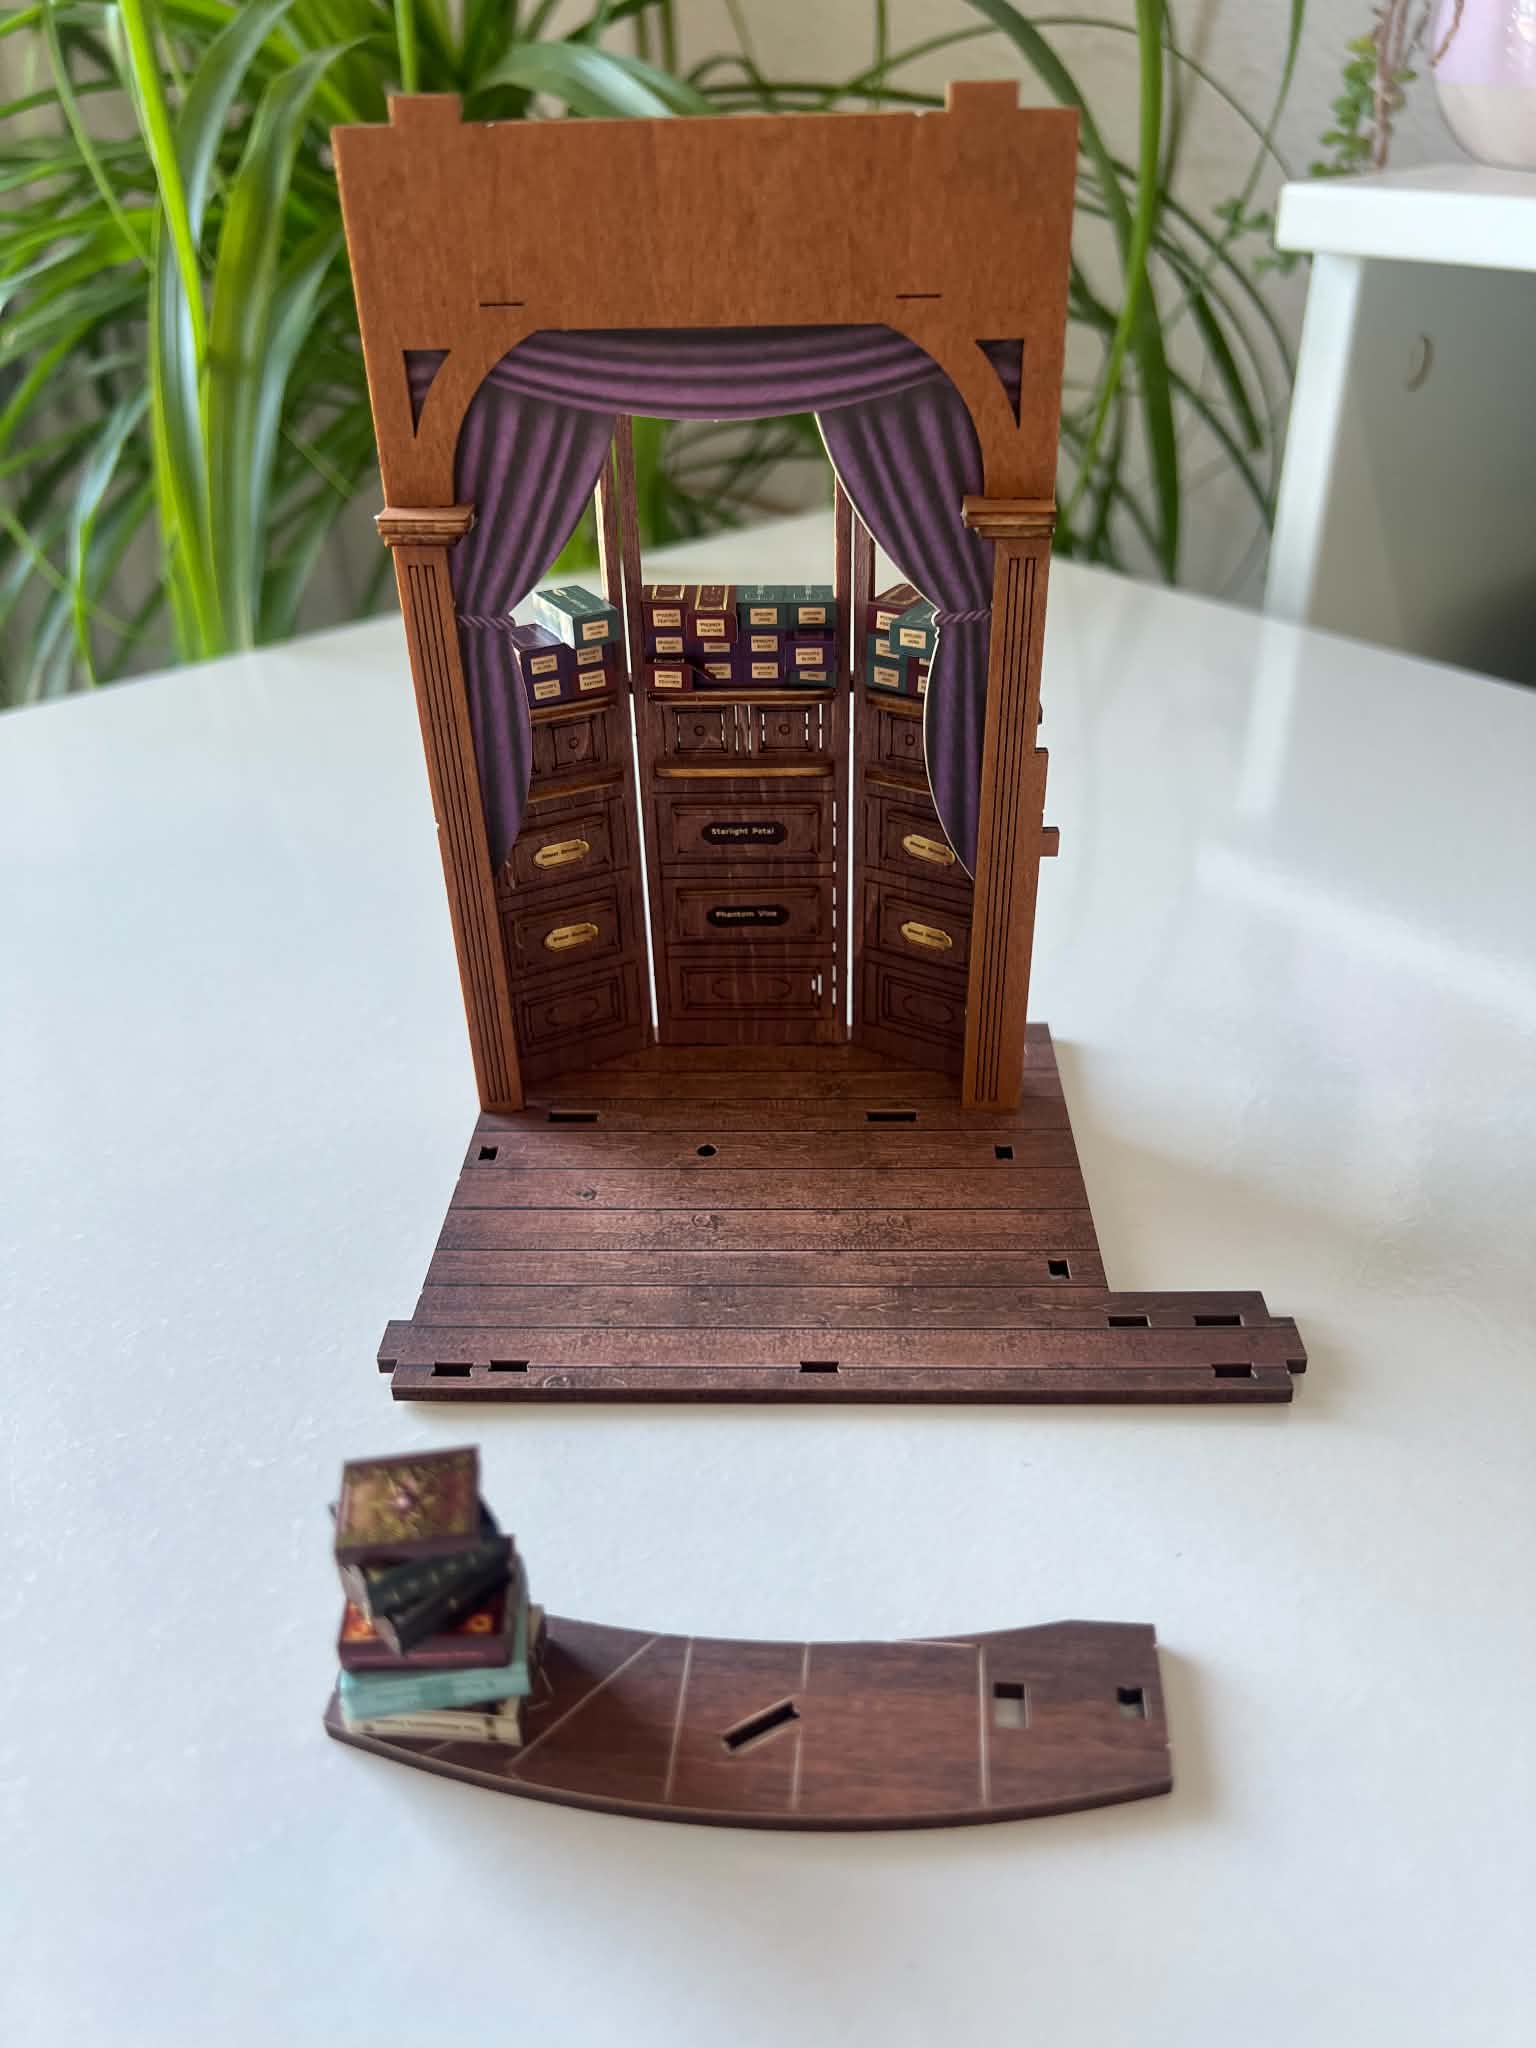
Sasa's first session with Whisper Magic Shop lasted an hour and ended with the project still underway. Her post also describes trouble with one sticker. It is one maker's experience, not a typical completion time or a finding about every kit. For a host, the practical lesson is to leave room for a tricky step and make partial progress an acceptable finish.
In a separate Halloween day with friends post, aga2713 describes making a diamond-painting lamp with friends, alongside food and a movie. The activity was not a Rolife kit build. It is a reminder that a small Halloween gathering can center on a simple craft your friends already want to try.
FAQ
Can adults finish a miniature kit in one evening?
Some may, depending on the kit, available time, and experience. Include setup and packing time in your plan. For a detailed kit, choose one stage to work on and allow for another session.
How many people work well for a craft night?
Use the number of complete workspaces you can provide. Each guest needs space for their hands, instructions, parts, and useful lighting—not just a chair.
What should guests bring?
If it is a bring-your-own project night, ask for the kit, instructions, any required supplies you are not providing, and a rigid container for unfinished work. Confirm the list before the evening.
Can beginners join?
Yes. Choose a task they are comfortable trying, read the instructions together, and make it clear they can stop before completing the kit. Do not choose an intricate project solely because it has a Halloween theme.
What happens if a kit isn't finished?
Mark the next step, photograph progress, and label loose parts. Support the assembled section in a suitable box. Leave it for later pickup if it is too fragile or not ready to move.
Should everyone build the same kit?
No. Matching kits can make it easier to discuss the same instructions, but separate projects let guests choose their own interests and pace. If everyone shares one kit, decide who keeps it and how the work will be divided before starting.