


Rolife Moments: JeanneL’s Sakura Tree House Build Journey
Feb 25,2026 | Rolife Team
When JeanneL first opened her Rolife Sakura Tree House kit, she was wowed by the hundreds of delicate pieces. The pretty puzzle was a beautiful challenge. However, as she carefully worked through it, each step turned into moments of discovery.
Embracing the Learning Curve
 Photo By JeanneL
JeanneL admitted that she got a little stuck when she started the assembly process. She relates:
“...I did not truly understand what they were saying to do with the flowers and branches. I discovered that the white lines on the blossoms were actually to be lined up with the branches. Those white lines were outlines.”
What seemed like confusing diagrams to her were actually detailed guides to help her have a seamless build. That moment of clarity reminds new users that patience pays off. The kit’s design is purposeful, and paying close attention to the instruction manual will help you work efficiently.
JeanneL shared one of her biggest tips:
“Glue works better than the orange or white stickers. Lots of things are fragile in this kit. You may choose to glue more than just snap together! I still find the stairs to be shaky.”
Yes, using glue for most parts, especially the tricky spots, made a huge difference. It made fragile components sturdy and stable over time. Reinforcing with glue is worth the extra effort.
How She Overcame Tiny, Tricky Details
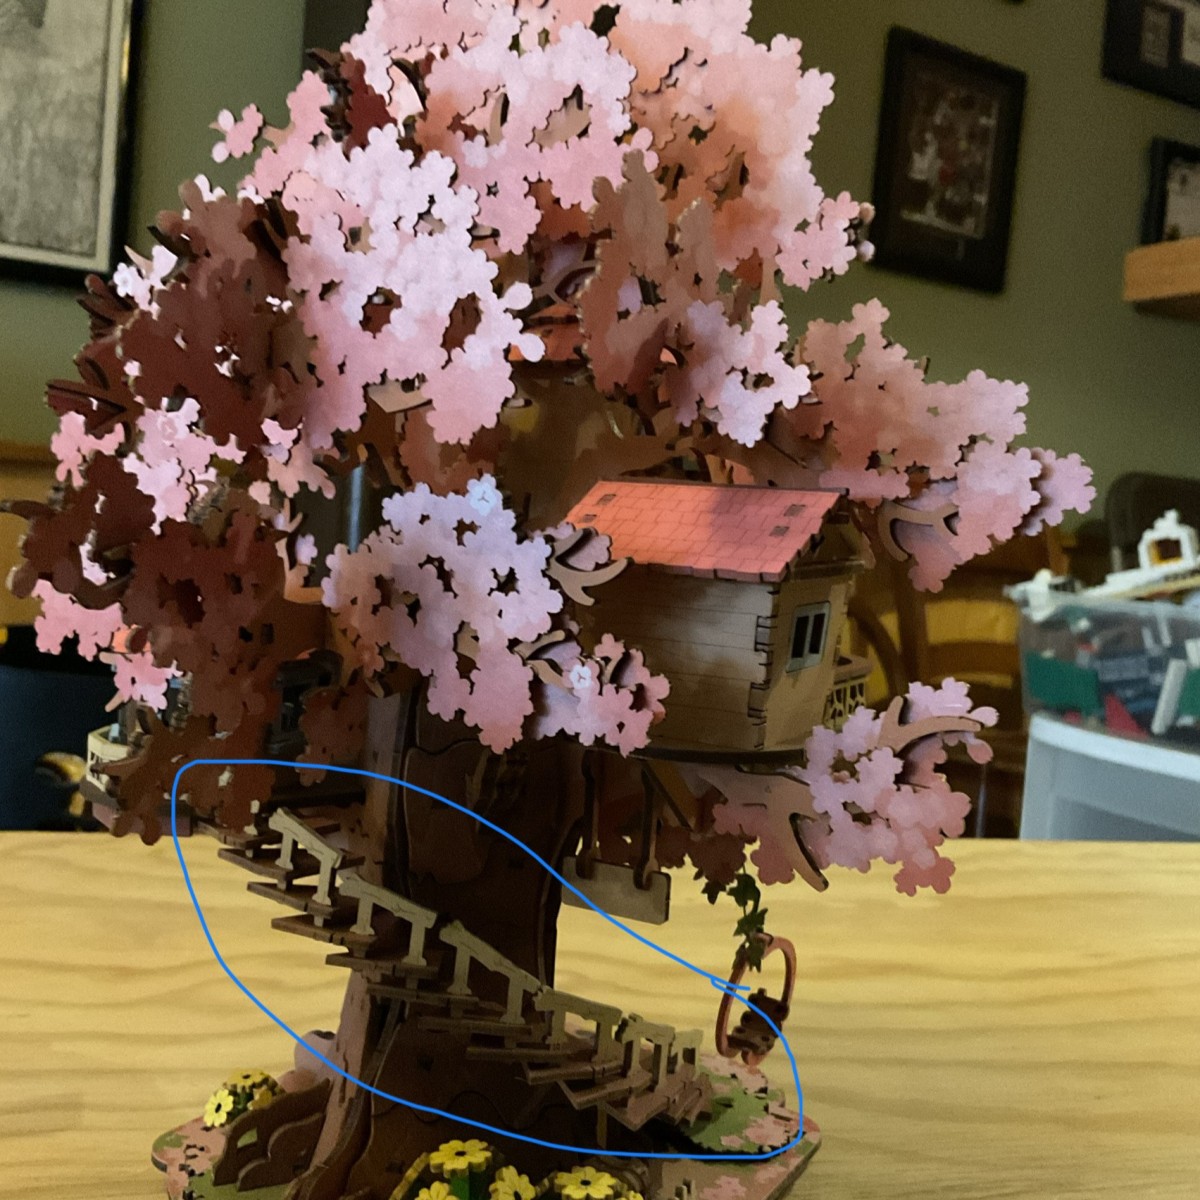
Photo By JeanneL
The challenges she faced while building the puzzle were not over. She flagged several spots where even expert crafters might slip up. She says:
“the octagonal house is a challenge to put on. Somehow I ended up needing to repair the gate during the process.”
When assembling the kit, JeanneL pointed out that the wire needed to complete the kit should have 20mm of slack on each end. Many crafters would consider this a small detail, but it’s critical.
When building the shed, she noted that orientation should always be double-checked before gluing.
The Mindset That Changed Everything
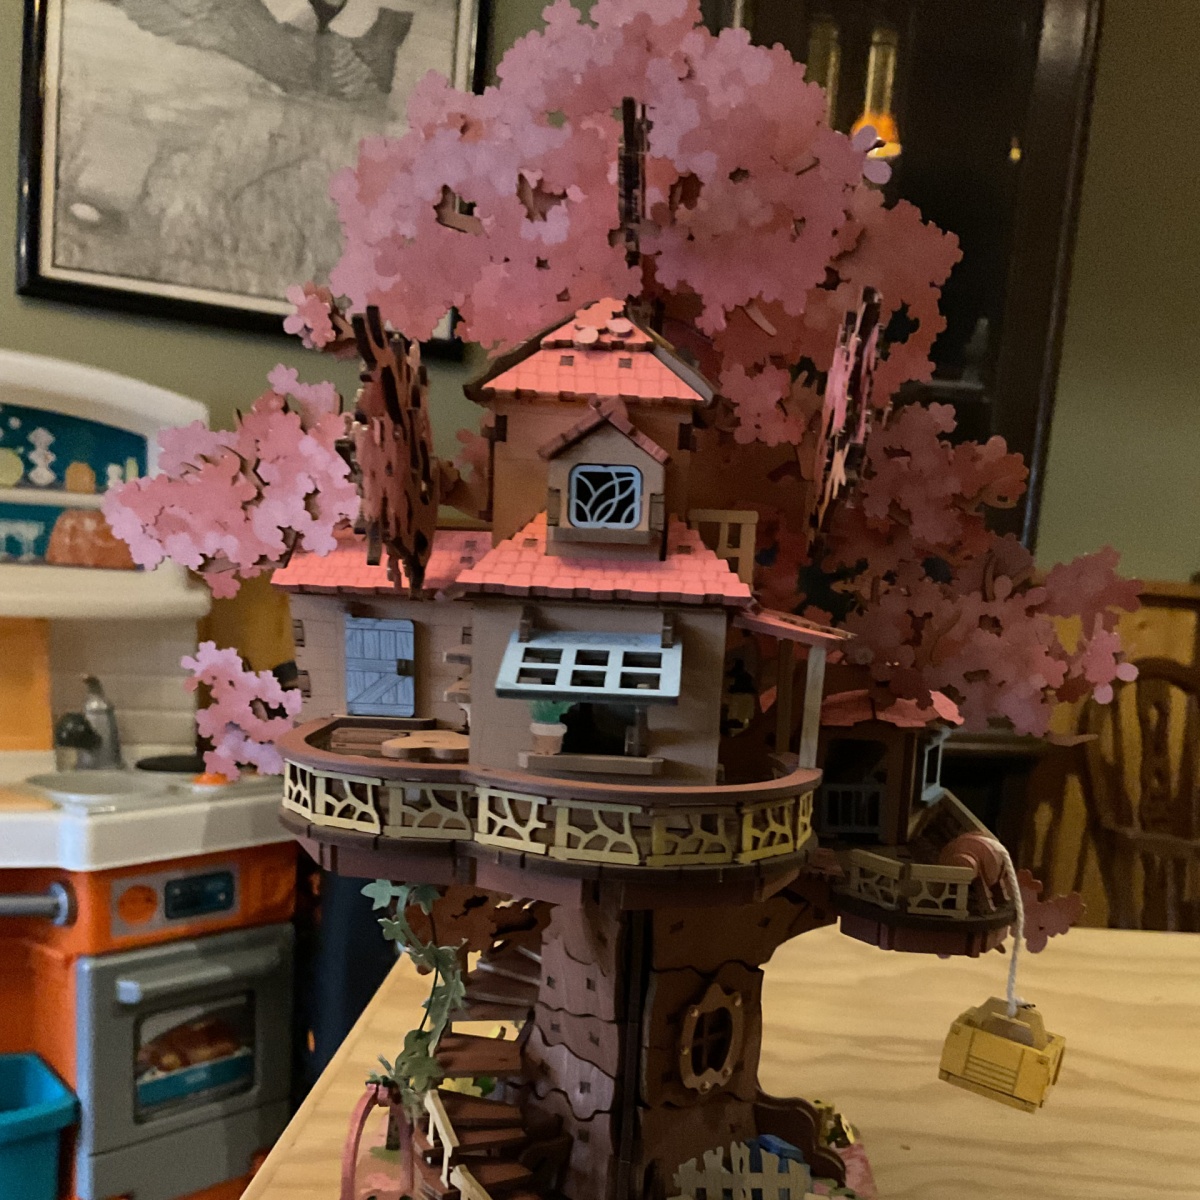
Photo By JeanneL
At the end of the assembly process, JeanneL embraced everything in its entirety and that was the most important thing. She said:
“Enjoy! this is a beautiful kit and I had fun building this!.”
Her enthusiasm was sincere and contagious. Seeing how each piece turned into a magical reality was truly amazing.
Takeaways for New Builders
Judging by the experience of JeanneL, the following are some of the recommendations she gave to any person wishing to build the Rolife Sakura Tree House:
- Don’t force fragile parts. Forcing may cause damage to the pieces and give your kit an unprofessional appearance.
- Stickers are okay, but additional glue will make the job more effective, as your miniature house will become more stable.
- Measure accurately, every inch matters. A little deviation, and you would end up with unfinished work.
- Remember, this is not a race; it’s a creative journey. So build slowly and express yourself in the best possible way.
What New Builders Can Learn
Based on JeanneL’s experience, a few lessons stand out:
- Take time to understand the diagrams—small details matter.
- Reinforce fragile sections with glue if you want added durability.
- Measure carefully and leave proper slack for wiring.
- Don’t rush. This kit rewards patience.
More than anything, her journey shows that minor setbacks are part of the process. With attention to detail and a steady pace, even the most intricate miniature can come together beautifully.
For JeanneL, the Sakura Tree House wasn’t just a finished model—it was a reminder that careful work and persistence turn complexity into something you can proudly display.
Join the Story
Have you ever customized your Rolife miniature house or book nook?
We’d love to hear your story! Share your creations with us in the Rolife Community and let your imagination inspire others.
Comment


1 comments