
Quick Answer
You can customize a miniature kit by adding details that connect the scene to your own story. Try a miniature character, a handmade accessory, a favorite-book reference, a tiny pet, a seasonal accent, or a color detail that fits the setting. Start with one small idea and keep the miniature's main view, lighting, and architecture visible.
Miniature customization is the process of adding personal details, handmade accessories, custom characters, or meaningful objects to transform a DIY kit into a unique miniature world.
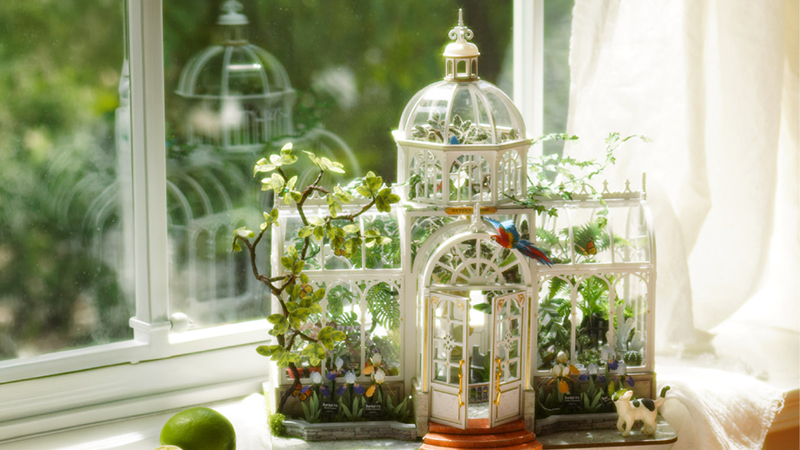
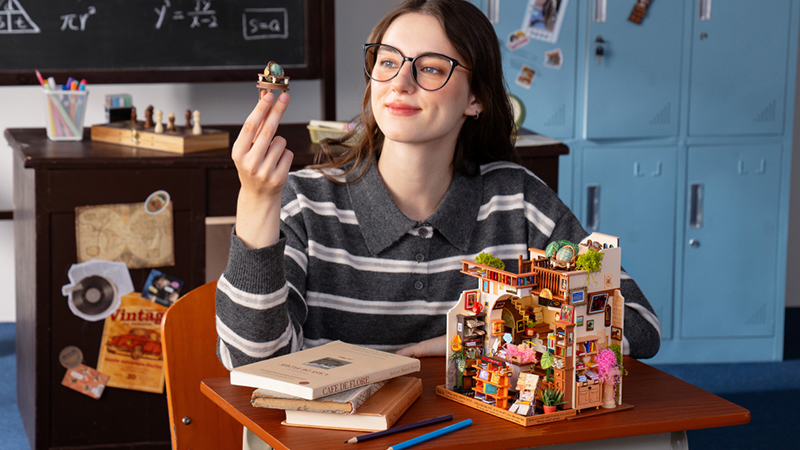
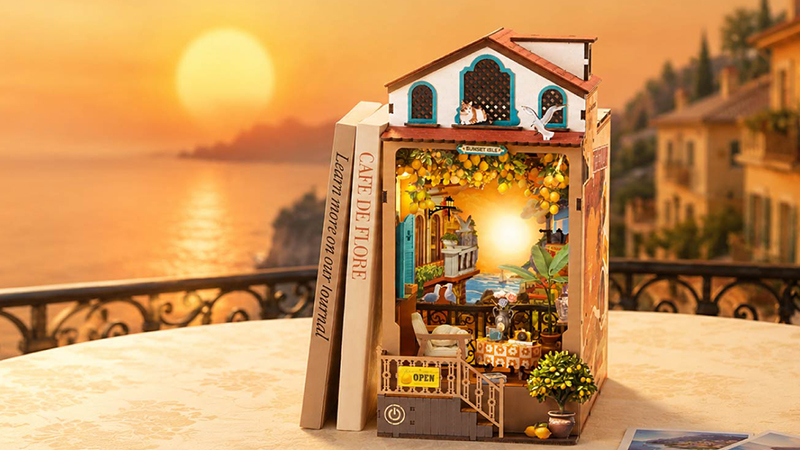
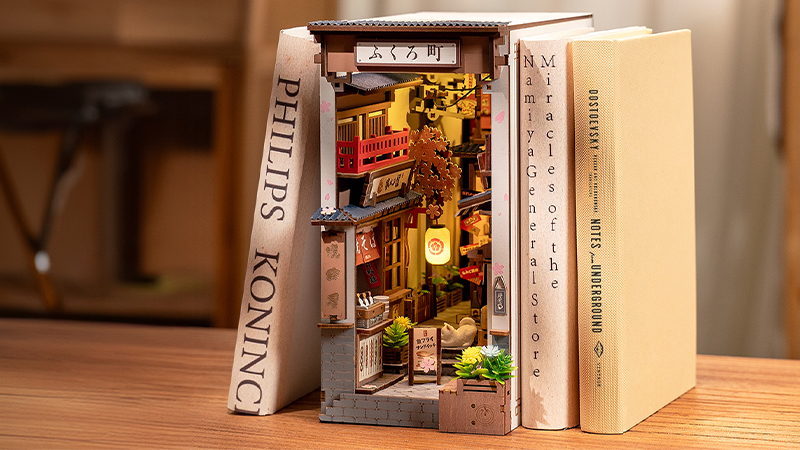
Building a miniature kit is only the beginning. Many creators continue the journey by adding handmade details, custom characters, personal objects, and creative touches that transform a finished scene into a world that tells their own story. Miniature houses, book nooks, and room kits each offer a different canvas for this kind of personalization. The completed kit is the beginning, not the end, of creativity.
The Rolife Community example that inspired this article is a creator's 3D-printed miniature self-portrait.
Why Customize a Miniature Kit?
Make the Scene Uniquely Yours
The same kit can tell many stories. A character, a sign, a flower, or a tiny object can shift the feeling from a general scene to one that reflects the builder. Book nook customization is less about changing everything and more about making thoughtful choices that make the setting yours.
Turn a Decoration Into a Memory
Personal details can quietly point to favorite books, hobbies, pets, travel memories, or people you love. A miniature postcard can recall a trip. A tiny stack of books can suggest a reading habit. These clues give a finished display a memory to hold, not just a style to show.
Continue the Creative Journey After Building
Finishing the instructions does not have to be the end of the project. You can return to the scene later with one new accessory, a seasonal detail, or an idea that arrived after the build. That ongoing process is part of what makes a book nook feel alive.
A Creator Turned a Rolife Miniature Scene Into a Personal Story
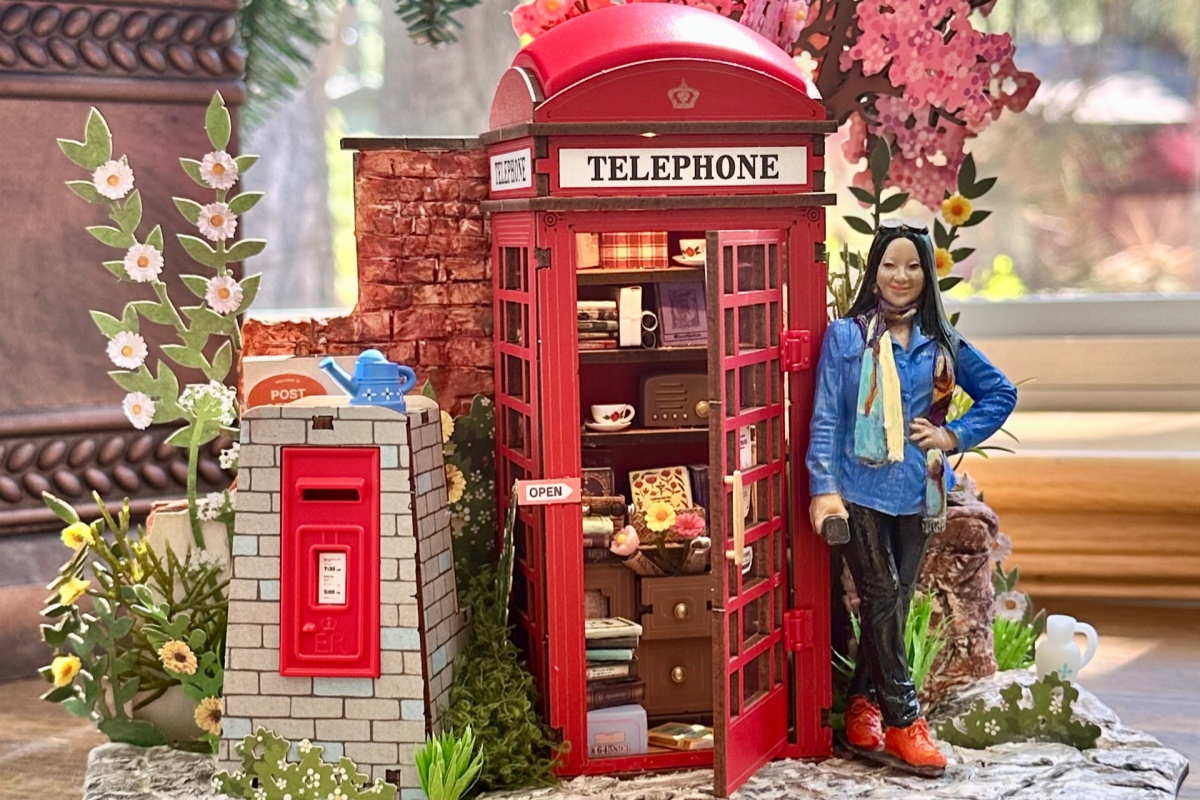
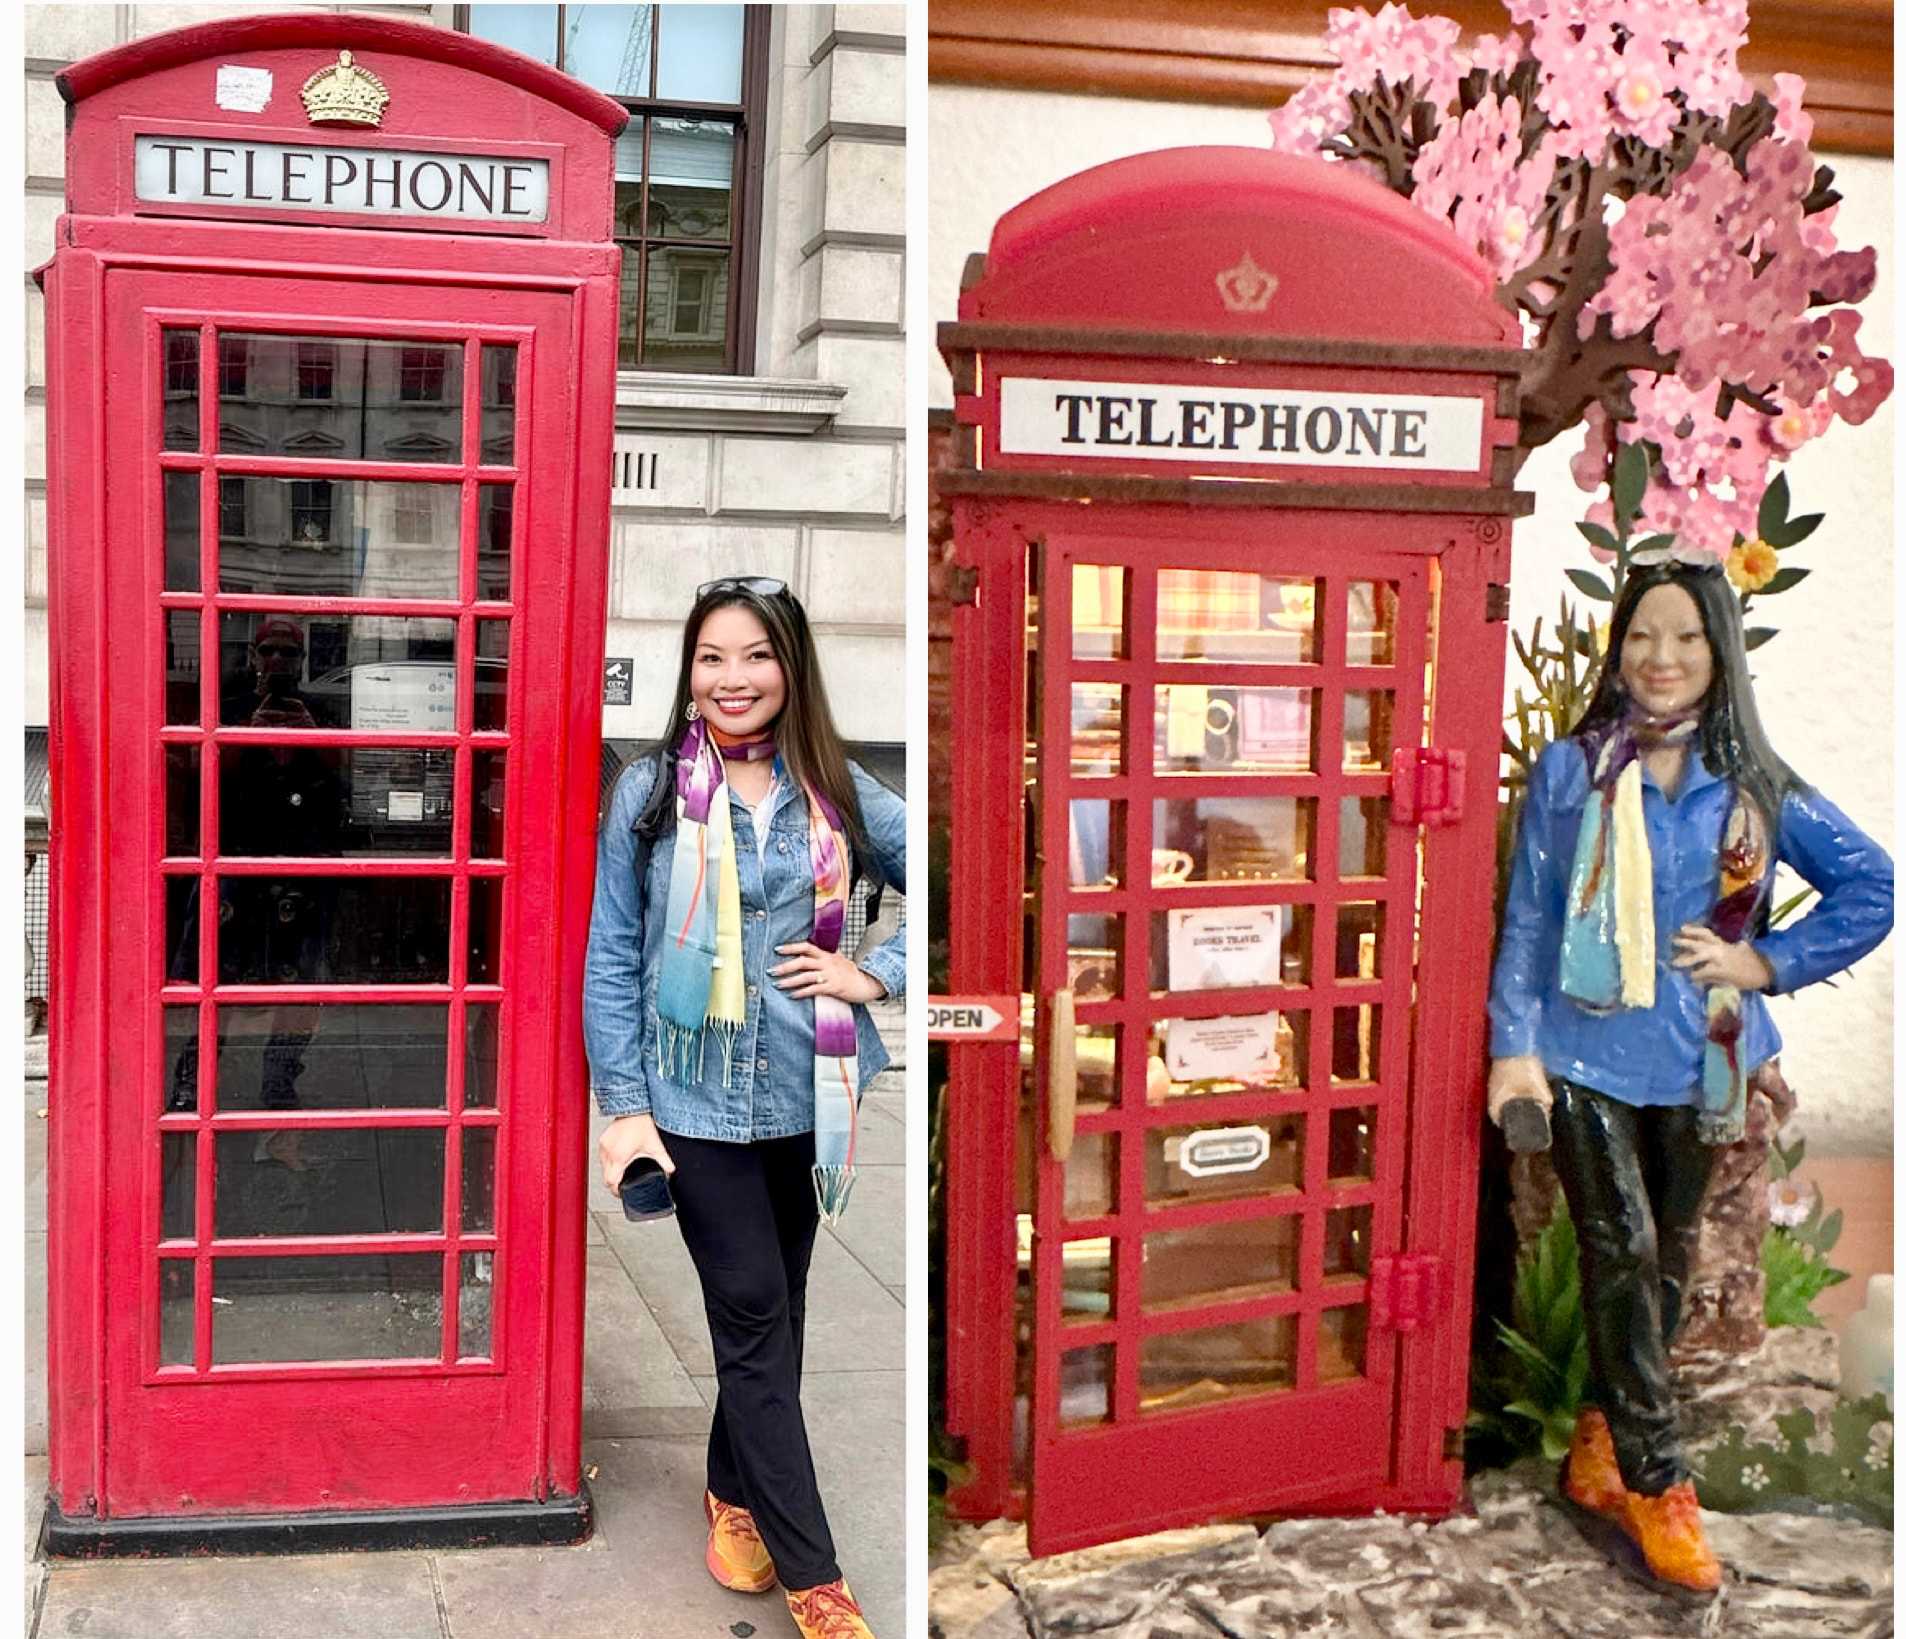
In a Rolife Community post, Rolife Community creator mchipman transformed Blossom Book Booth TGS05 into a miniature self-portrait. Inspired by a London trip, they designed a tiny version of themselves from their own photo and placed it inside the completed scene. The builder becomes part of the miniature world rather than simply the person who made it.
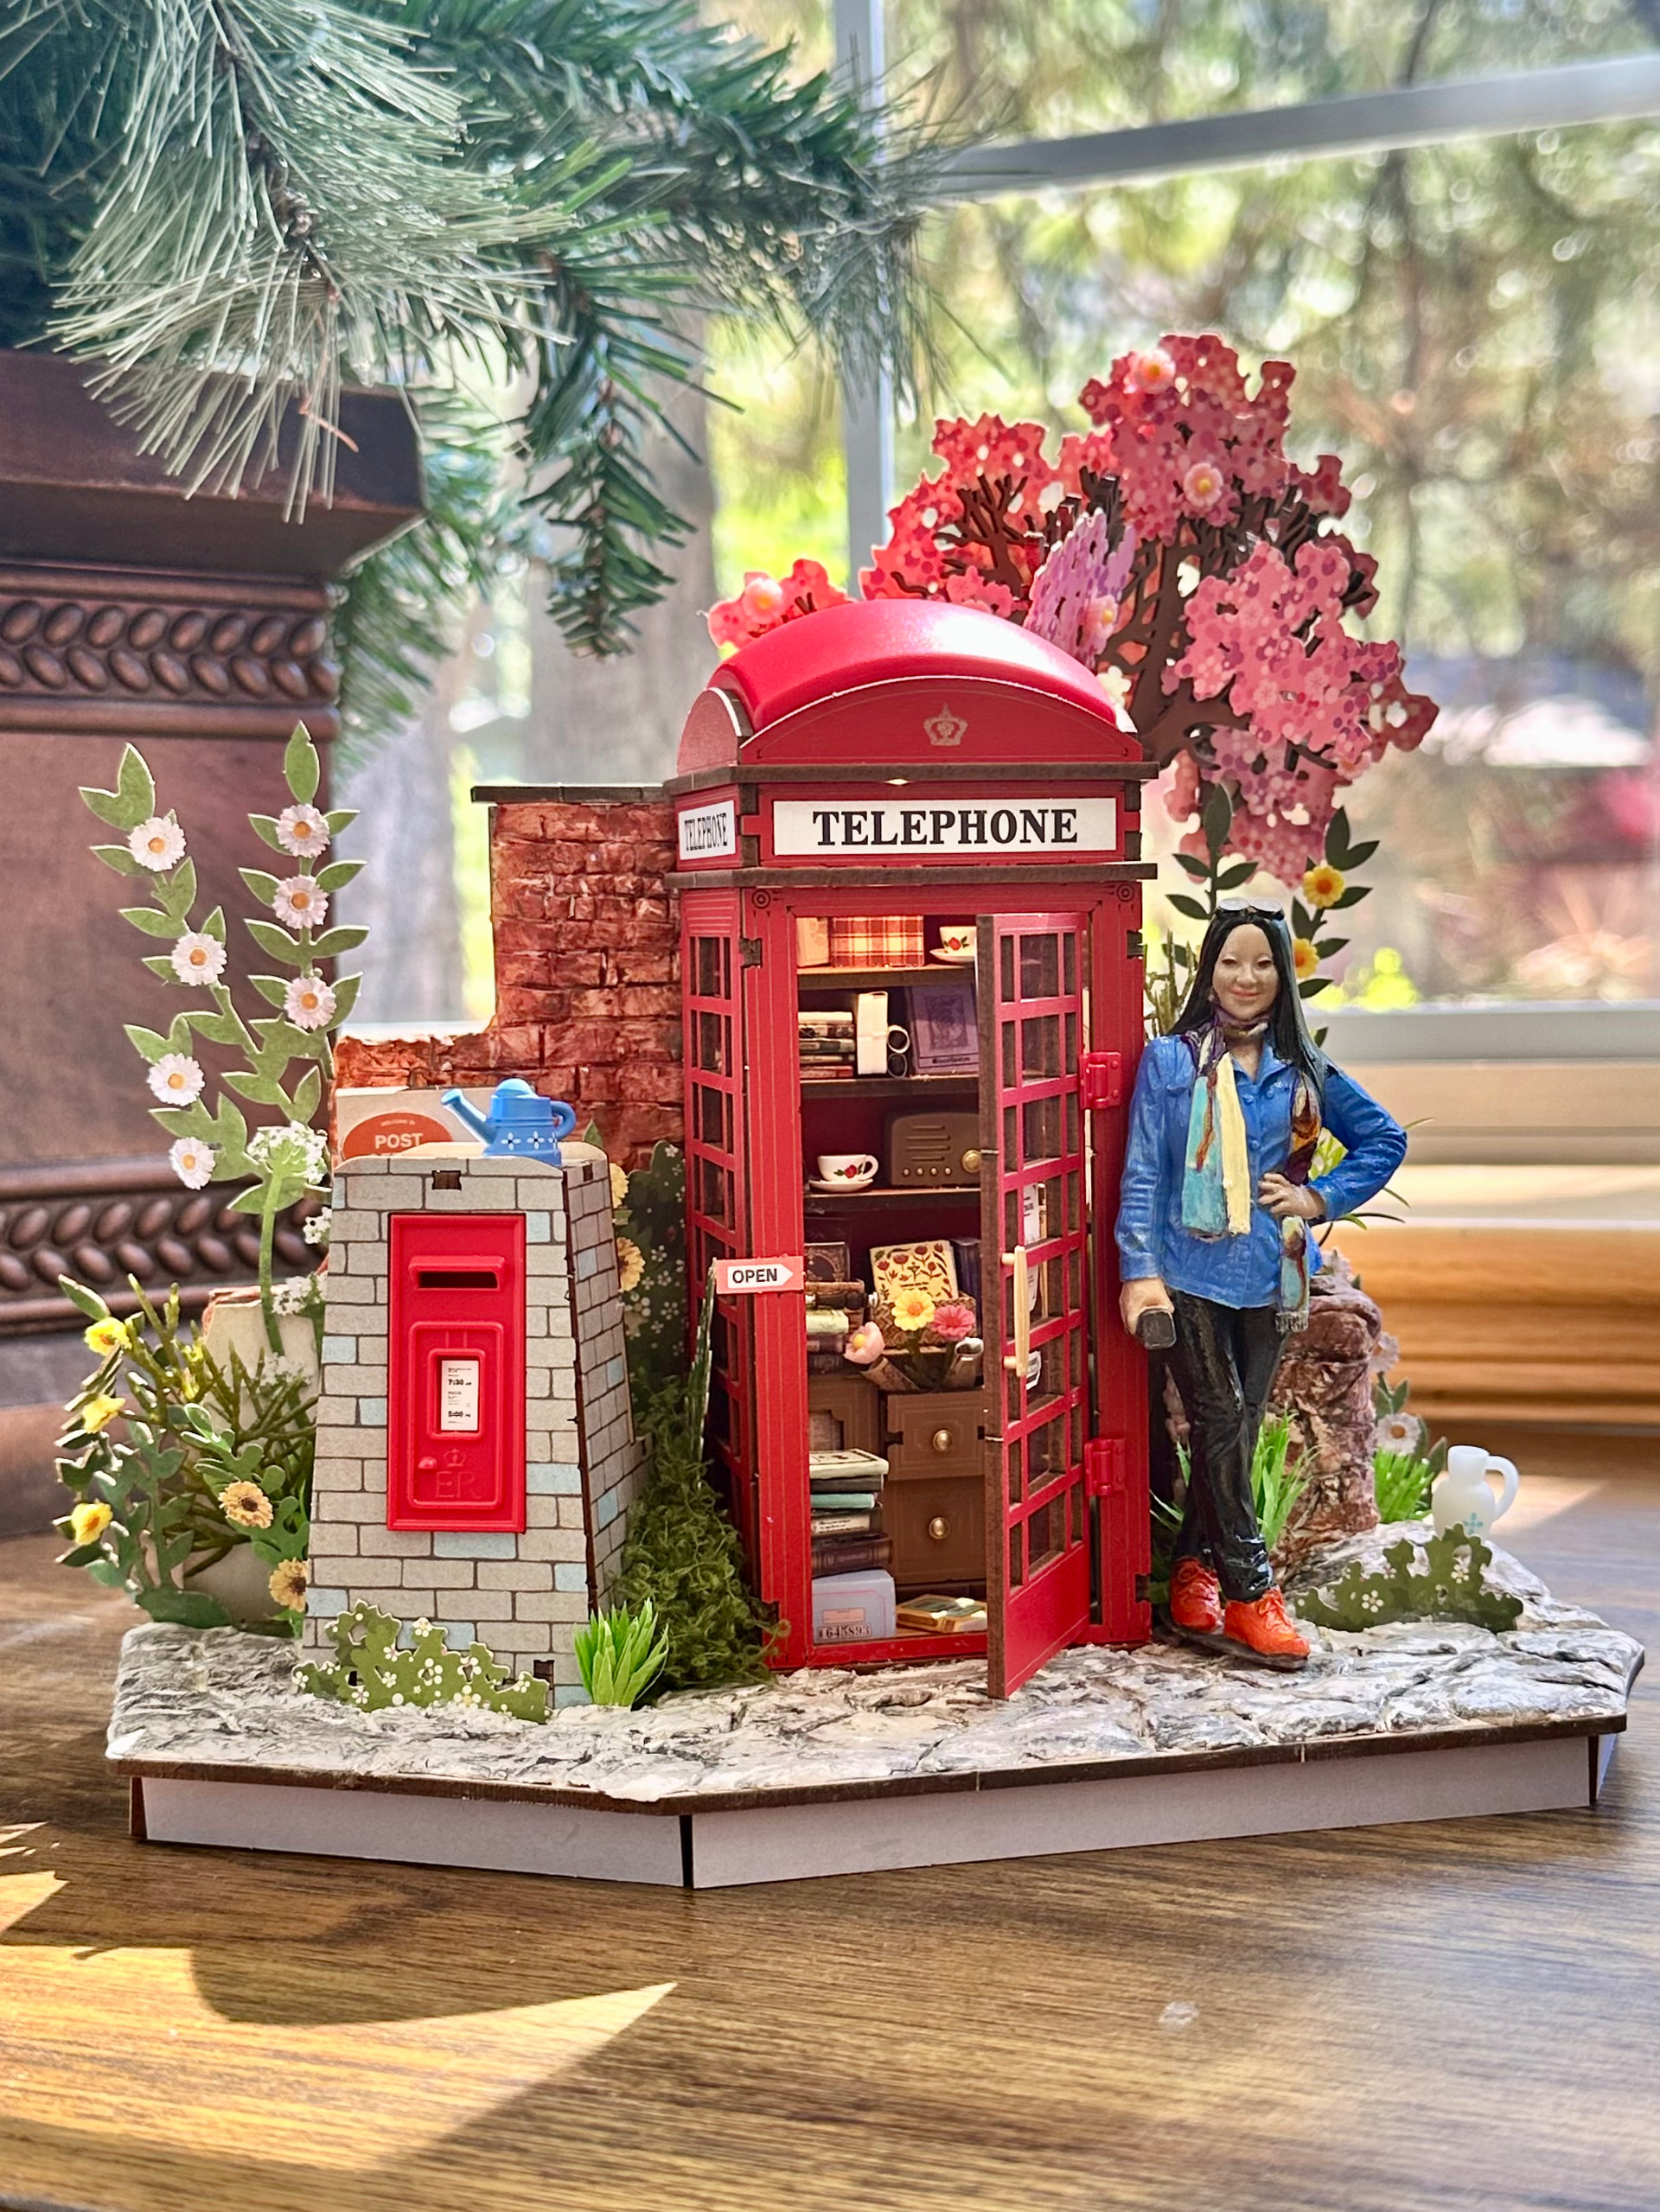
From Builder to Character
"I designed my figure, printed with my 3D printer and painted it."
The example connects a real memory, a new creative skill, and a finished miniature in one small display. A custom figure is not the only way to create that feeling, but it is a vivid reminder that the most personal detail is often the one only the builder would choose.
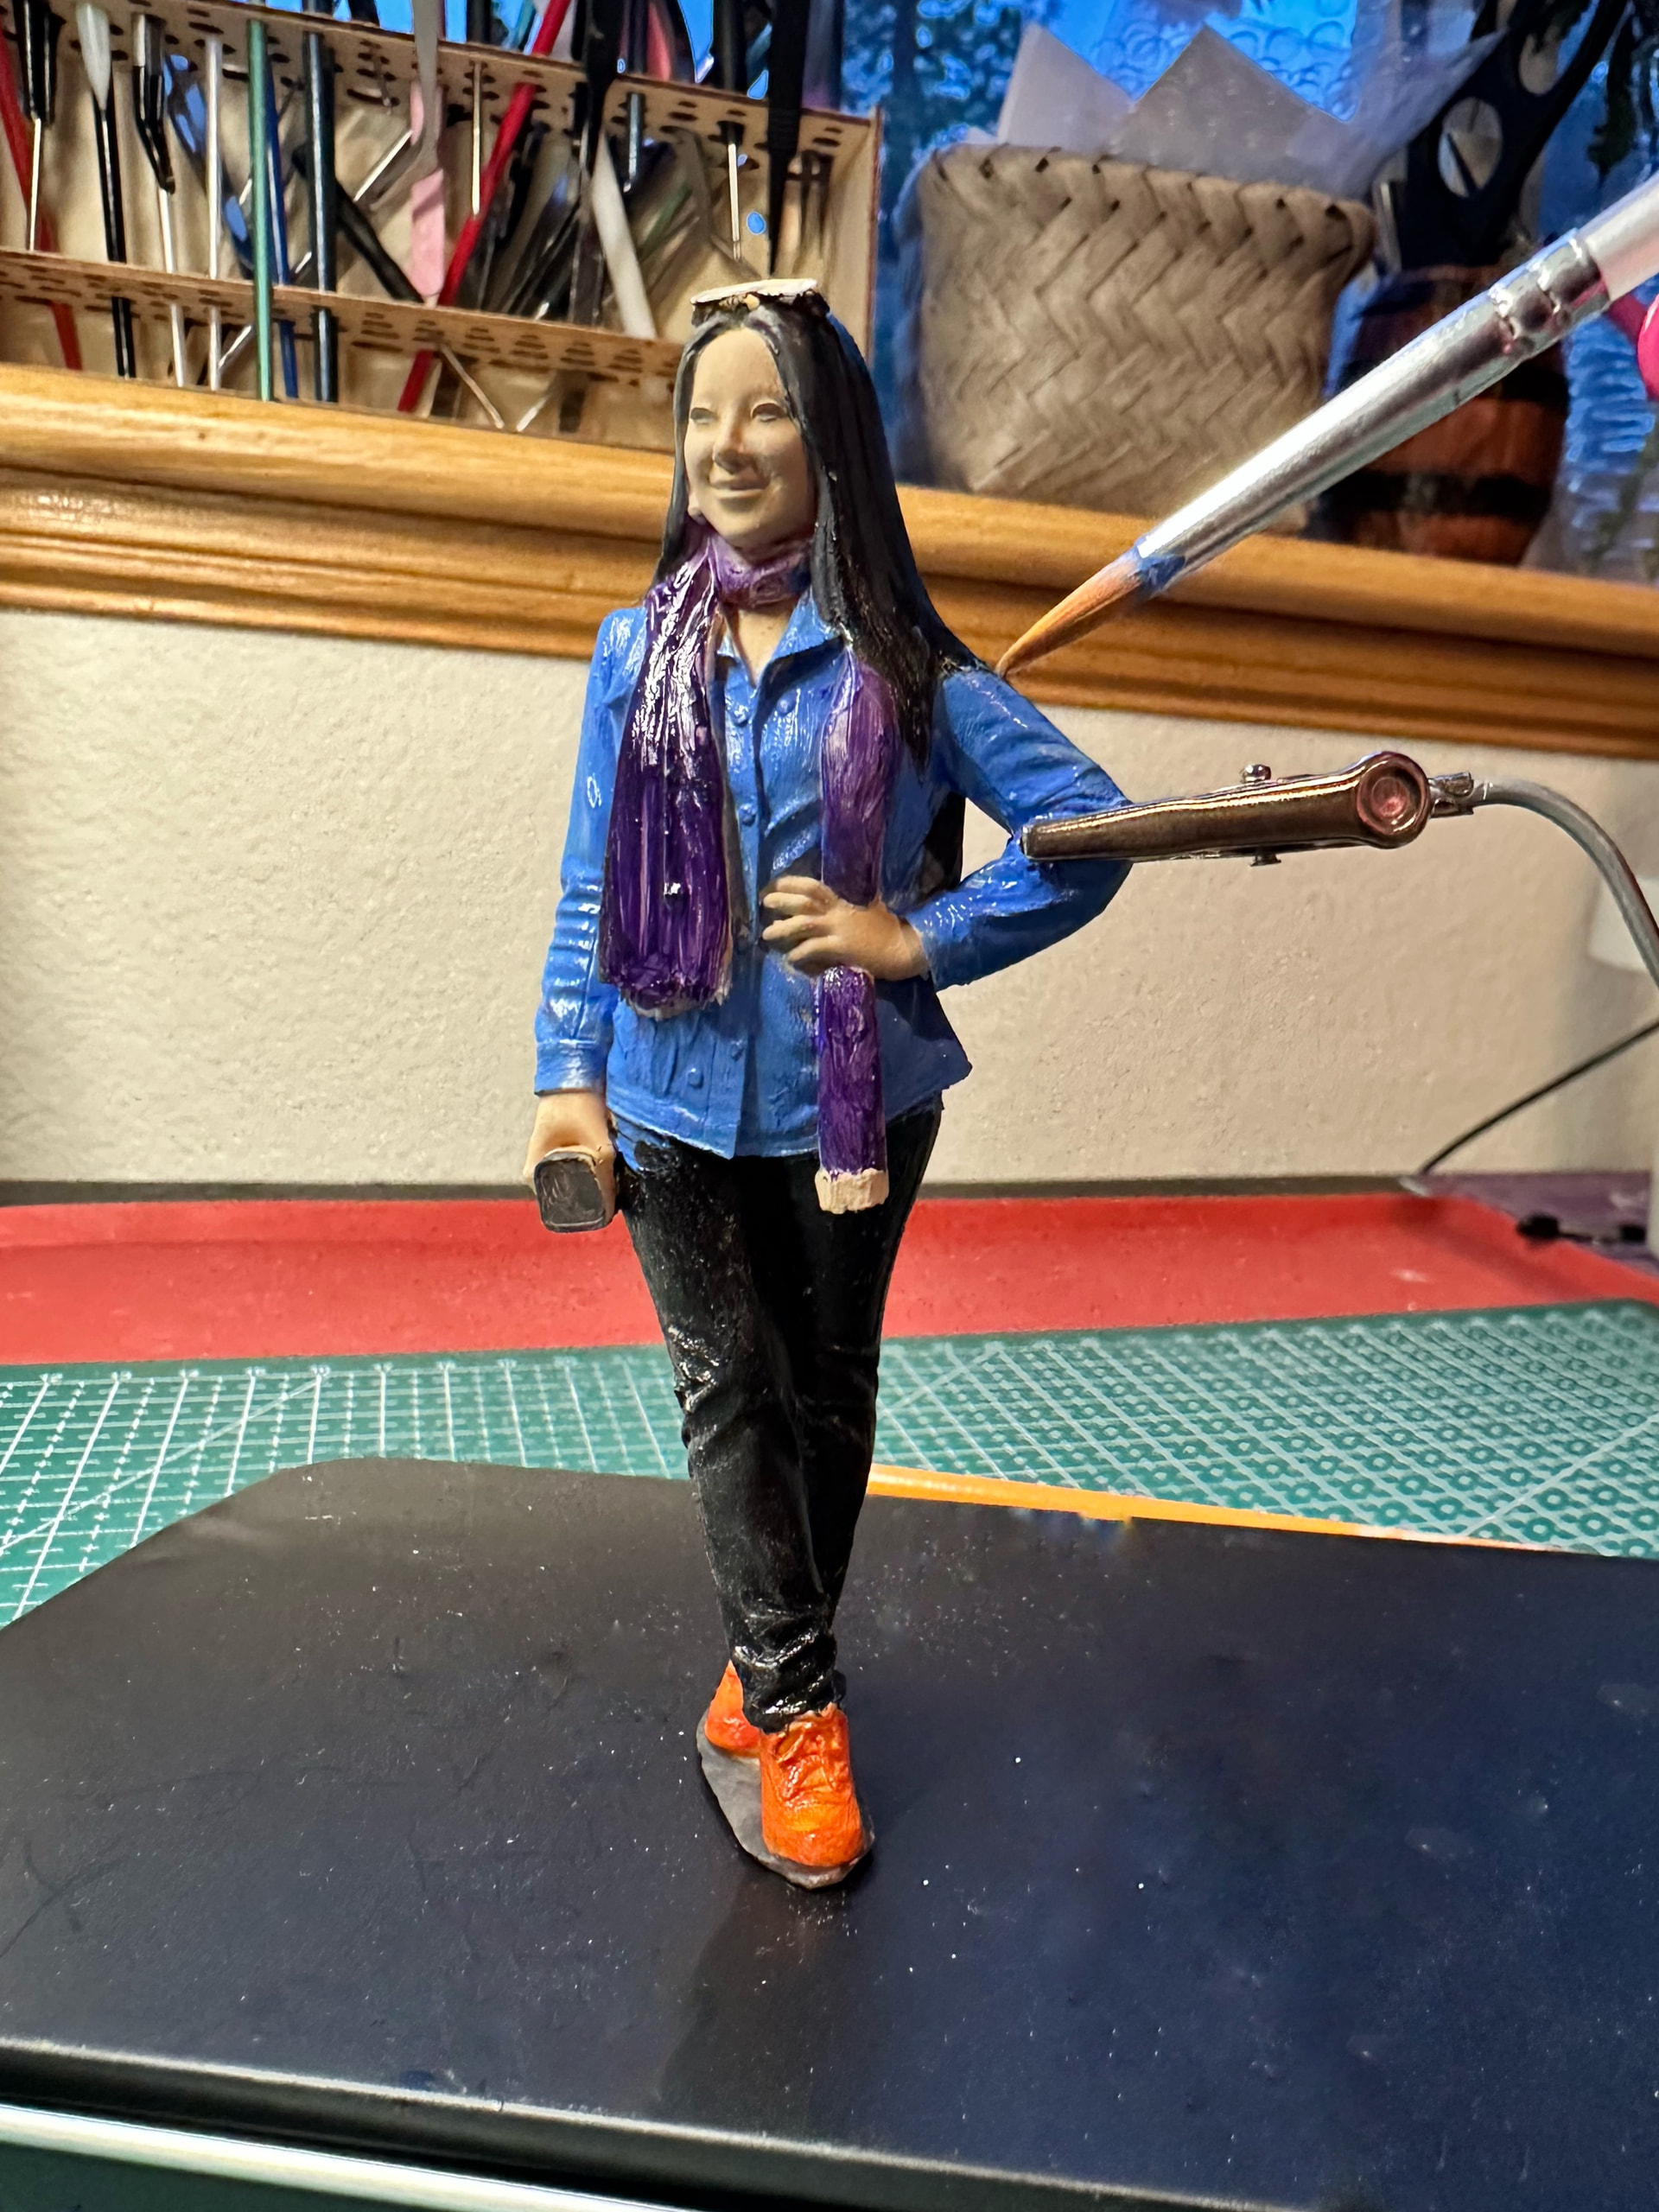
After the figure was painted, the creator tested its scale and placement beside the telephone booth before settling it into the scene.
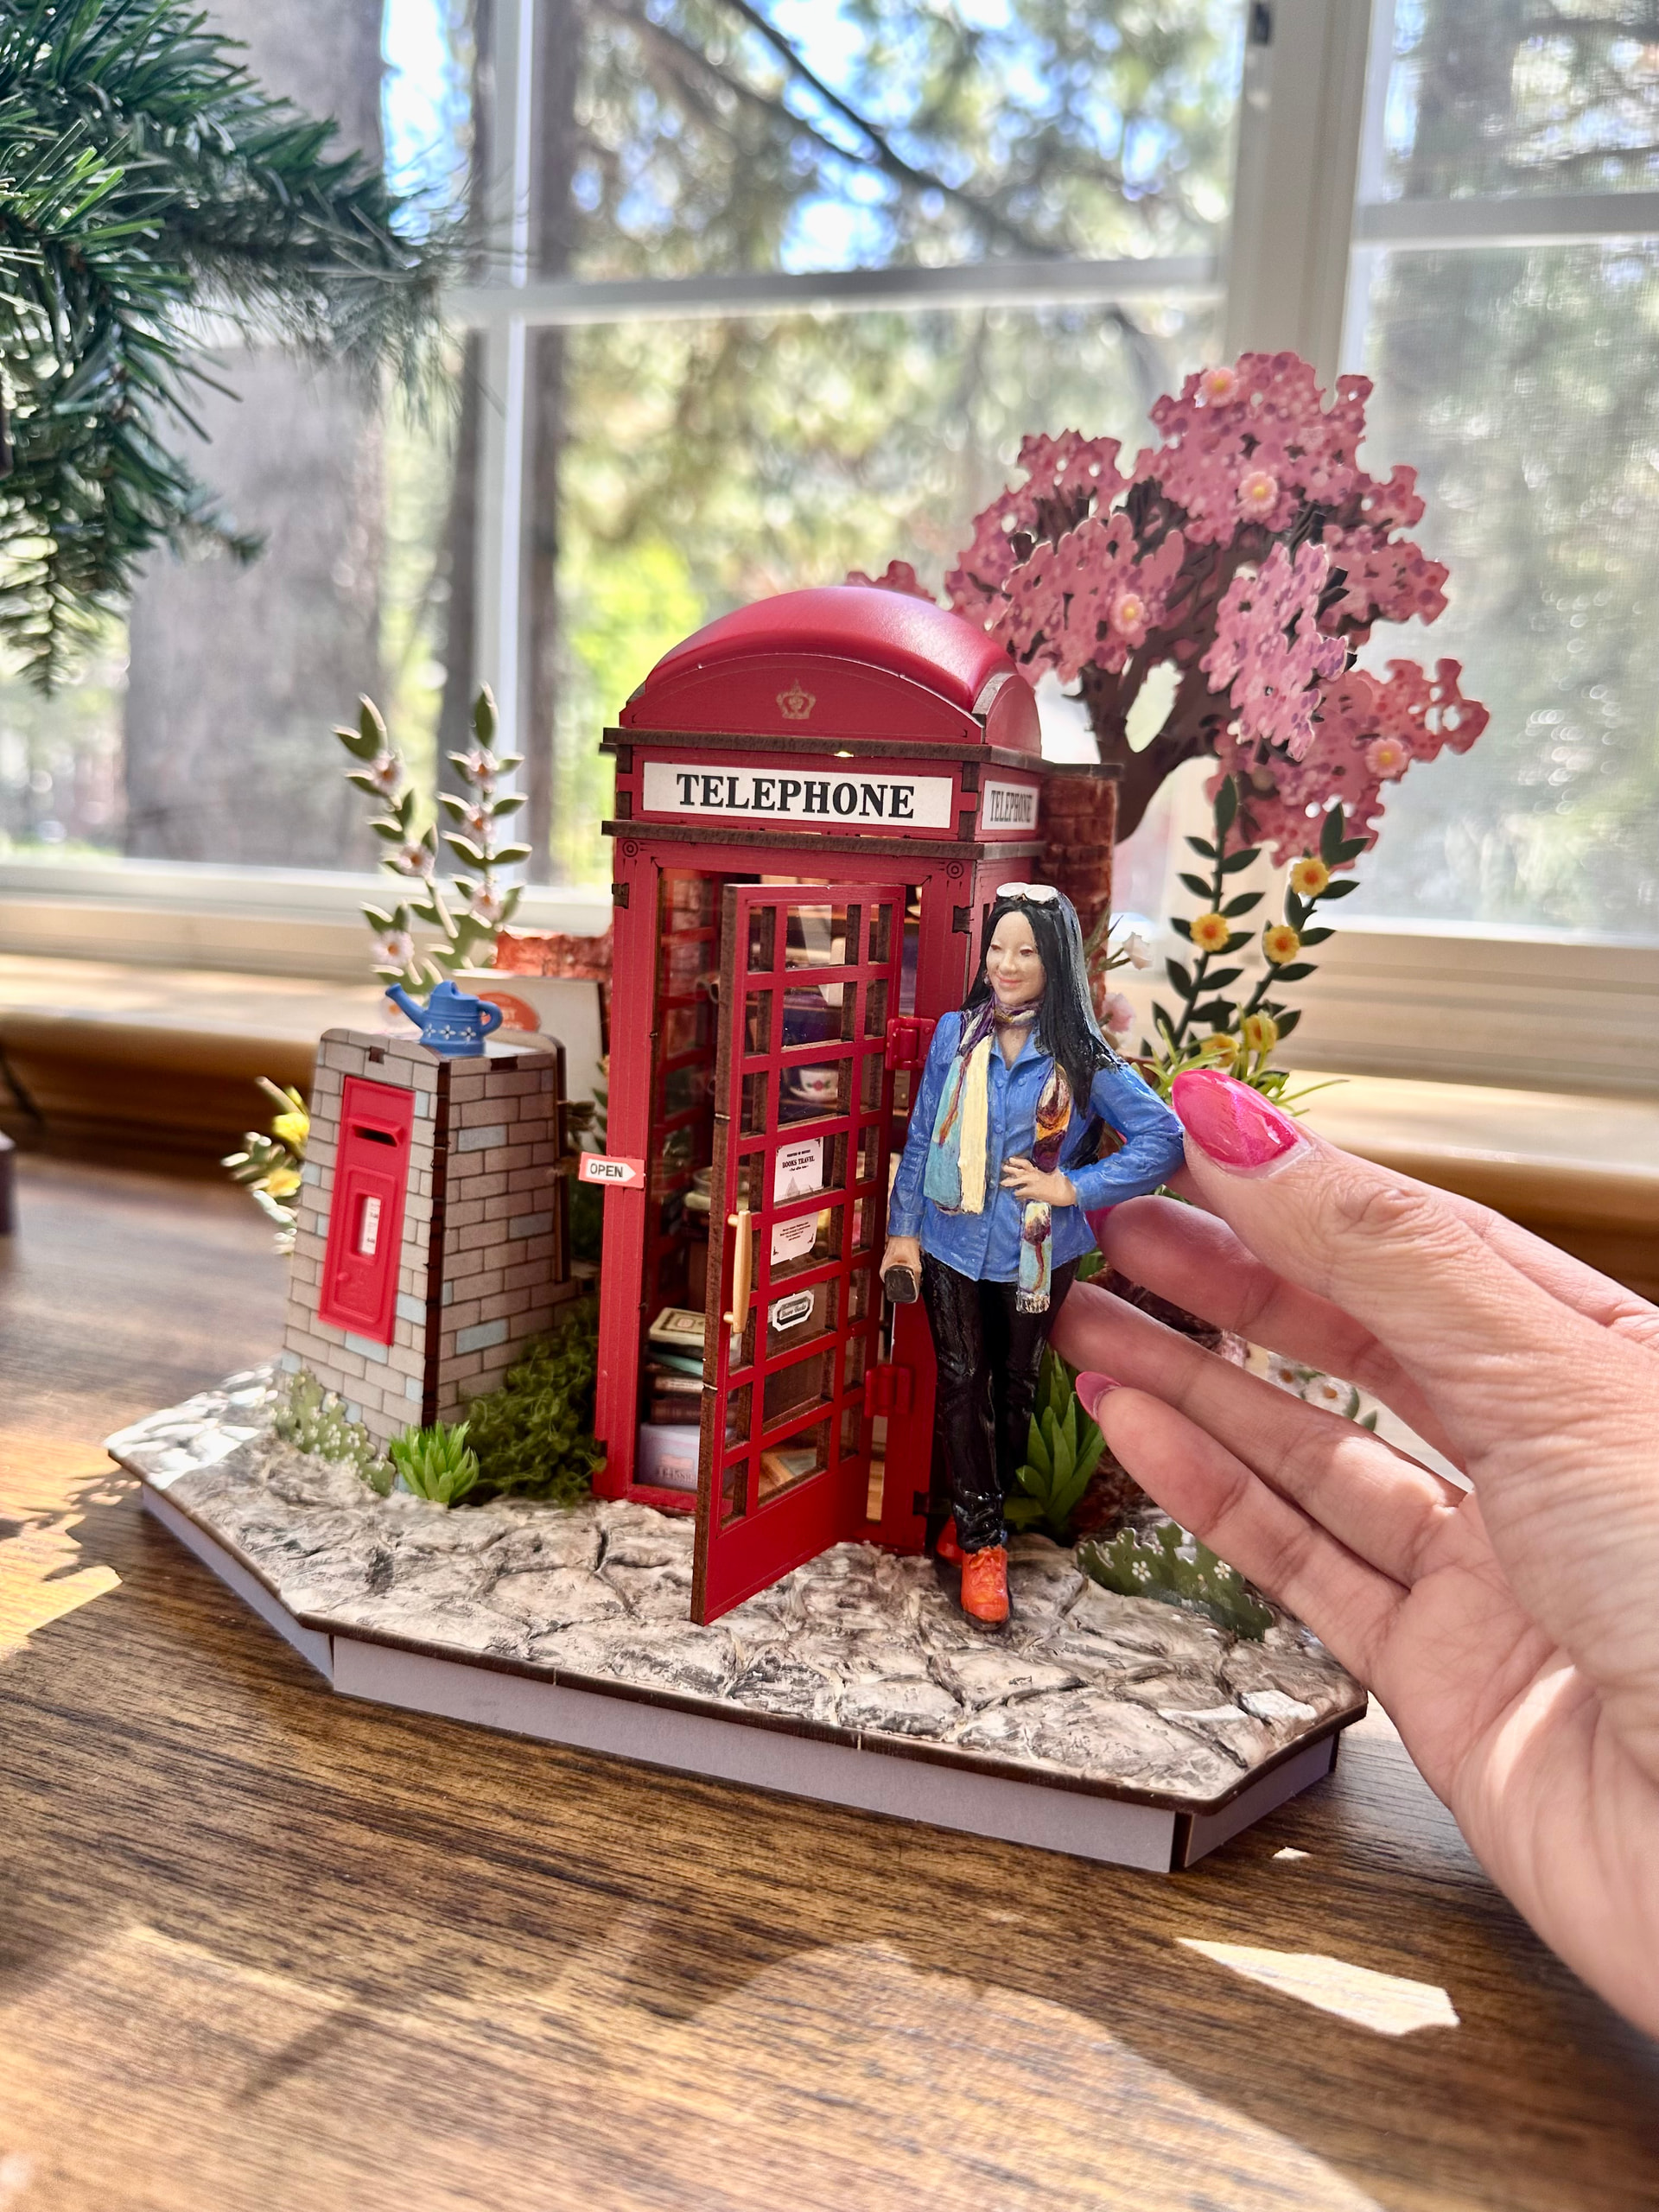
Rolife Community images shared by mchipman. View the original Rolife Community post.
6 Creative Ways to Customize Your Miniature World
1. Add Yourself Into Your Miniature World
Custom figures, 3D-printed characters, tiny portraits, and miniature versions of yourself can turn a finished scene into a personal story. This is the clearest way to move from builder to character: the person who made the kit becomes part of the tiny world.
2. Add Handmade Accessories
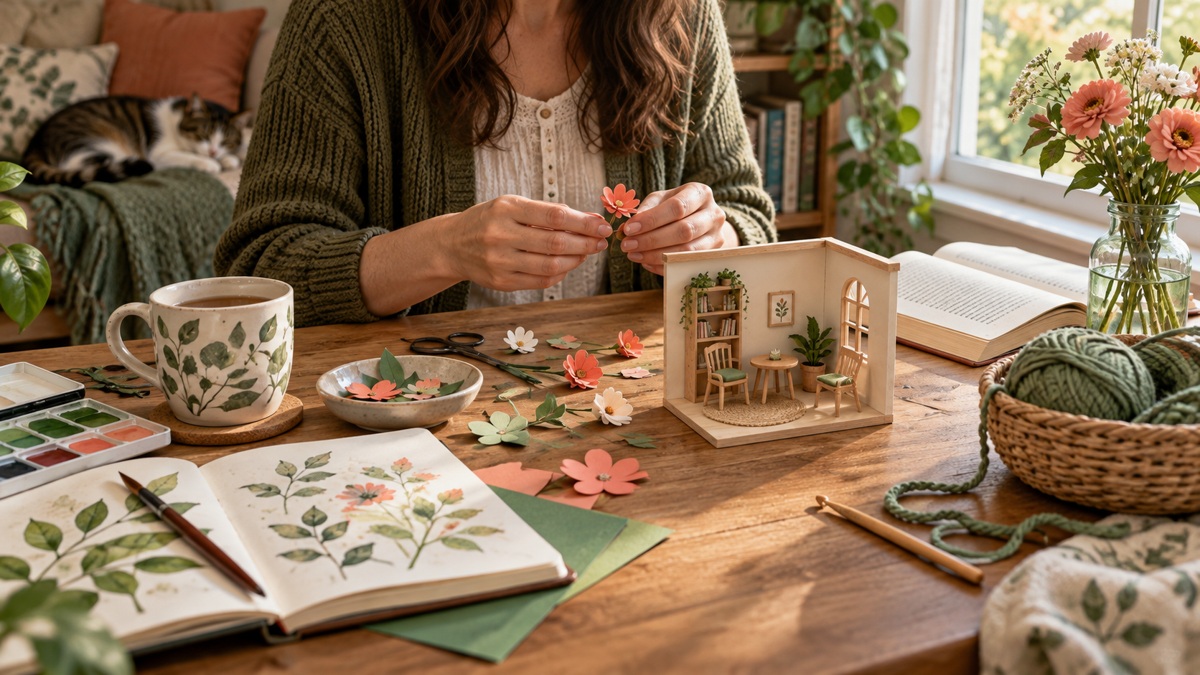
Crochet flowers, tiny textiles, handmade ornaments, and small paper details can introduce a softer, more tactile layer. Choose one or two accessories that belong naturally in the scene rather than filling every open area.
For more ideas, explore handmade miniature accessories and ways to decorate your miniature house.
3. Add Personal Memories
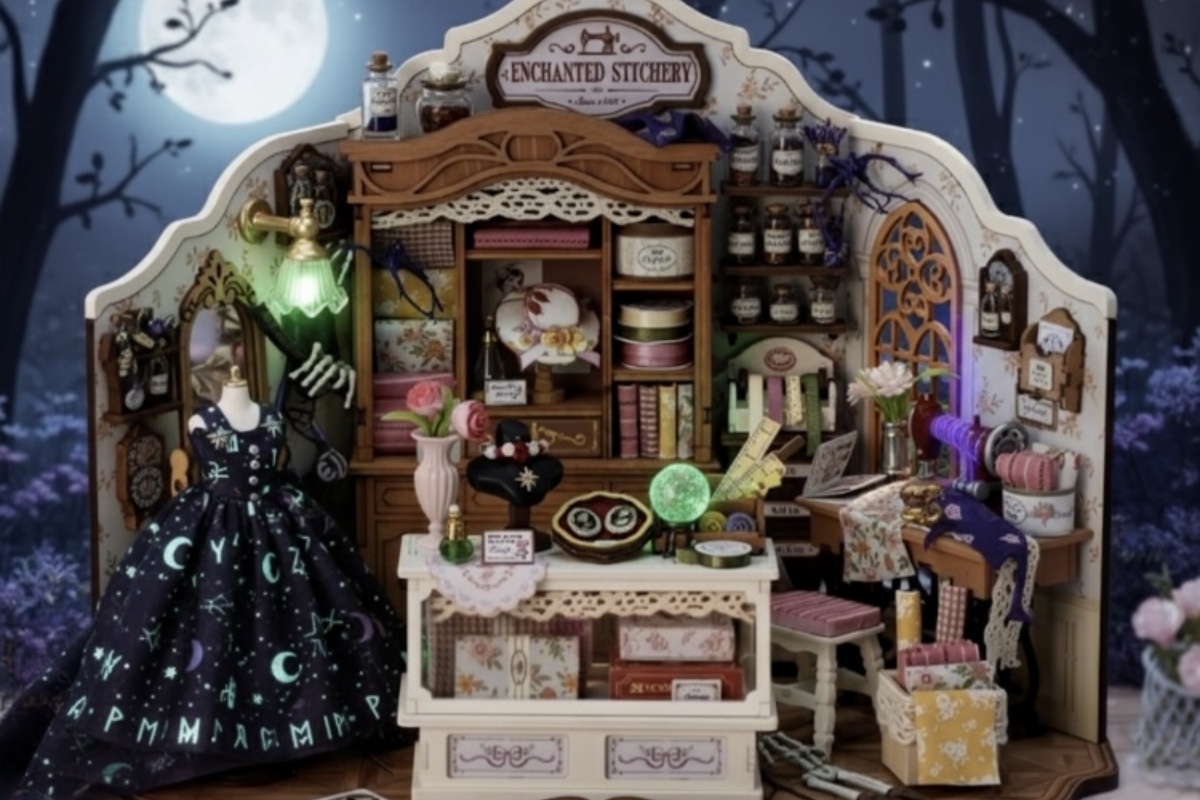
Add a small detail connected to a real memory: a postcard from a trip, a favorite-book reference, a hobby object, a tiny souvenir, or a color that reminds you of a place. Personal memories give a miniature scene a story that cannot be copied from the instructions.
4. Customize Colors and Details
A carefully repainted accent, a small sign, or a changed display item can reshape the mood of a scene. Test colors against the original kit palette and avoid covering architectural features, windows, or lighting.
5. Add Pets and Tiny Companions
Miniature animals, crochet pets, and small companion figures can make a room, shop, or shelf scene feel inhabited. Keep their size and placement consistent with the setting, then let one companion add warmth without crowding the scene.
6. Create Seasonal Stories
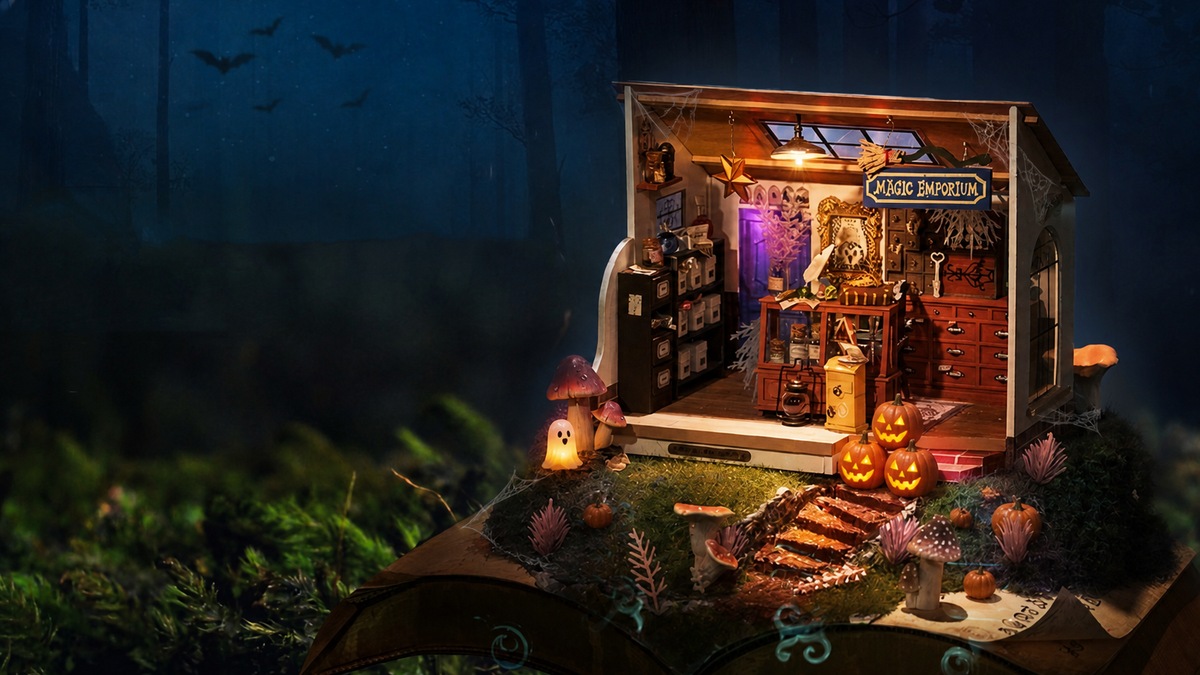
Seasonal details let a miniature world evolve through the year: a small garland for Christmas, pumpkins for Halloween, flowers for spring, or beach accents for summer. Use removable pieces when possible, so the base scene can keep changing with your ideas.
Which Rolife Kits Are Great for Customization?
| Kit Type | Why It Works for Customization |
|---|---|
| Miniature House Kits | More room for furniture, plants, and personal details. |
| Book Nook Kits | Great for shelf storytelling and themed scenes. |
| Room Kits | Easy to personalize with small accessories. |
Explore more DIY miniature kits by the kind of miniature world you want to create.
What Kind of Customization Do You Want?
| Customization level | Examples | Best-suited structure | Main risk |
|---|---|---|---|
| Reversible styling | Move accessories, add freestanding props, change removable decor | Both styles | Blocking doors, lights, or viewing angles |
| Modular expansion | Connect rooms, add a roof or dust cover, build a multi-room display | Snap-fit systems such as Super Creator | Misaligned connection points or excess display weight |
| Surface changes | Wallpaper, paint, floor finishes, signs, curtains, printed details | Traditional kits; selected snap-fit surfaces after testing | Poor adhesion, warping, visible brush marks, or damaged finishes |
| Layout changes | Move loose furniture, alter partitions, create a new focal point | Traditional kits | Lighting, scale, and structural conflicts |
| Structural modification | Cut openings, remove molded parts, reroute wiring, rebuild walls | Advanced work on either style | Irreversible damage and weakened joints |
Key Takeaway: Start with the least permanent change that creates the effect you want. Reversible props and modular combinations are easier to correct than paint, glue, cutting, or rewiring.
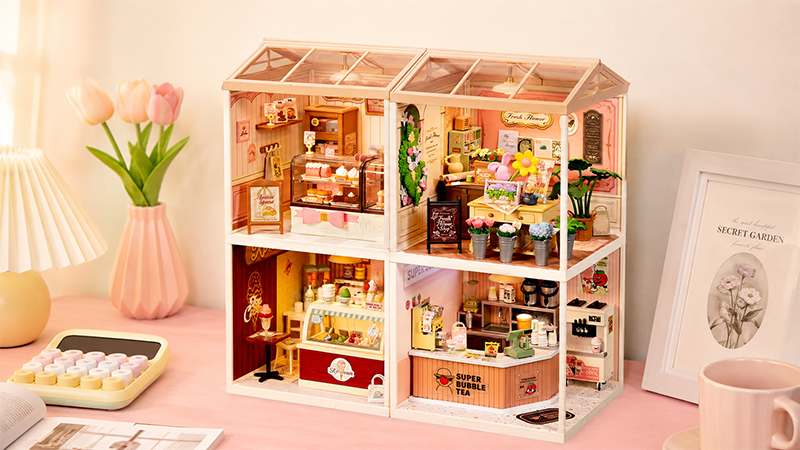
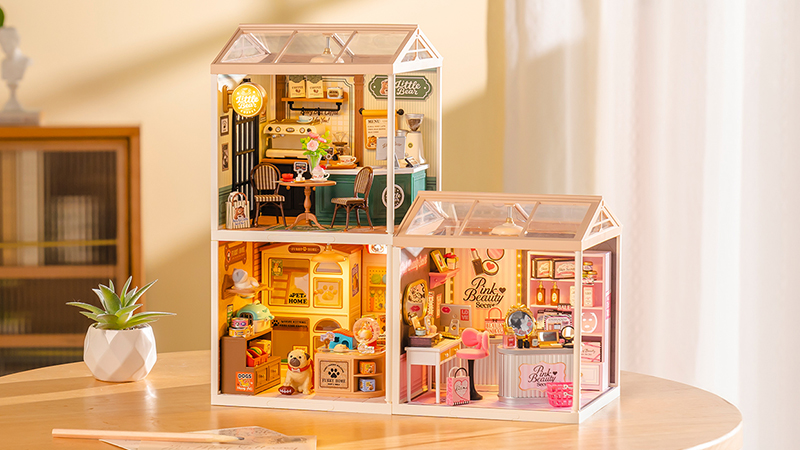
How Can You Customize a Snap-Fit Super Creator Room?
Snap-fit rooms are designed around a fixed shell and repeatable connection points. That makes them particularly useful for customization at the display-system level rather than for rebuilding the room itself.
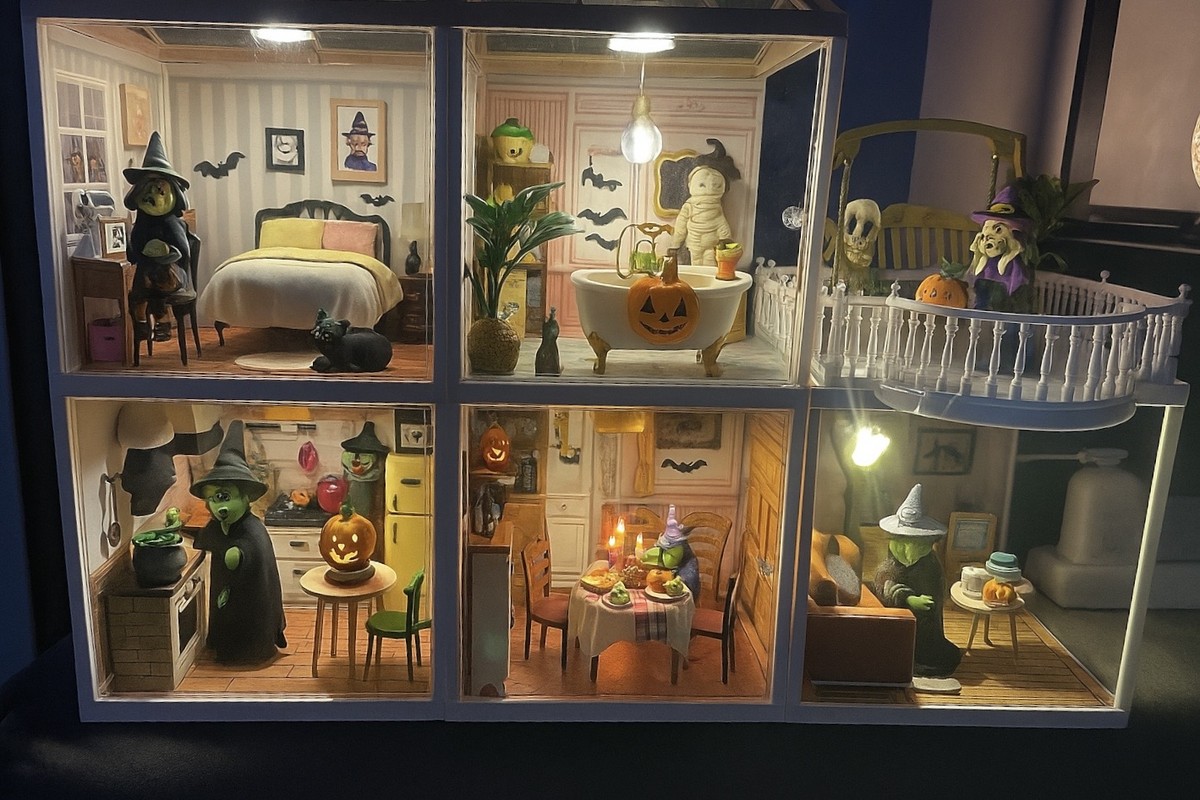
- Combine modules: arrange compatible rooms into a larger home, shop street, or stacked display.
- Change the story: add freestanding miniature food, books, plants, figures, or seasonal details without altering the structure.
- Control the view: use roofs, dust covers, lighting, and room order to change how the collection reads from a shelf or desk.
- Keep changes removable: use accessories that can be lifted out so one room can support several themes over time.
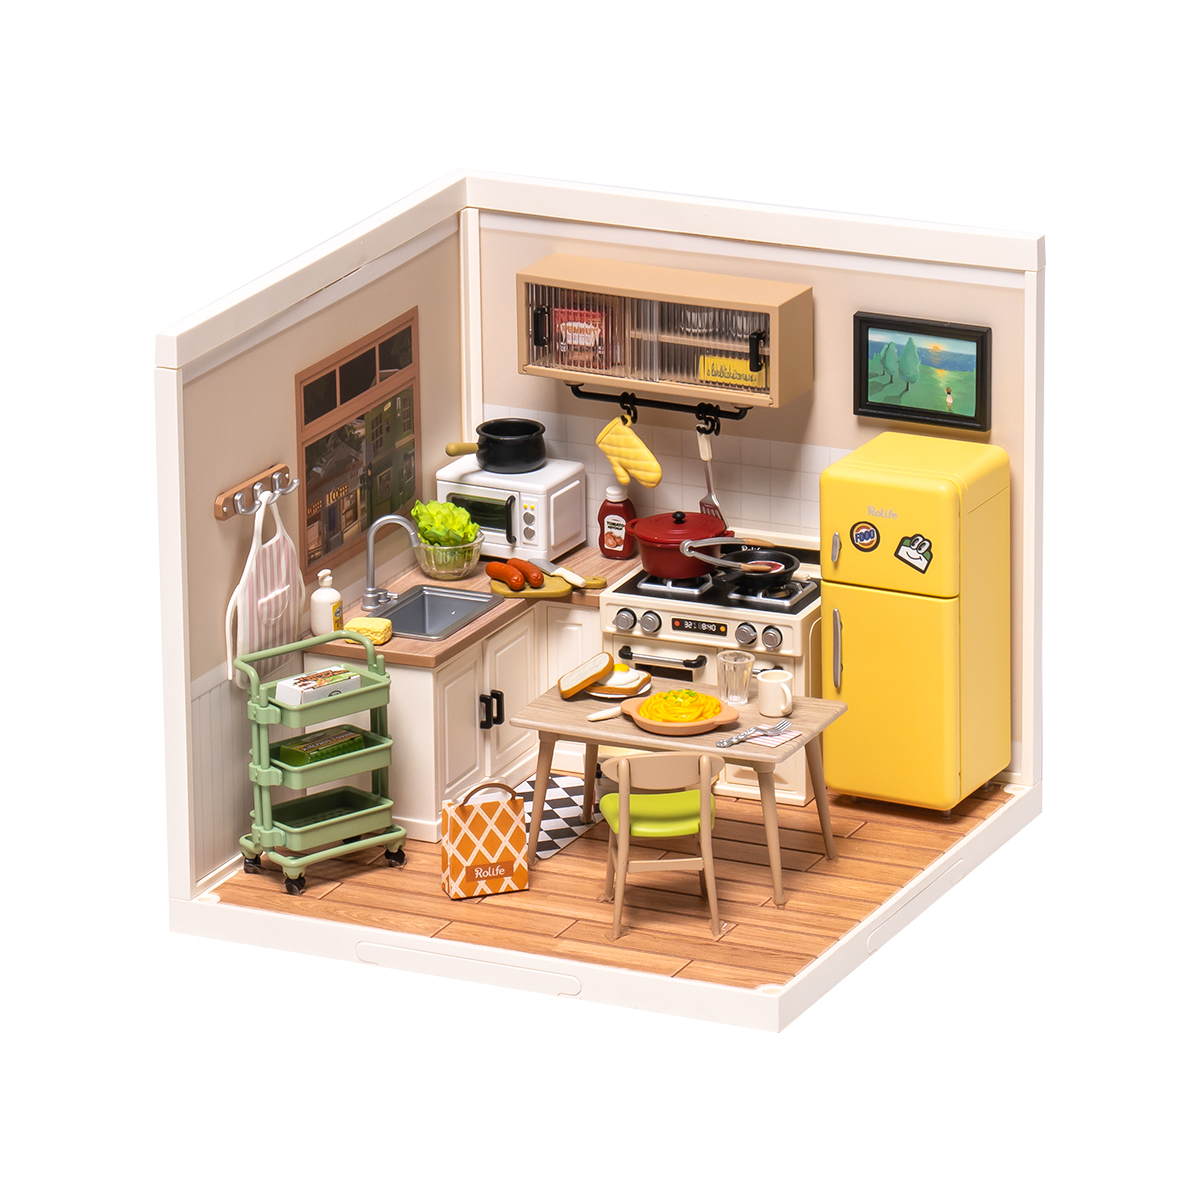
Deep changes require more caution. Molded cabinets, wall sockets, tabs, and wiring routes may be part of the room's alignment. Repainting or removing them can affect fit, so test paint and adhesive on a hidden area and avoid covering a connection point.
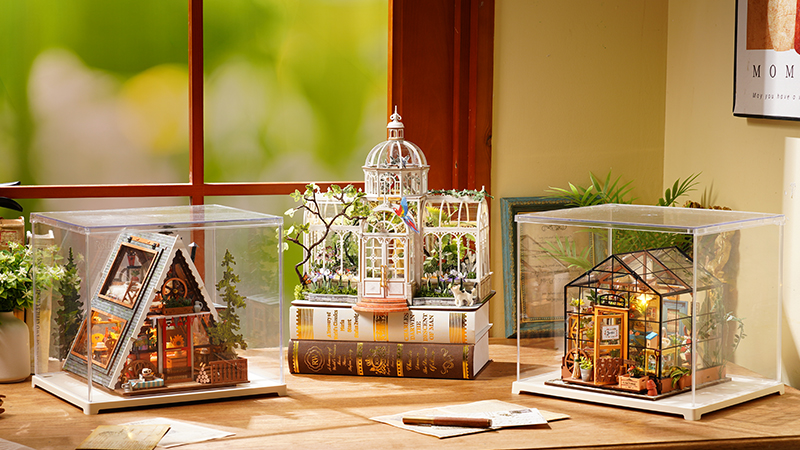
How Can You Customize a Traditional Miniature House?
Traditional miniature houses usually expose more separate surfaces and loose decorative parts. That creates room to change the visual story before assembly becomes permanent.
Repaint and Change Surface Finishes
Wood, paper, and selected plastic details can be recolored or refinished when the material is prepared correctly. Test first: thin paper may warp, printed finishes may react to moisture, and paint can make a tight-fitting part too thick.
Replace Wallpaper, Flooring, and Printed Details
Scan or trace the original piece before cutting a replacement. Keep doorways, window openings, fold lines, wire channels, and overlap margins visible on the template. A removable test sheet is safer than gluing the final print immediately.
Rearrange Furniture and Add Props
Loose tables, chairs, plants, books, and signs can change the focal point without altering the shell. Check that the new arrangement leaves a believable walking path, does not hide the main light, and still looks balanced from the normal viewing side.
Treat Structural Changes as Advanced Work
Moving a wall or cutting a new opening can affect strength, scale, lighting, and the order of assembly. Photograph the untouched parts, make a paper mock-up, and confirm the wiring route before cutting anything.
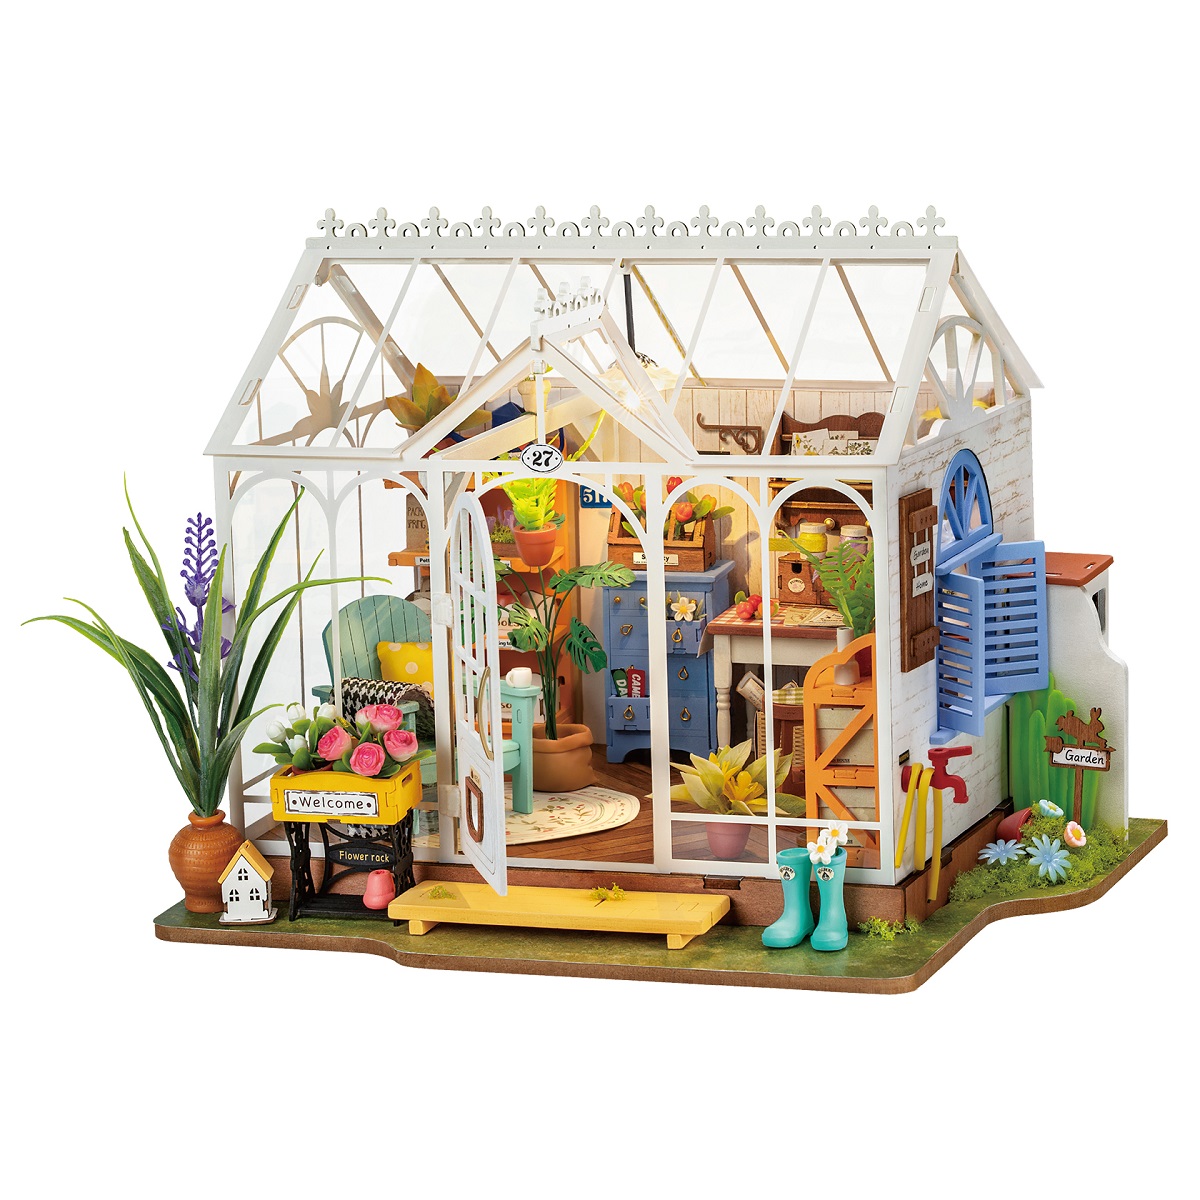
What Makes a Customized Miniature Look More Realistic?
The connection method does not decide realism. A clean snap-fit room can look convincing, while a heavily modified traditional scene can lose realism if scale, edges, or lighting are inconsistent.
Keep one scale language
Check furniture height, prop size, fabric thickness, and printed patterns together rather than judging each addition alone.
Finish visible edges
Color exposed paper edges, remove excess adhesive, and touch up obvious gaps before adding more decoration.
Protect the light path
Do not place a tall prop directly in front of the main light or cover wiring access needed for maintenance.
Edit instead of filling
One clear focal point and a few repeated colors usually read more naturally than adding detail to every empty space.
Which Rolife Kits Support Which Changes?
The examples below illustrate customization routes rather than ranking difficulty or glue requirements. Product editions can change, so confirm the exact parts and instructions before altering a kit.
| Build style | Model | Lower-risk customization | Advanced customization |
|---|---|---|---|
| Super Creator | Happy Meals Kitchen DW008 | Accessory swaps, removable food props, connection to other rooms | Repainting molded cabinetry or changing fixed room elements |
| Super Creator | Bubble Bathroom DW014B | Small decor additions, figures, modular display changes | Changing molded fixtures or rerouting lighting |
| Super Creator | Lovely Pink Bedroom DW016 | Textiles, freestanding props, room combinations | Full recoloring or removing fixed furniture |
| Traditional | Sunlit Farmhouse Kitchen DH101 | Surface colors, signs, loose kitchen props | Layout changes, new partitions, or modified lighting |
| Traditional | Flavory Cafe DG162 | Menu graphics, tabletop details, plants, color accents | Furniture replacement or new service-counter layout |
| Traditional | Dreamy Garden House DG163 | Plant arrangement, signs, textiles, surface details | Greenhouse structure, wall, or wiring changes |
What Should You Do Before Making a Permanent Change?
- Finish a dry fit or paper mock-up before using paint, glue, or a cutting tool.
- Photograph the original part layout and wiring route.
- Test paint, ink, tape, or adhesive on spare material or a hidden surface.
- Protect tabs, sockets, moving parts, and electrical contacts from added thickness.
- View the change from normal display distance before adding more detail.
If your main question is assembly structure, read Rolife Kit Types Explained. For model- and version-specific adhesive preparation, use Do Rolife Kits Require Glue?.
Before and After: From Kit to Personal Story
| Before | After |
|---|---|
| Following the instructions | Creating your own story |
| A standard scene | A personal miniature world |
| A decorative object | A meaningful memory |
| A finished kit | A living miniature that can keep evolving |
What Can You Add to a Miniature Kit?
Use this list as inspiration, then choose only the pieces that fit the setting and scale of your miniature kit:
- Miniature characters or custom figures
- Crochet accessories and handmade flowers
- Small textiles, curtains, cushions, or rugs
- Custom furniture or a single repainted accent
- Tiny photos, postcards, maps, or favorite-book references
- Pets, miniature animals, or small companions
- Seasonal decorations that can be changed through the year
Tips for Customizing a Miniature Kit
| Check | Why It Matters |
|---|---|
| Scale | Accessories should look believable beside doors, furniture, and people in the scene. |
| Color palette | Repeating two or three existing colors makes new details feel intentional. |
| Sightline | Leave the central view open, especially in narrow shelf-insert book nooks. |
| Lighting | Keep lamps, windows, battery access, and other lit features unobstructed. |
| Story | Every added object should feel as though it belongs to the same miniature world. |
Key Takeaway
A customized book nook is not about adding more. It is about adding the right detail: one that connects the miniature to your memory, hobby, humor, or imagination. Start small, preserve the scene's character, and let the story develop over time.
Frequently Asked Questions
How Do I Make My Miniature World Unique?
Use details only you would choose: a meaningful character, a memory-based object, a favorite color, a pet, a hobby reference, or a changing seasonal accent. A few connected details are more powerful than many unrelated ones.
Are Rolife Kits Good for Customization?
Rolife miniature house kits, book nook kits, and room kits can each provide a structured setting for personal storytelling. Choose by the kind of scene you enjoy and check current product images, dimensions, and display space before planning additions.
What Accessories Can I Add to a Miniature Kit?
Popular additions include flowers, plants, tiny books, bookmarks, textiles, signs, small furniture, pets, postcards, personal objects, and seasonal decorations. Choose accessories that fit the kit's scale and story.
Can I Add a Custom Character to a Miniature Scene?
Yes. A 3D-printed figure, custom character, tiny portrait, paper silhouette, or miniature version of yourself can make the scene feel more personal. Check the scale and test placement before attaching anything permanently.
How Do I Personalize a Miniature House?
Start with one personal connection, such as a travel memory, favorite hobby, pet, book, or seasonal tradition. Add one small object that expresses it, then expand only when the scene still feels balanced.
Can I Customize a Miniature Kit?
Yes. You can personalize a miniature kit with handmade accessories, custom characters, meaningful objects, color accents, pets, and seasonal decor. Keep the main structure, lighting, and sightline usable as you add details.
Create Your Own Miniature World
Every book nook begins with a kit, but the finished scene can become a story that only you could make. Choose a detail that feels personal, give it a natural place in the setting, and let your miniature world grow from there.
Explore Rolife book nook kits and discover a shelf scene ready for your own story. You can also see how Blossom Book Booth brings a London-inspired reading scene to life in the Blossom Book Booth guide.