





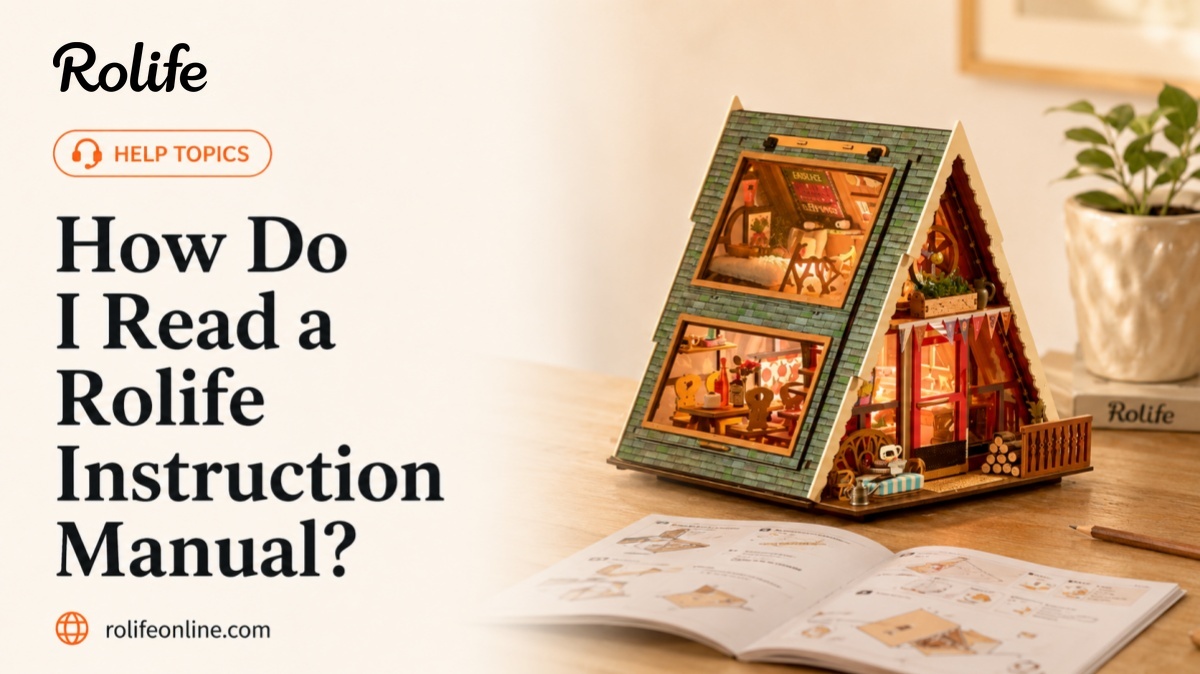
Rolife instruction manuals are designed to guide builders through each assembly step clearly and visually. Understanding the symbols, part numbers, and build order can make the building process much smoother, especially for beginners.
Quick Answer
To read a Rolife instruction manual, follow the assembly steps in order, match the part numbers carefully, and pay close attention to directional arrows, lighting symbols, glue icons, and placement diagrams.
Start by Identifying the Parts
Most Rolife kits include labeled wooden boards, plastic accessories, paper parts, decorative pieces, and sometimes lighting components. Before assembly, spend a few minutes checking the part labels and layout.
- Match each piece to its labeled board number
- Check the part shape carefully before removing it
- Keep small accessories organized during assembly
- Avoid removing too many pieces at once
- Separate similar-looking pieces so they are easier to compare
Many parts may look similar at first glance, especially mirrored wooden pieces, small decorative accessories, or left-and-right components.
Follow the Assembly Order Carefully
The build sequence in a Rolife manual is designed to make assembly easier and help prevent alignment problems later. Skipping ahead can make some steps harder to complete correctly.
- Complete each step before moving forward
- Do not skip ahead to decorative sections too early
- Install wiring components when instructed
- Test moving or lighting parts during assembly
- Review the next step before permanently attaching parts
Understand Common Symbols and Diagrams
Rolife manuals often use visual indicators instead of long written explanations. These symbols can help you understand direction, placement, adhesive use, and lighting steps more quickly.
- Arrows usually show insertion direction or folding direction
- Glue icons indicate adhesive is needed
- Lighting symbols mark wire, LED, or battery-related steps
- Highlighted areas often show important alignment points
- Close-up diagrams may show small details that are easy to miss
If a step feels unclear, compare the manual illustration to the actual parts carefully before continuing. A quick dry fit can help confirm the correct direction.
Take Your Time With Detailed Steps
Miniature kits often include small decorative details that require patience and careful placement. Rushing these steps can lead to misalignment, glue marks, or parts being attached in the wrong direction.
- Work in a clean, well-lit space
- Review diagrams before applying glue or tape
- Handle small connectors gently
- Pause and recheck alignment if needed
- Use tweezers or small tools for tiny decorative parts
What If I Still Feel Confused?
If a step feels difficult, slow down and compare the current build with the manual images again. Many builders also find it helpful to test-fit parts before permanently attaching them.
If your kit includes lighting or wiring, check those steps especially carefully before covering or closing the area. It is usually easier to adjust wires during assembly than after the full scene is complete.
For beginners, it is normal to reread a step several times. The goal is not to build quickly, but to build accurately and enjoy the process.